Mess making…

Daughter came home to visit over the weekend and to pick up things she left behind, when she moved out, that she now decided she needed. Of course, while here, she popped down into my studio to pick up things she needed from there, too. She questioned why is it SO clean? I guess I hadn’t noticed… I was tempted to say because she moved out? LOL! But that wouldn’t be true…. I just hate to leave town with it a mess and we haven’t been back, from Italy, long enough for me to trash it.

Yet.

That was Saturday.

I can’t show you what it looks like today. It is bad. I have days and days of fabric folding and putting away to do.

But I can show you this.
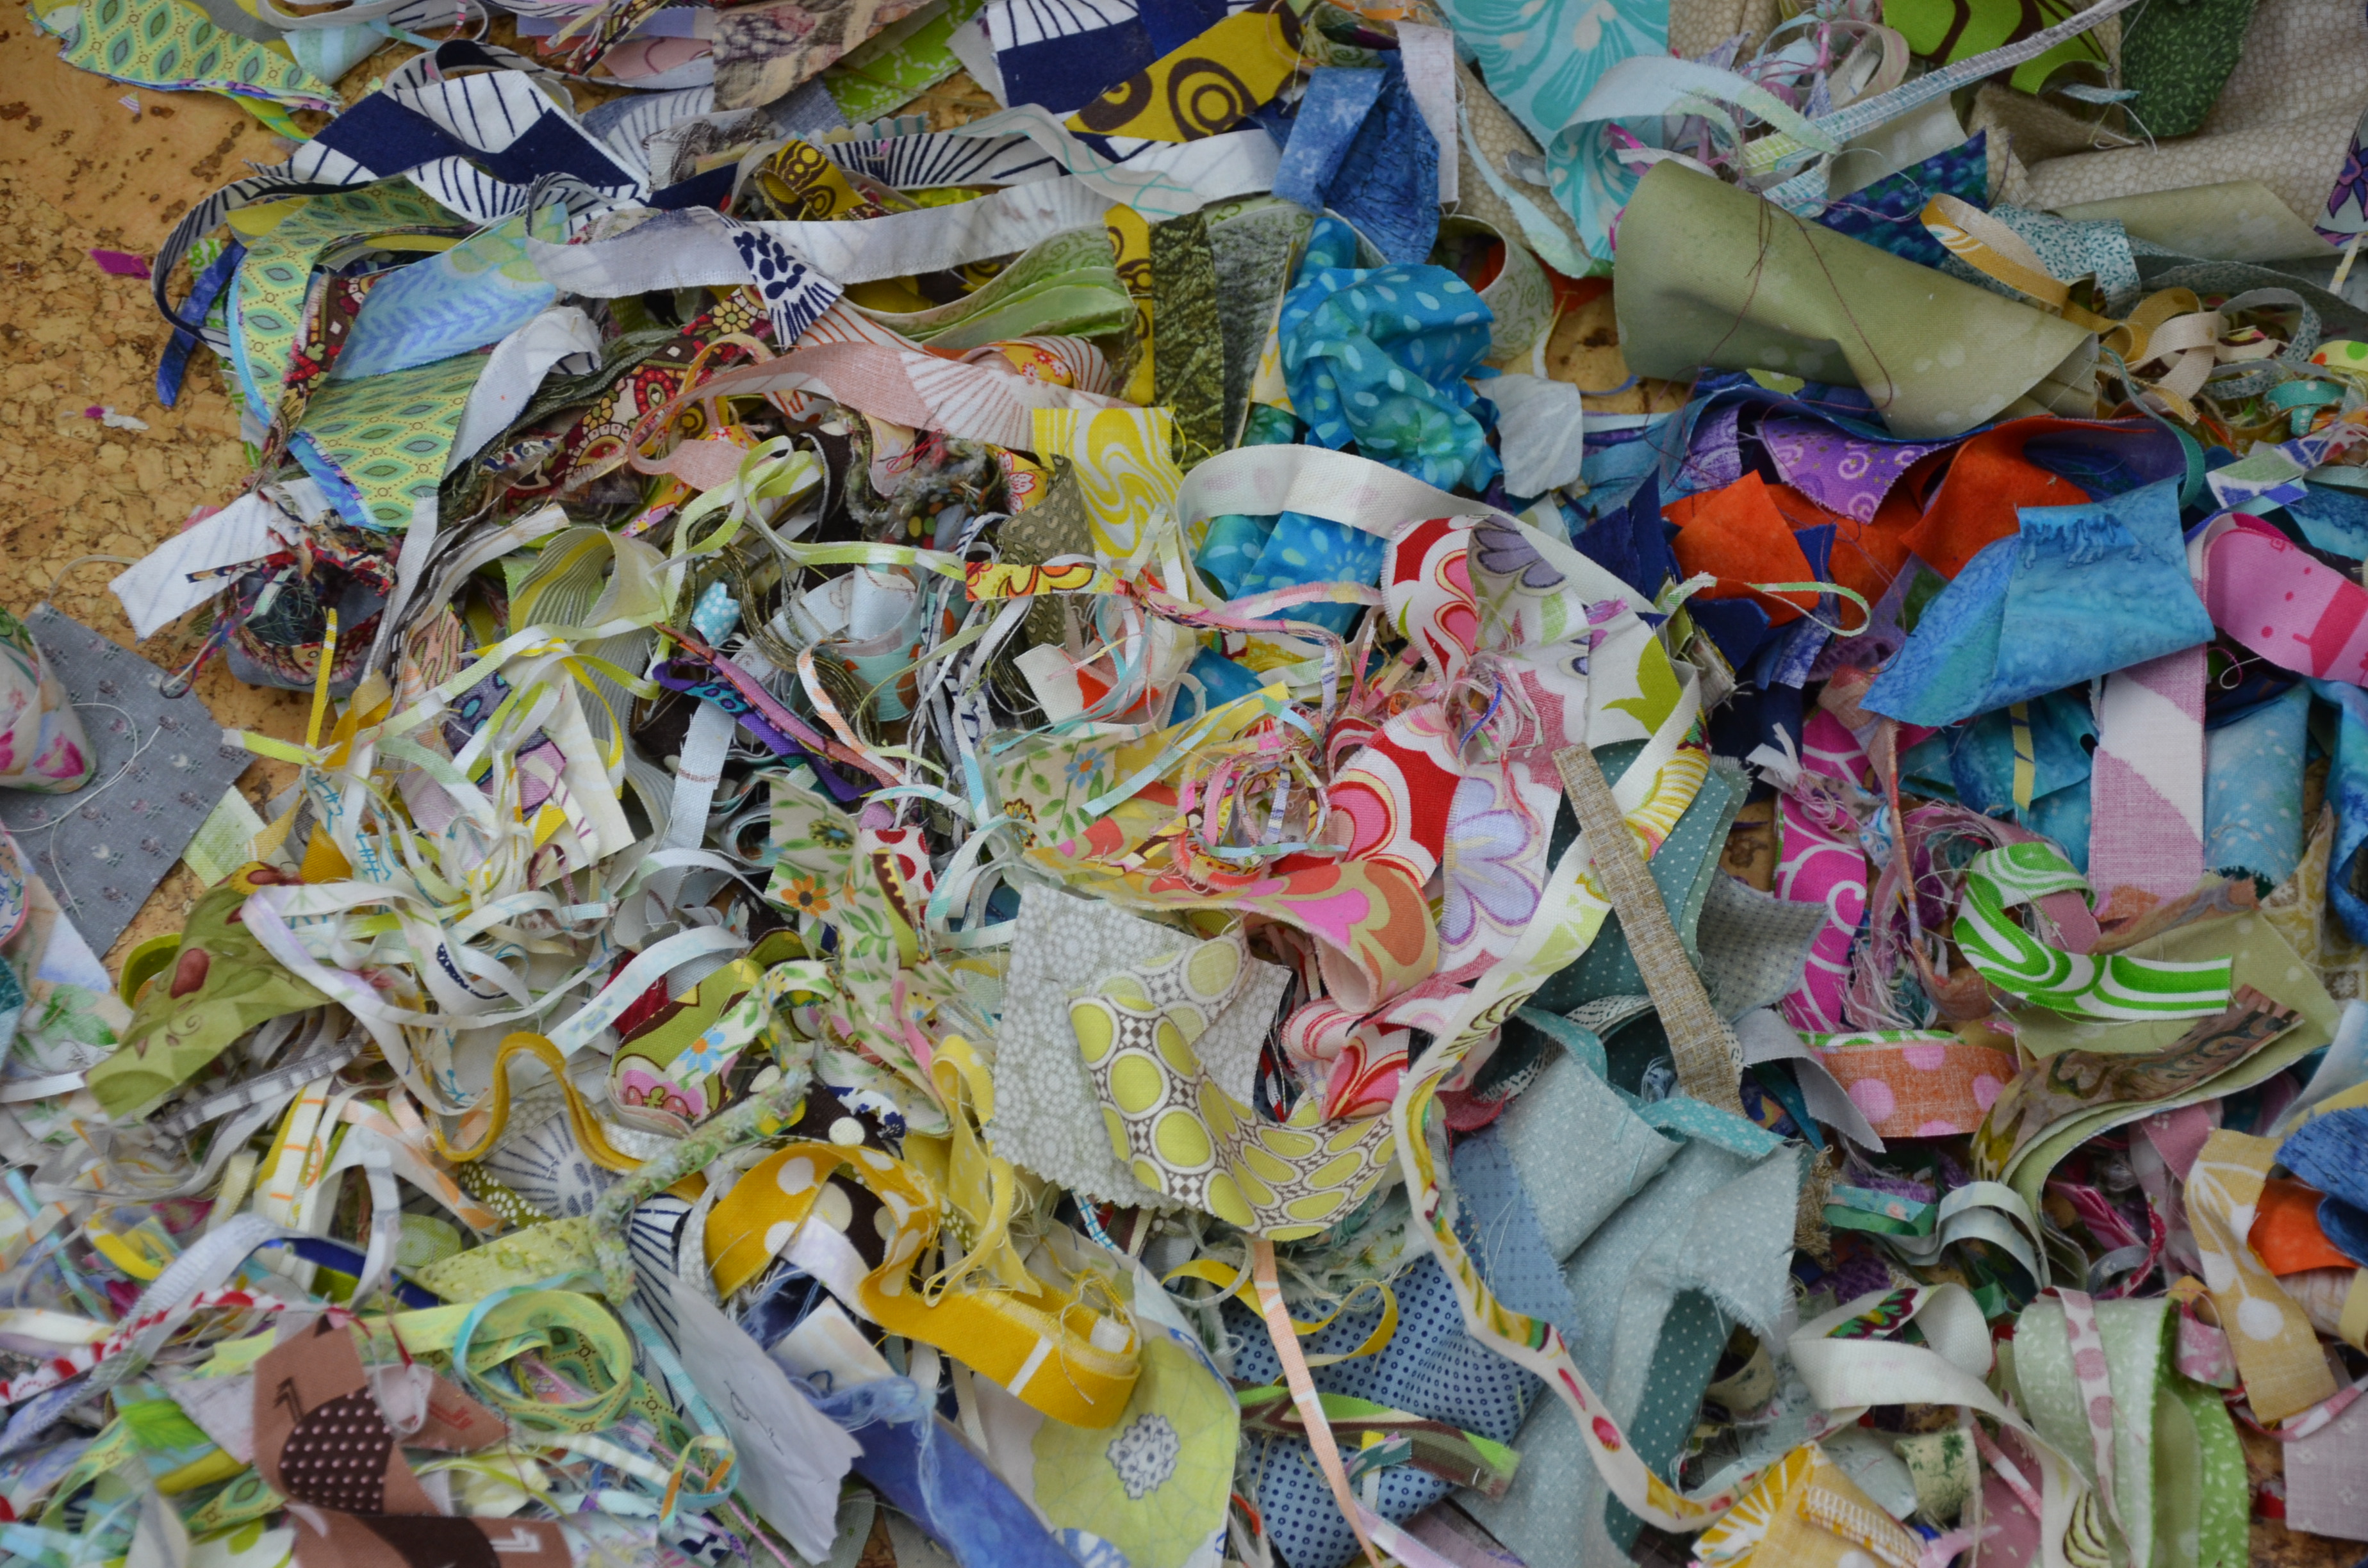
The trimmings. I am so sick of saving the littlest, tiniest scraps. I mean, today alone, I created this mess. Some people save even the tiniest of scraps….. for someday.

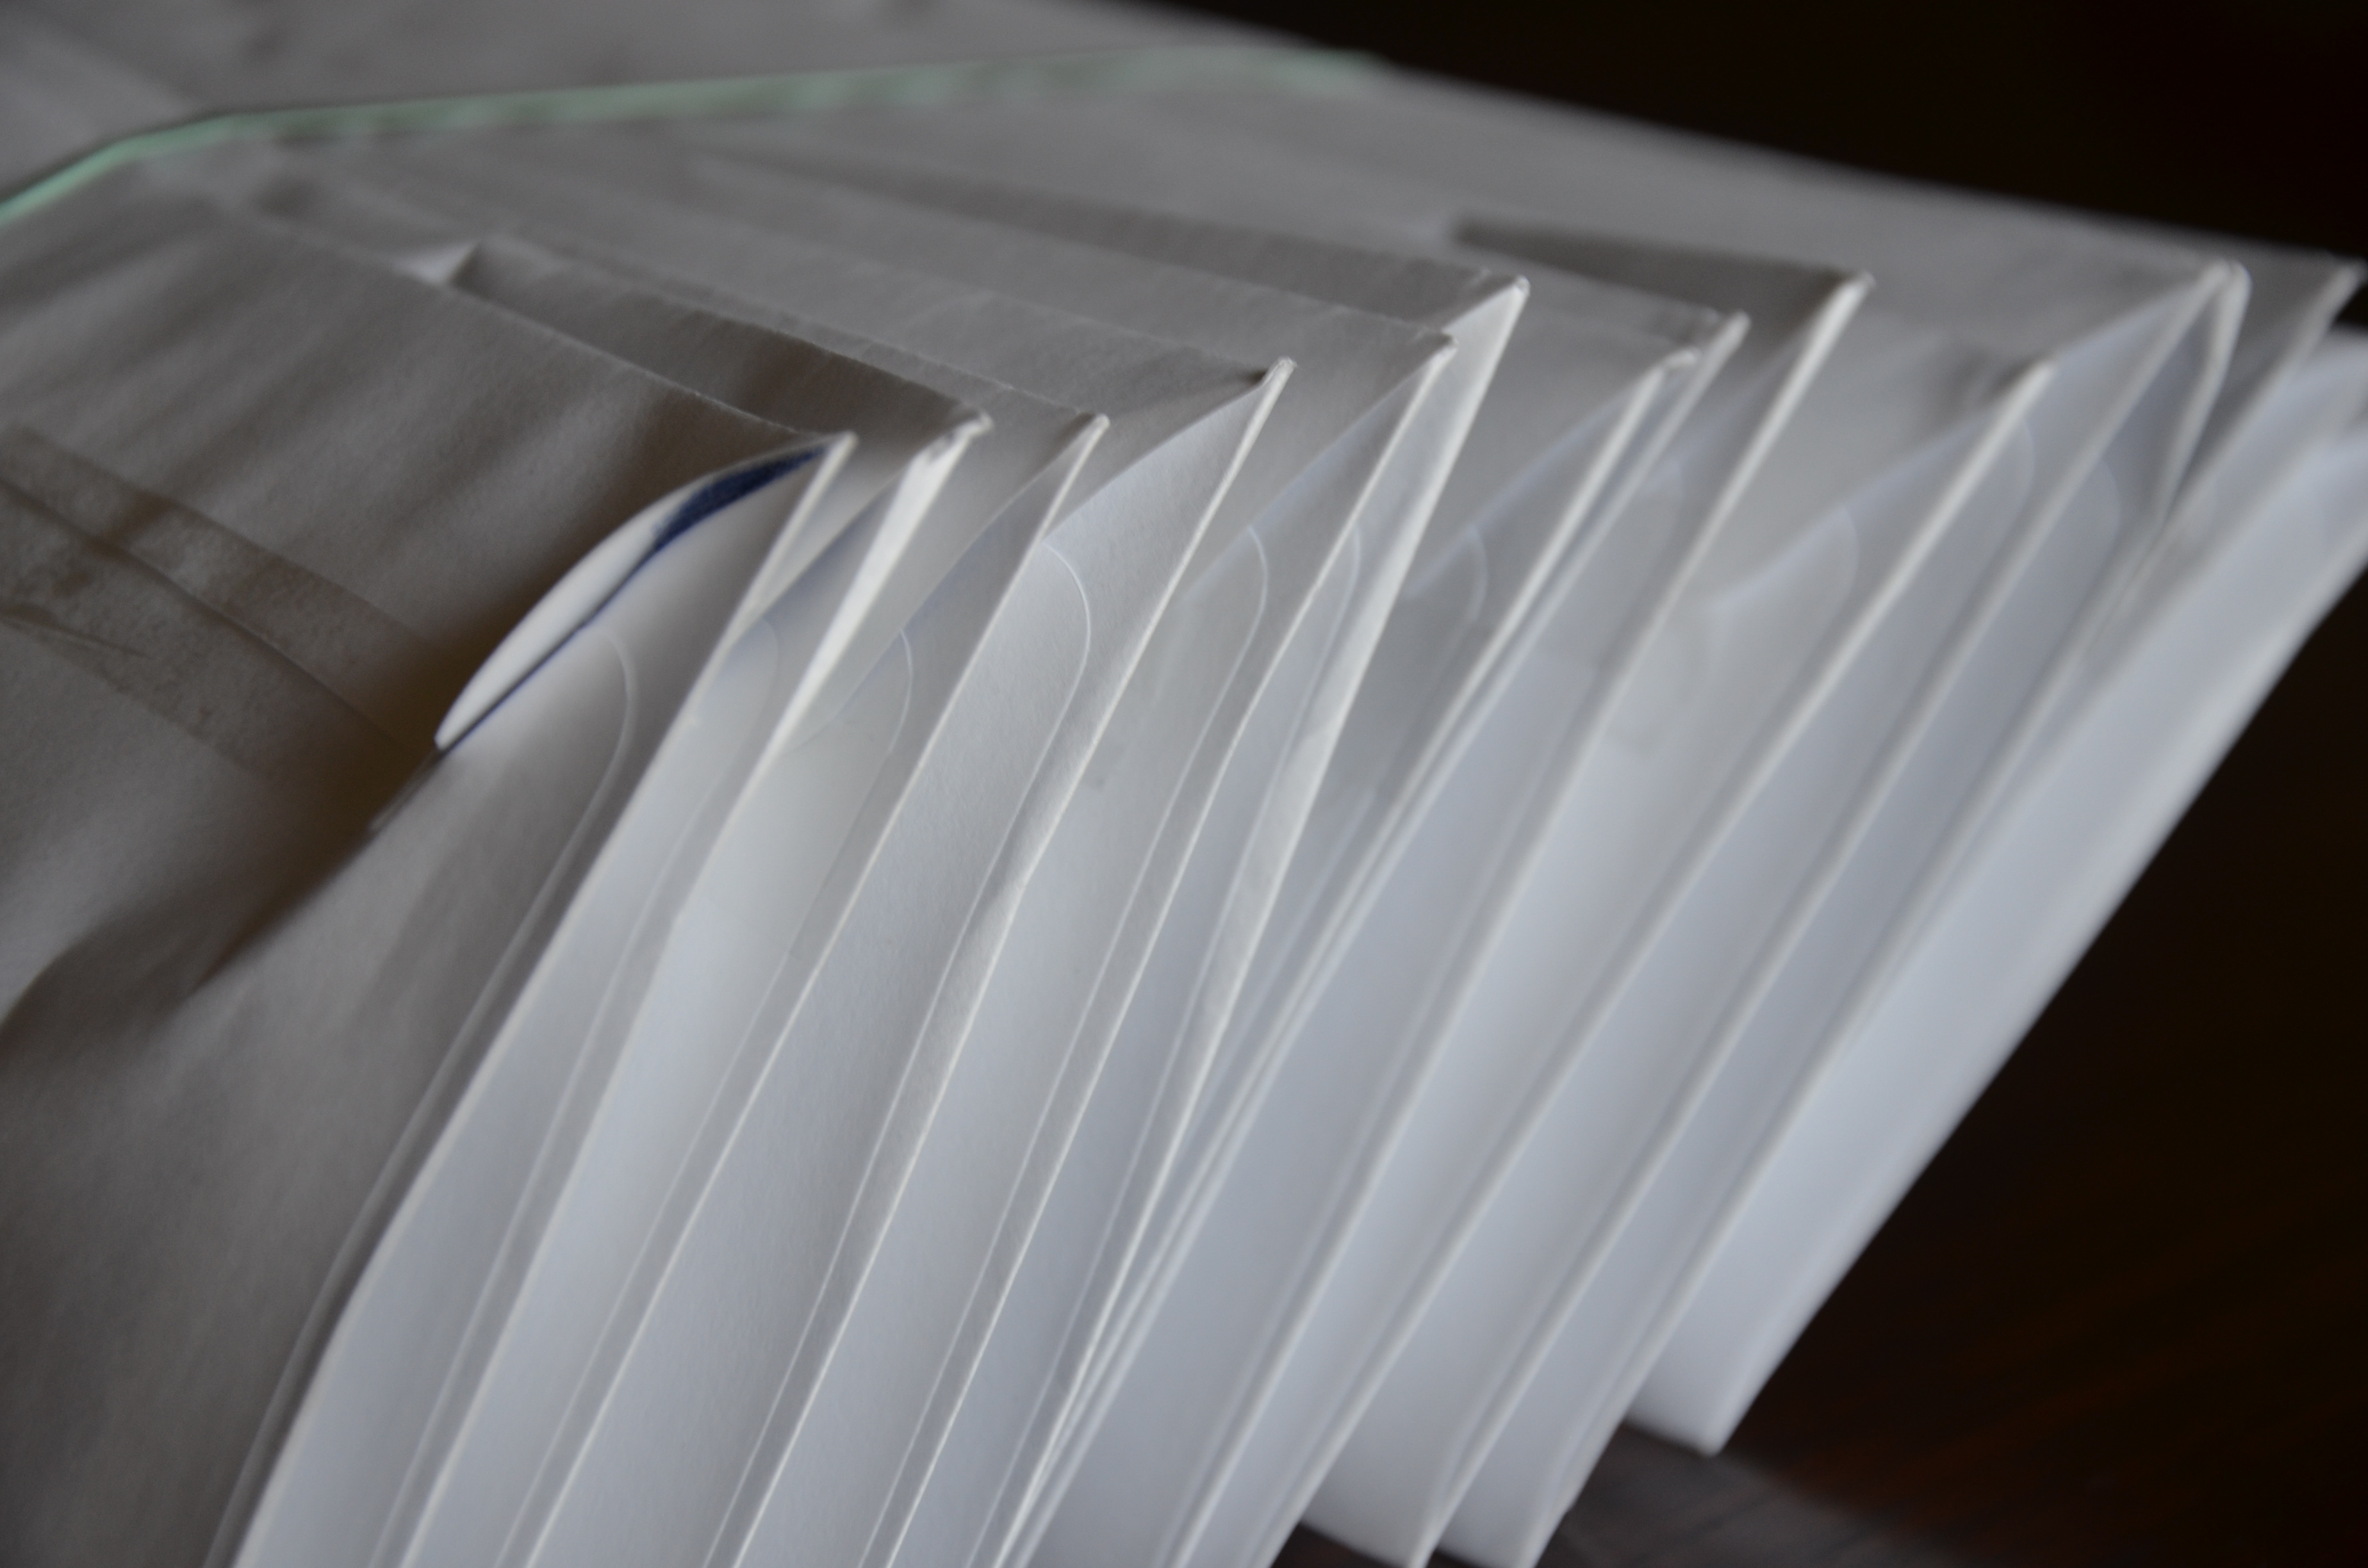
I did get these candy squares cut today. If you aren’t familiar with the term, they are these tiny 2 1/2″ cuts of fabric. 15 packages of 50 different fabric squares cut at 2 1/2″ for an I Want Candy swap. (I know I should have shared this swap sooner, but I wasn’t sure I was going to take part until the very last-minute.)

Got them all addressed and to the post office, too!
Then as I was reading through the comments I spotted another 2 1/2″ swap that had the same deadline.

Right now!

What the heck, I’m already going to be dragging out a whole lot of mess, I might as well, keep cutting.
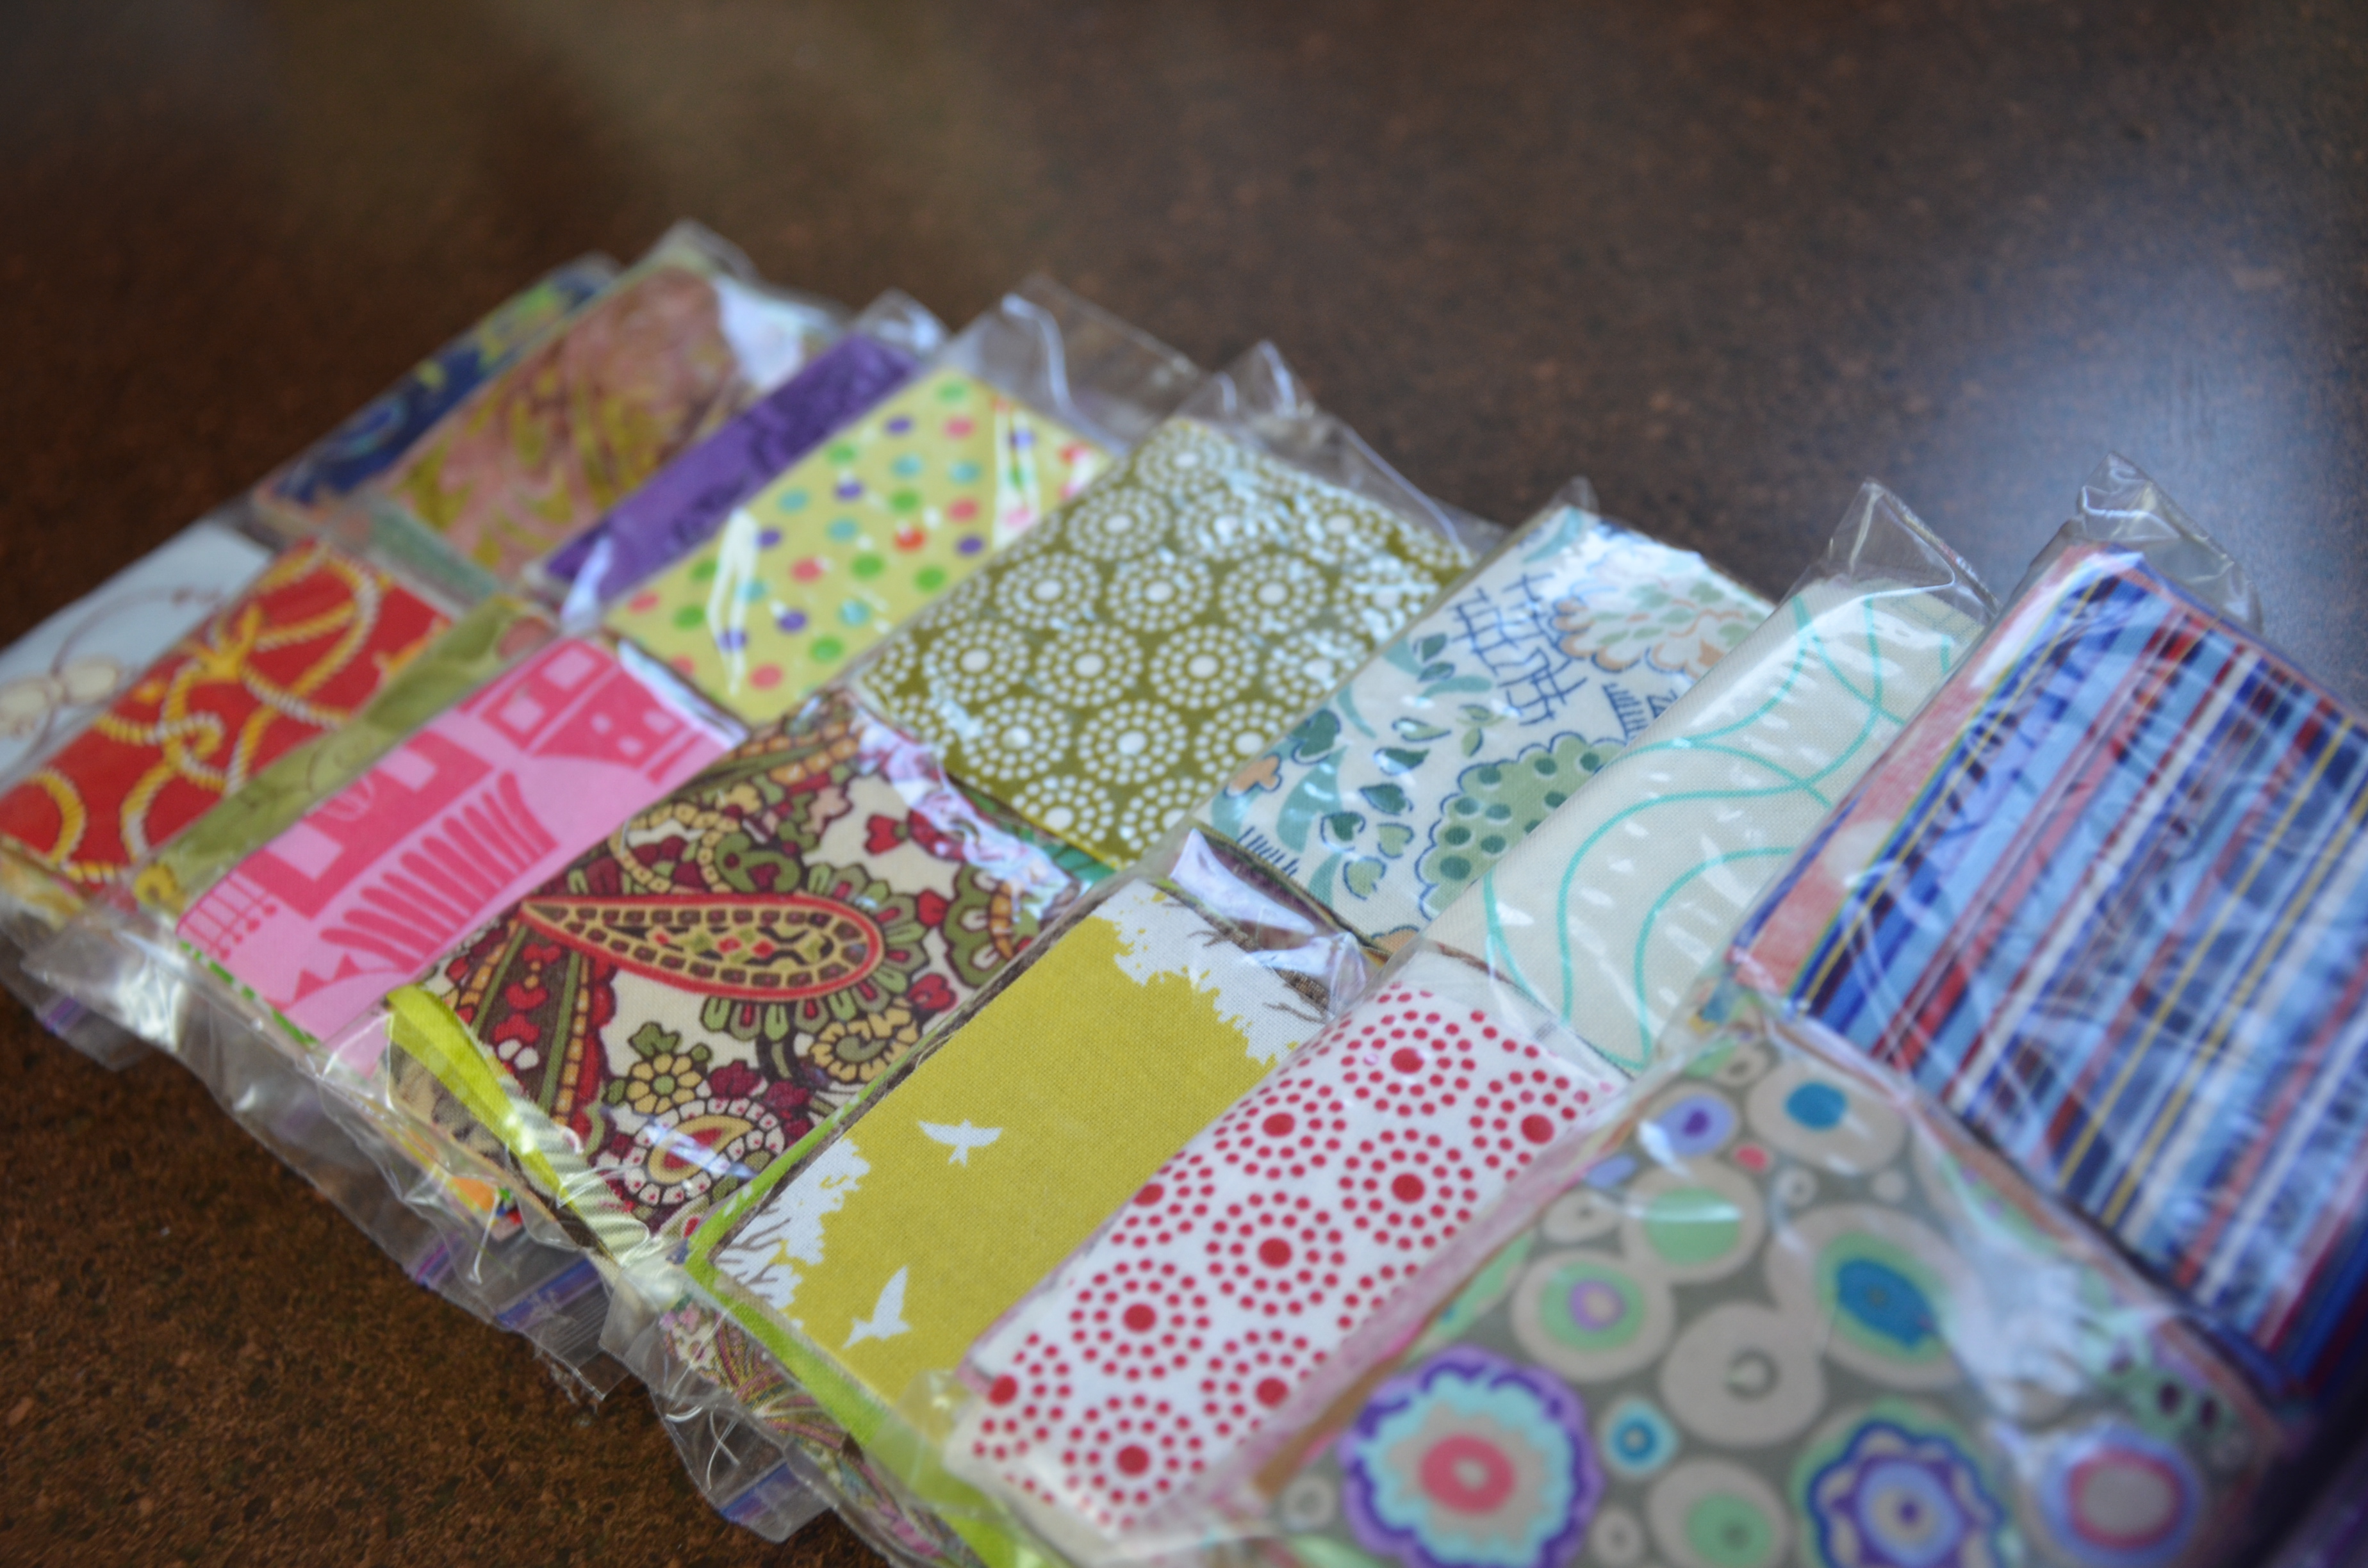

These packages each have 100 different, and different from each other, fabric squares. *Plus* this swap offered you the opportunity to donate squares to new quilters that might not have enough variety to participate in these swaps. So, oh, yeah, I must cut more to donate!! I love helping new quilters build their stash. We were all there once, right?

I have no idea what I am going to do with all this wonderful variety of little squares I hope to receive back… If you have any brilliant ideas? I’ll be happy to listen! But boy is it addicting!

But I wasn’t done yet. Oh, no.

About once a week I click-through my Groups over at Flickr to see what is new. Lo and behold another 5″ Liberty charm swap is happening! This one there is still time to join in on the fun, if you want. This is the third round I’ve participated in and I have quite the collection of these little beauties going on. Still working out ideas of what I might do with all them. They are so gorgeous, I really just want to look at them, at this point.

Tell me, are you a swapaholic? How/Where do you find them???

One nice thing about swapping is that as all these packages start arriving in the mailbox, I can feel proud to tell the hubs that no, I did not buy more fabric, I am only supporting the Post Office. Nothing more.
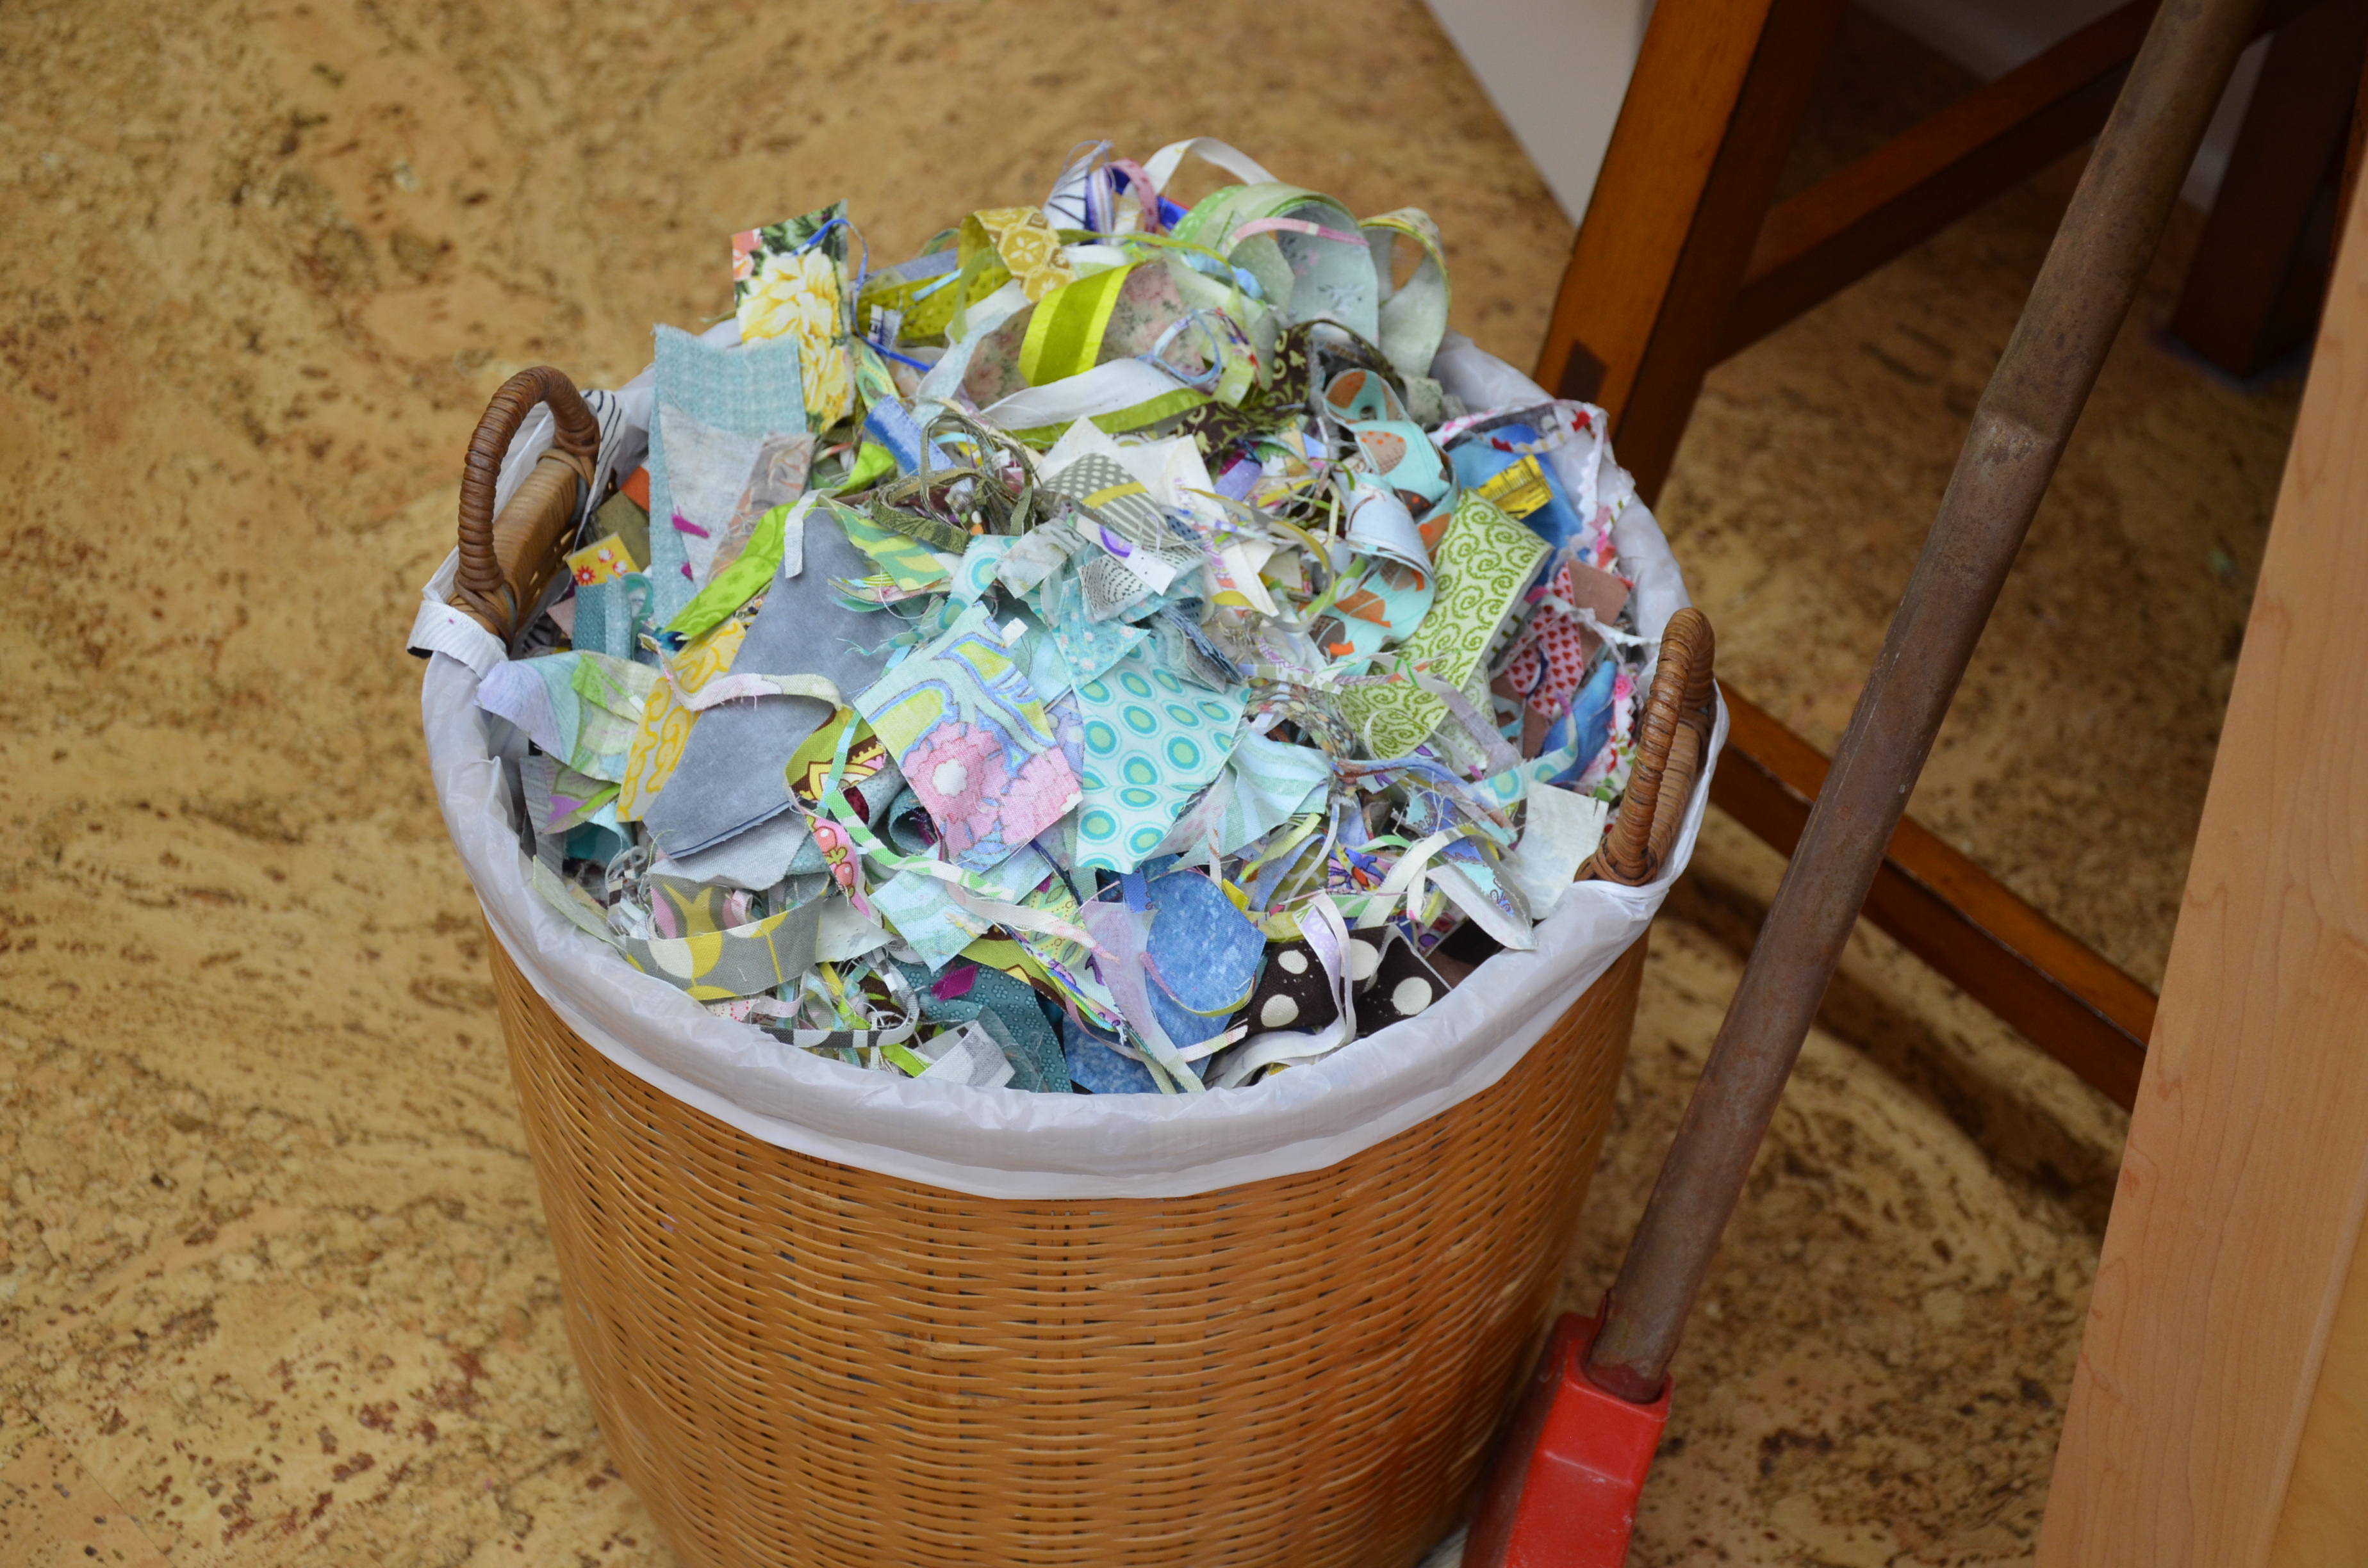
So for now, I’ll take out the trash, put the blinders on to any more swaps and get folding and putting away thousands of pieces of fabric. Just after I replace my rotary cutter blades. Because I am sure I will come up with some brilliant idea to keep me from actually cleaning up this mess, today….

But for tonight,
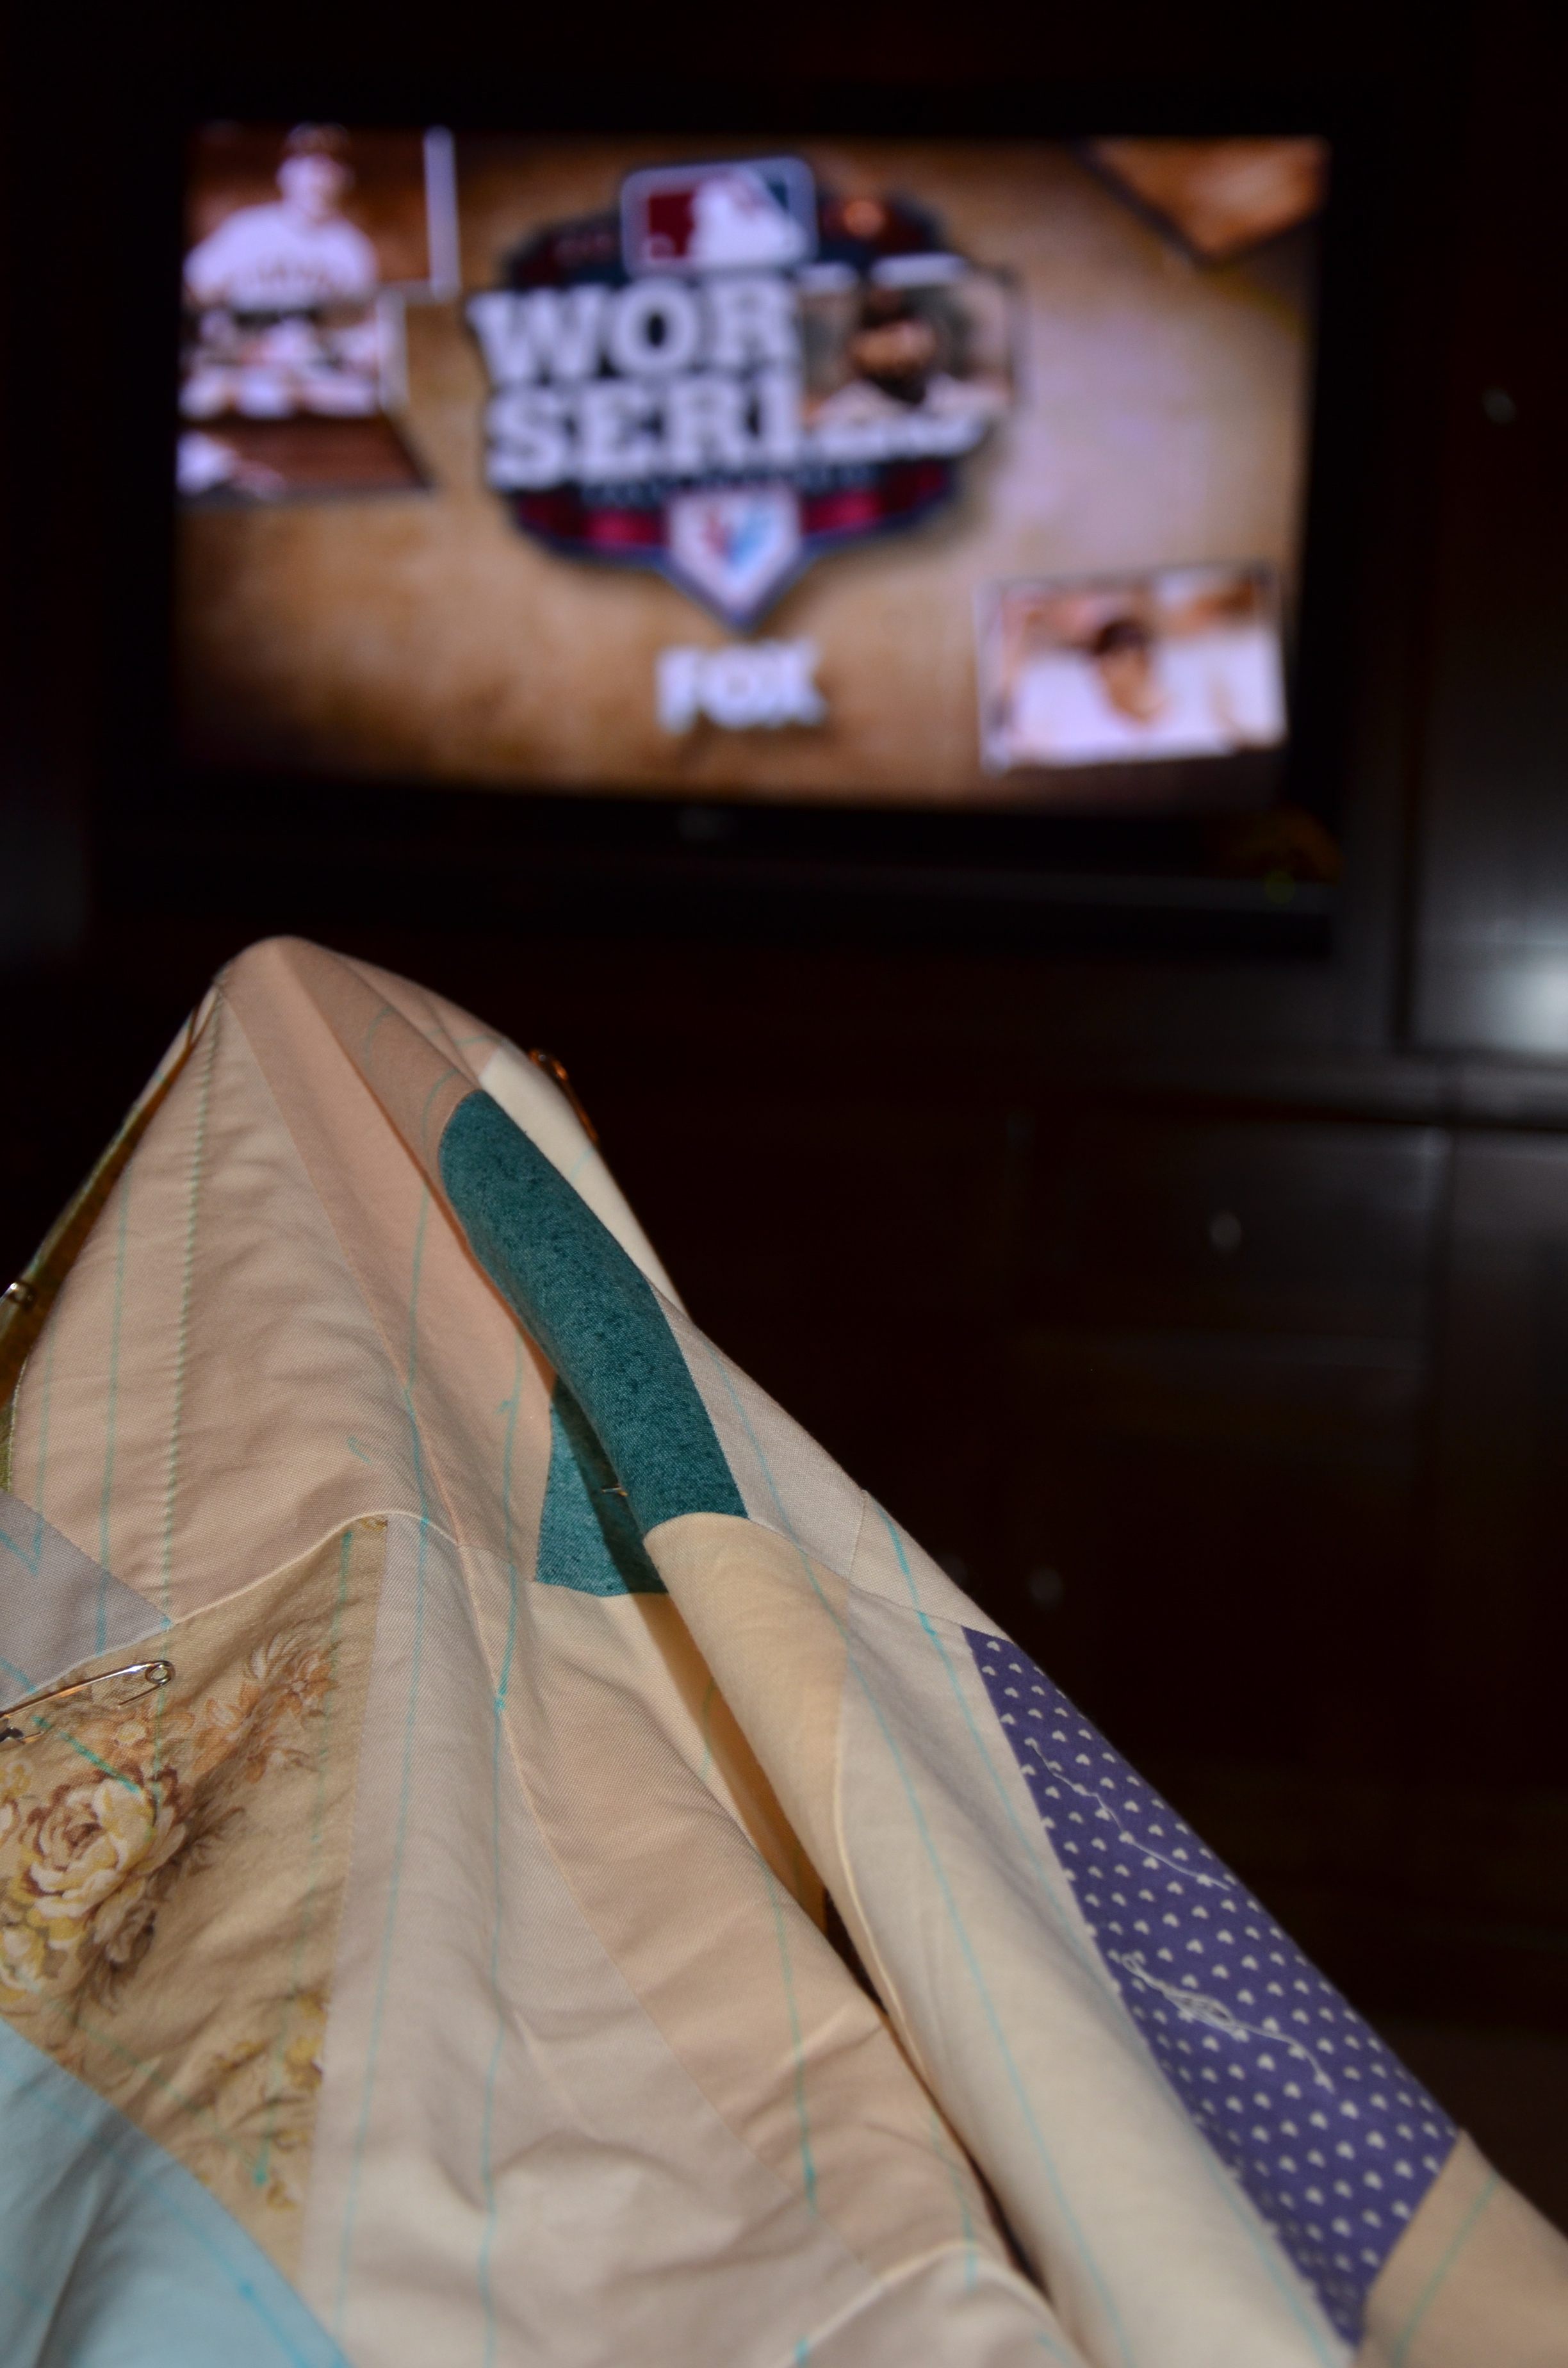
I’ll continue on  my hand quilting project, as I watch the Detroit Tigers in the World Series. So glad I have a project prepped for all these ballgames!

Posted in fabric, Fabric Tuesday, Liberty of London charm swap, Quilting, Sewing, swap, WIP | Tagged , , , , , , | 7 Comments

Jewelry Pouch Tutorial

You spoke, I listened.

Plus I really, really wanted to make one of these for myself!
And as long as I was making….

So, as mentioned in the previous post I wanted to make one just a bit larger but didn’t know how inches would translate into usable space. So I decided to just go for it. Previous post gives smaller measurements using the same idea.

To get started you will need:
2 ~ 18″ circles of fabric
2 ~ 13″ circles of fabric
3 ~ 5 3/4″ circles of scrap batting
2 ~ 26″ ribbons

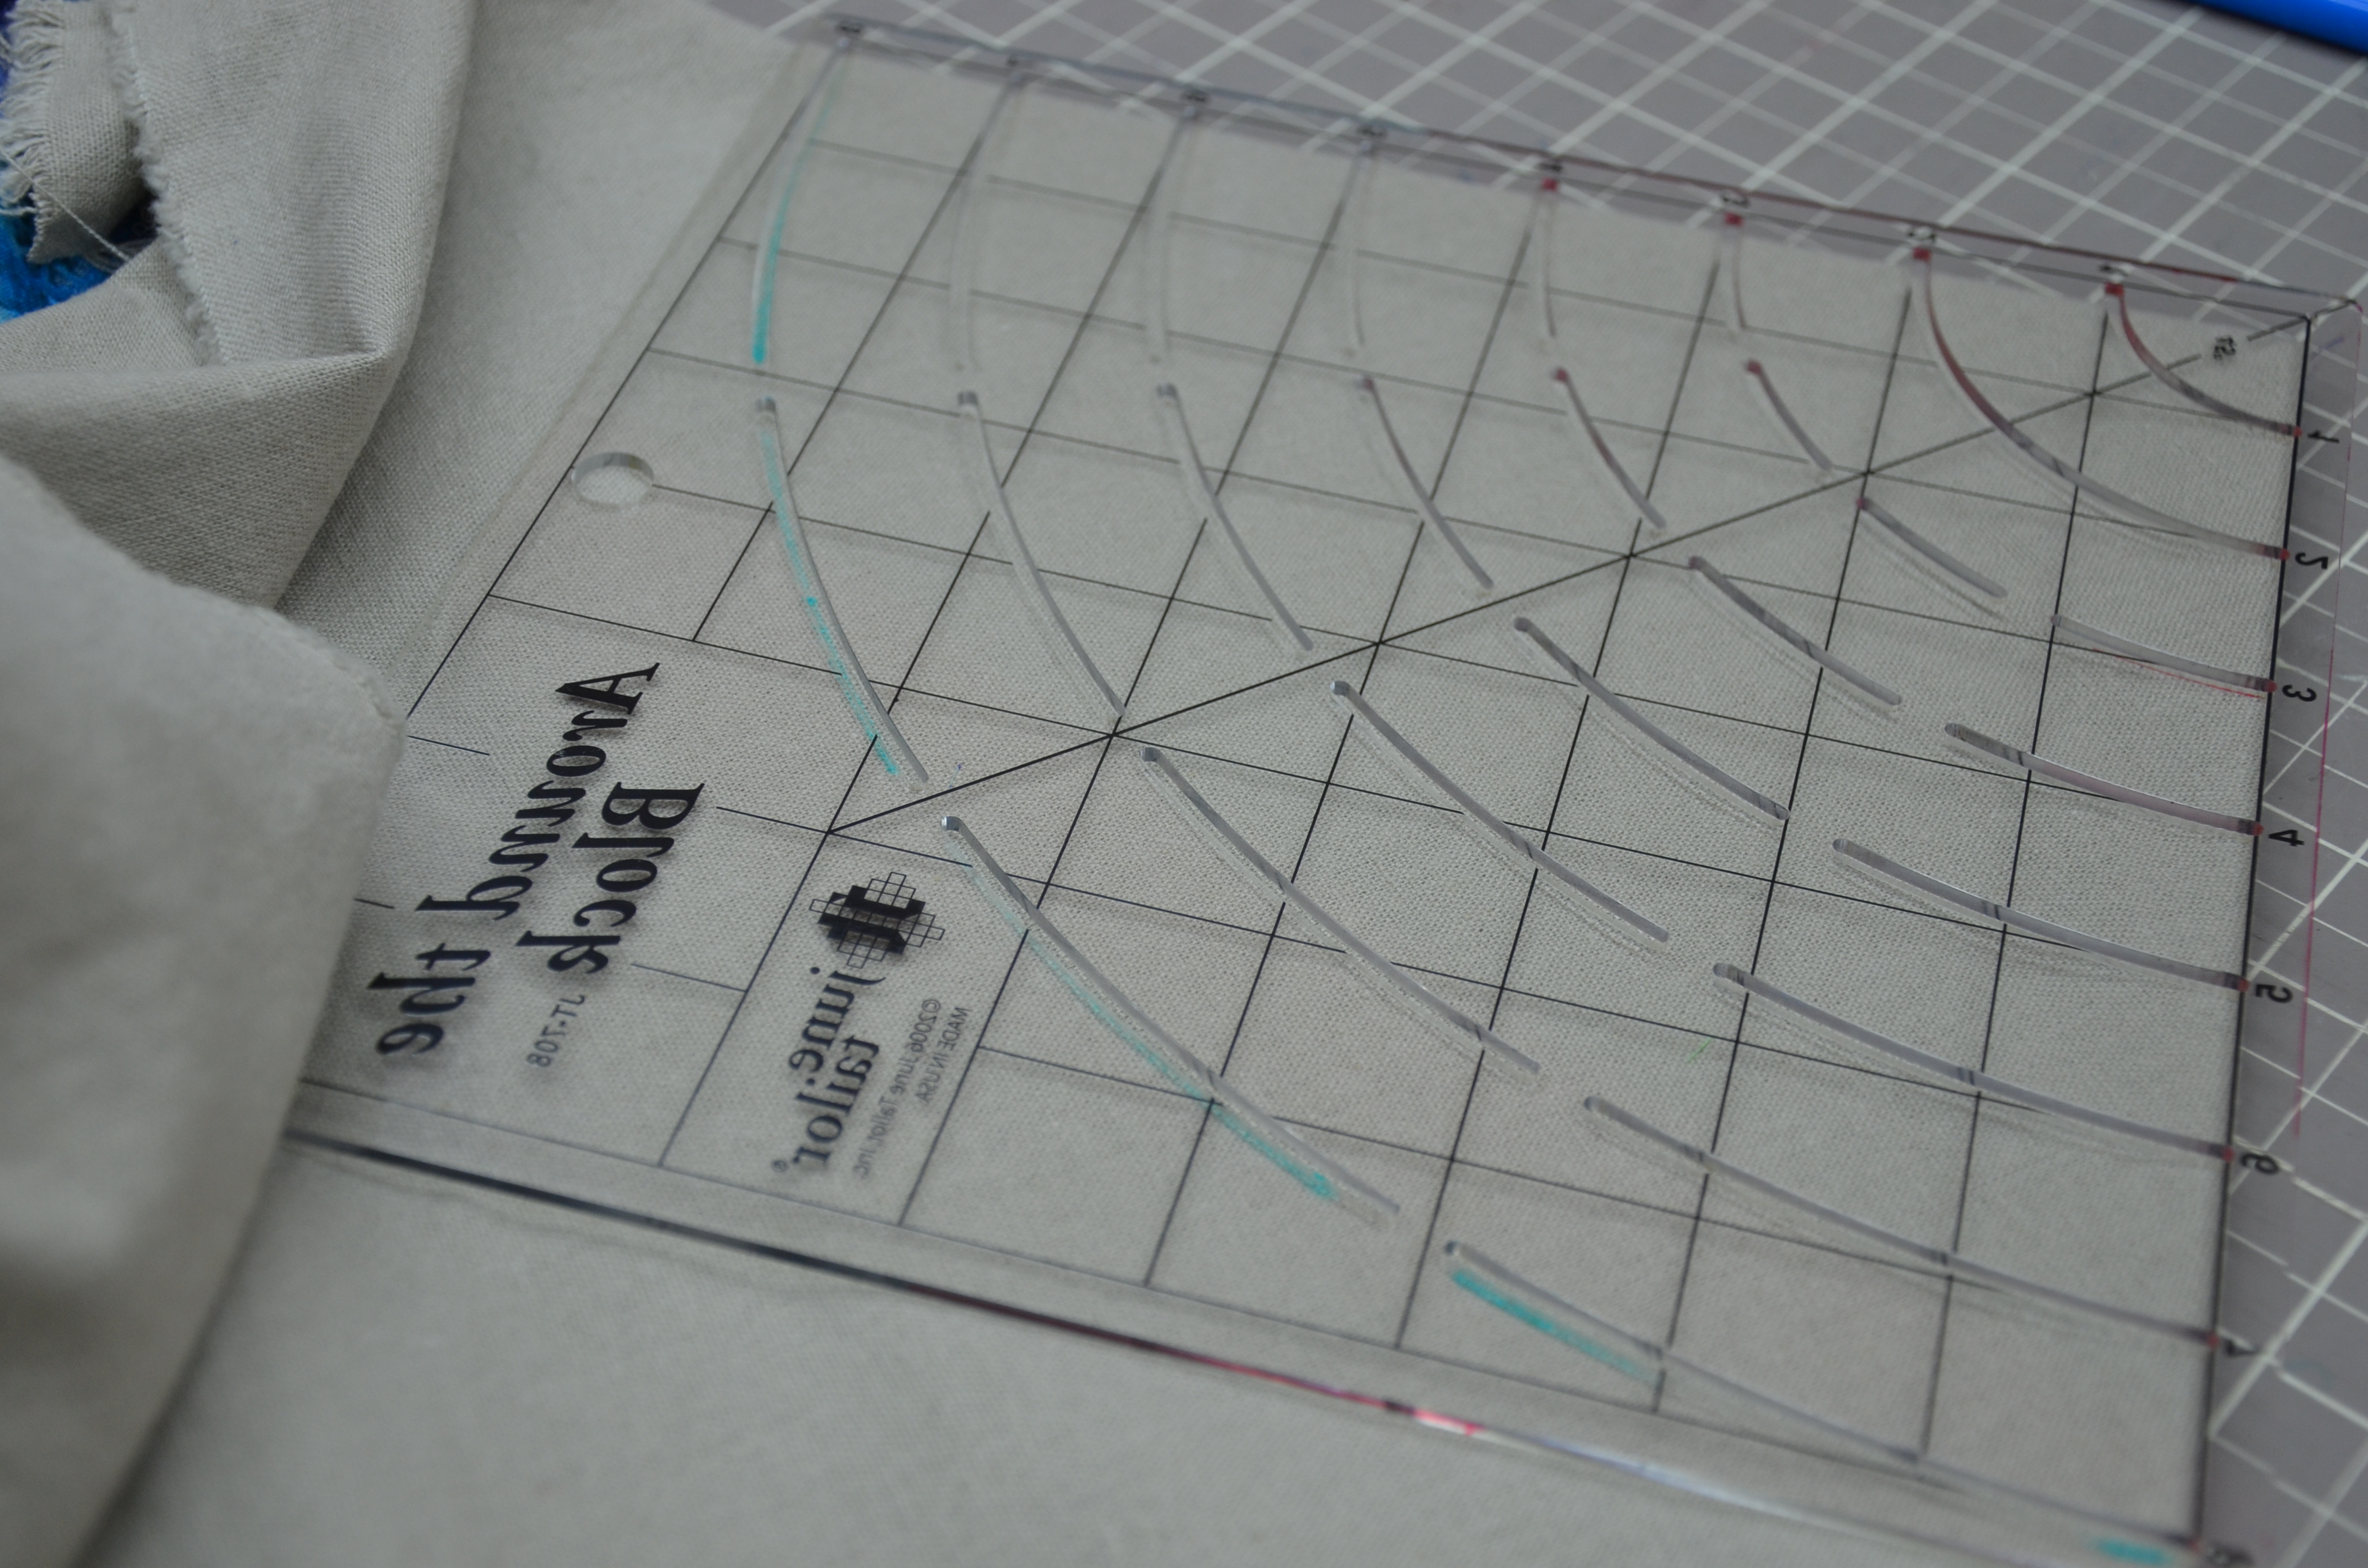
I started out with folding the fabric for the body, outer and lining, into quarters and stacking them. My plan is to cut a circle, of each, 18″. My tool only measures 8″ which would make a 16″ circle. I trace it, anyway.

1

I then proceeded to add another inch to bring it to 9″ which would be 18″ when unfolded, which I was aiming for. Does that make sense?

Cut that quadrant out, open up and wah lah, you have 2 18″ circles!

2

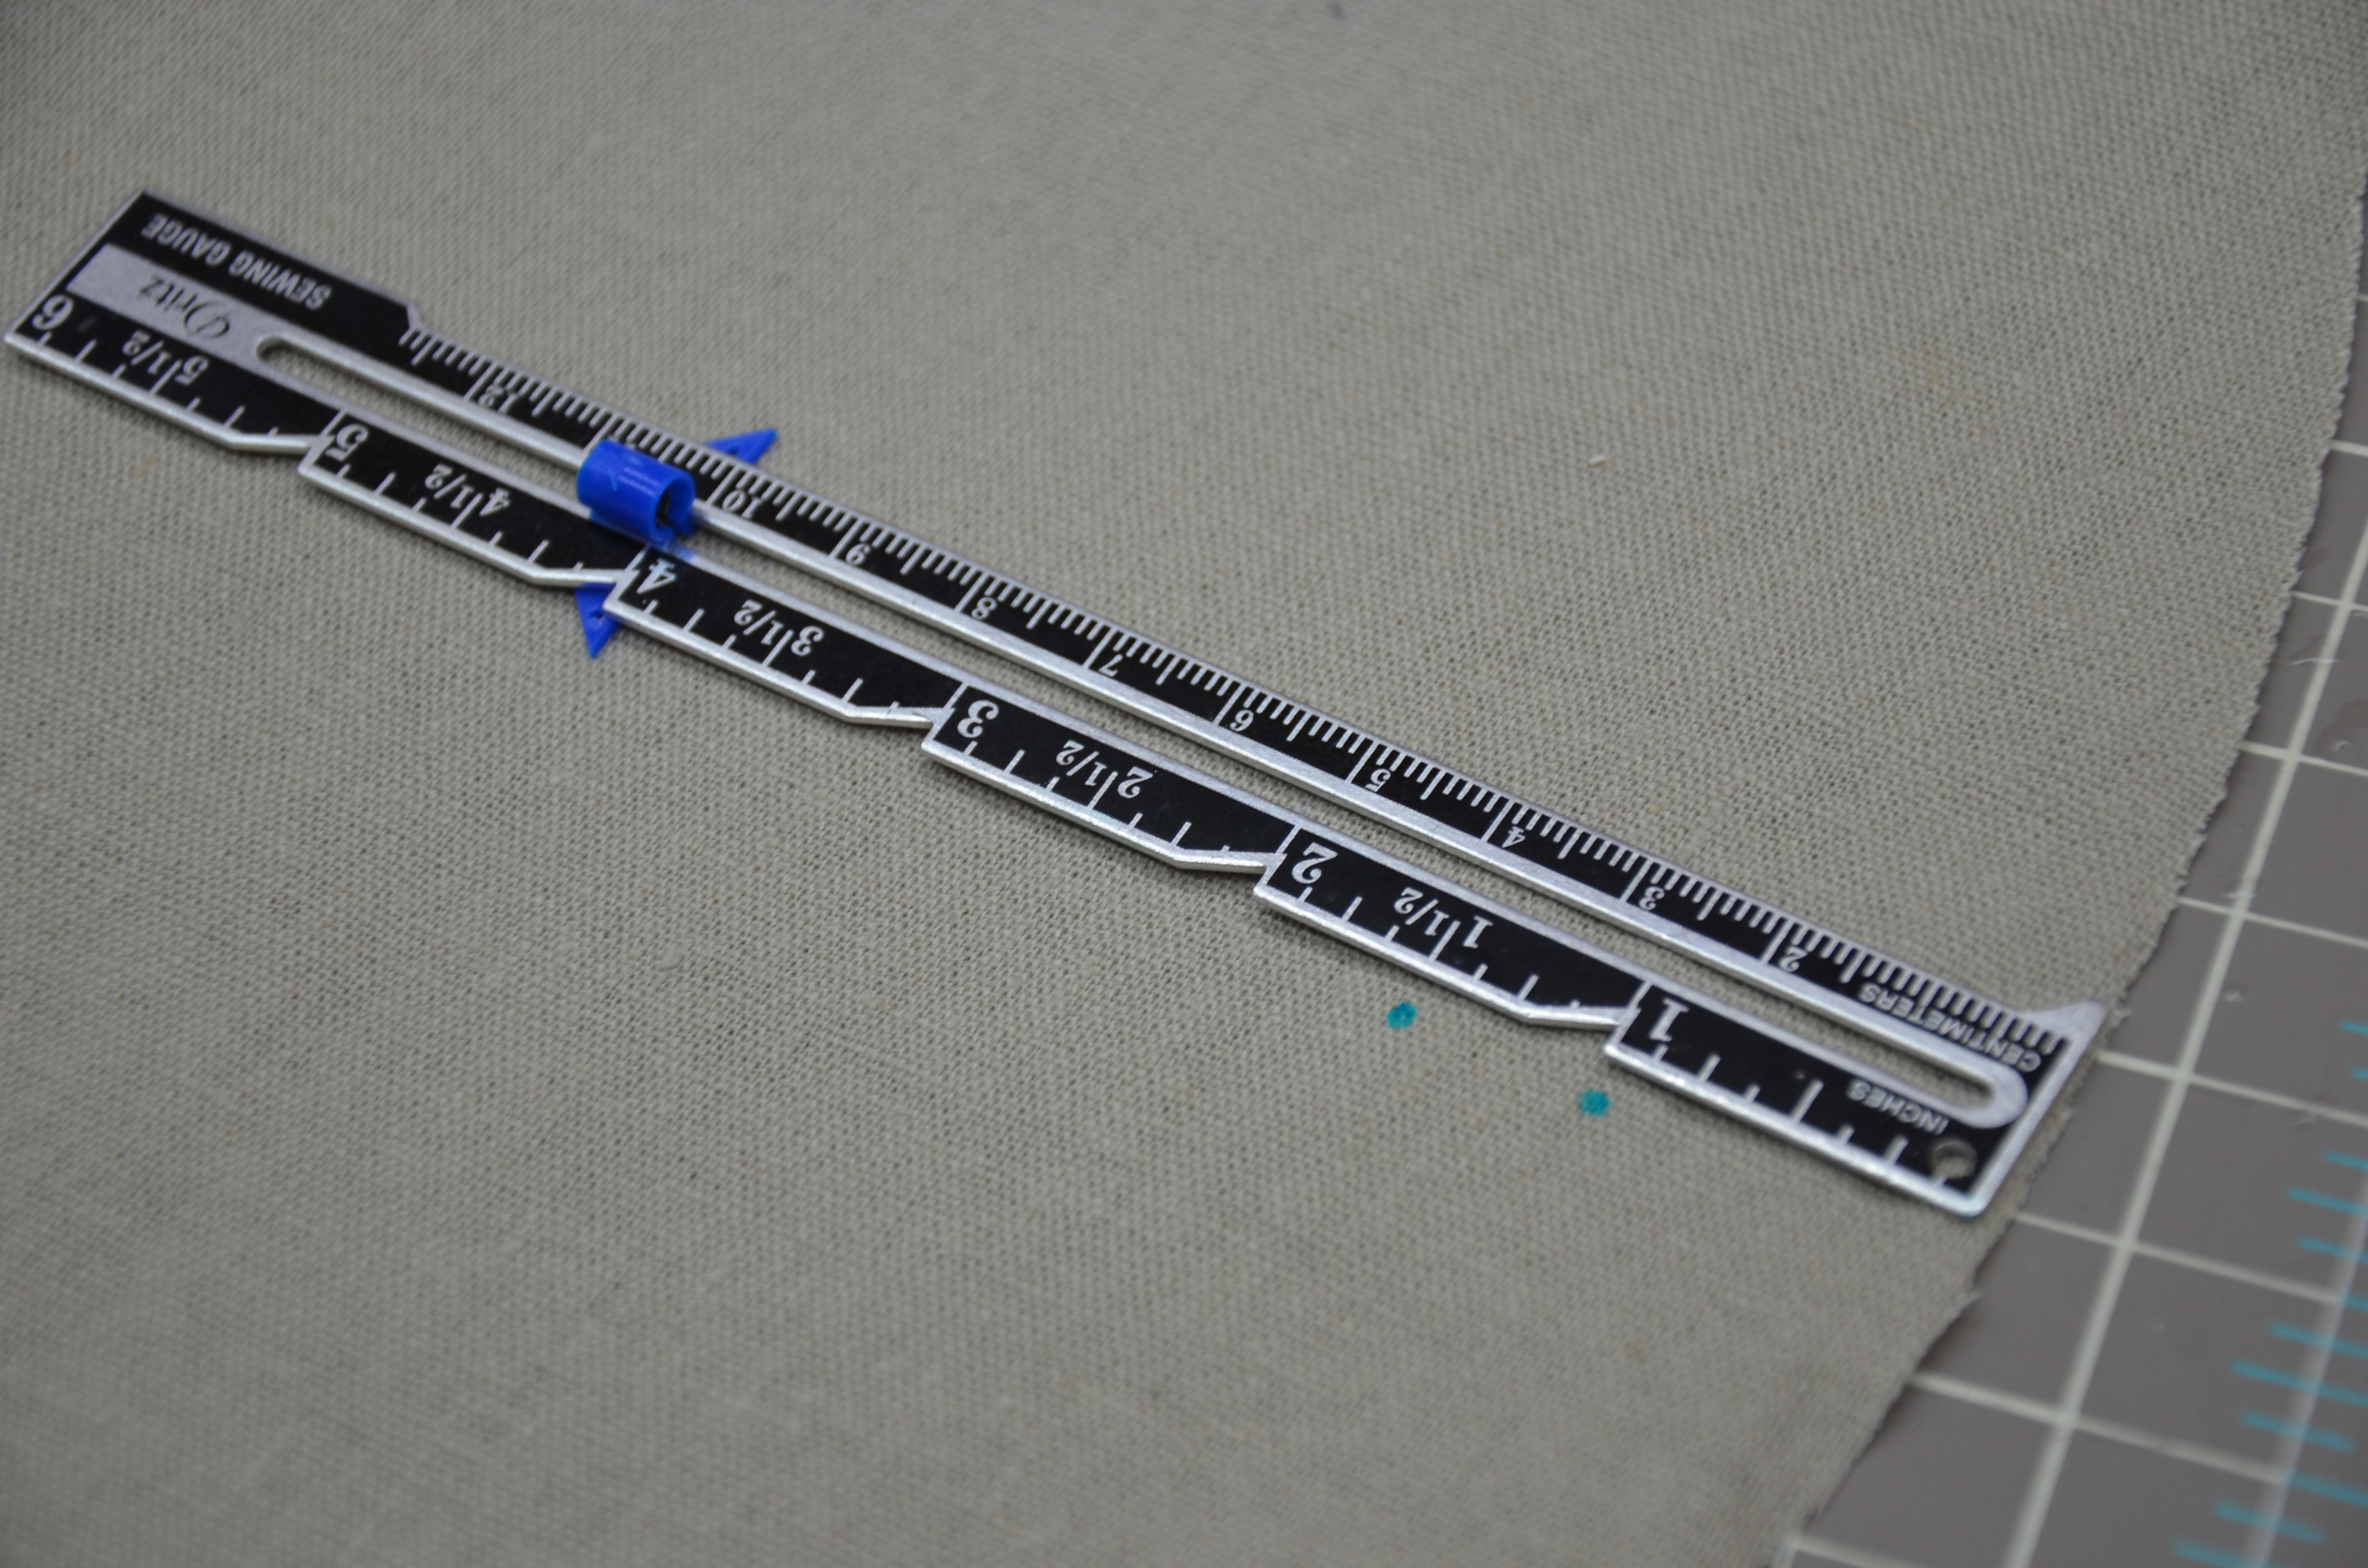
Now measure for the buttonholes, in from the cut edge 1″ and 1 1/2″. One on each side of the circle, opposite each other. I added a piece of interfacing for stability, on the back side, before stitching and cutting 1/2″ buttonholes between my dots. The buttonhole is “only” stitched on the outer fabric. It is done before the two circles of fabric are stitched together. This is what will create the tunnel for the ribbon pull tie.

Mark like so. Stitch your buttonhole between the two dots on the outer fabric.

If buttonholes make you nervous get out your machine’s manual. This is the perfect time to see how easy they really are to make. One on each side, you never see them both at the same time. And besides the ribbon will pretty much cover them up if they aren’t perfect!

Stitch your buttonholes, and then cut them open, before stitching your two circles together with a 1/4″ seam. The good sides of your fabric should be kissing each other. That is why you see the interfacing on the buttonhole. This is the inside/bad side.

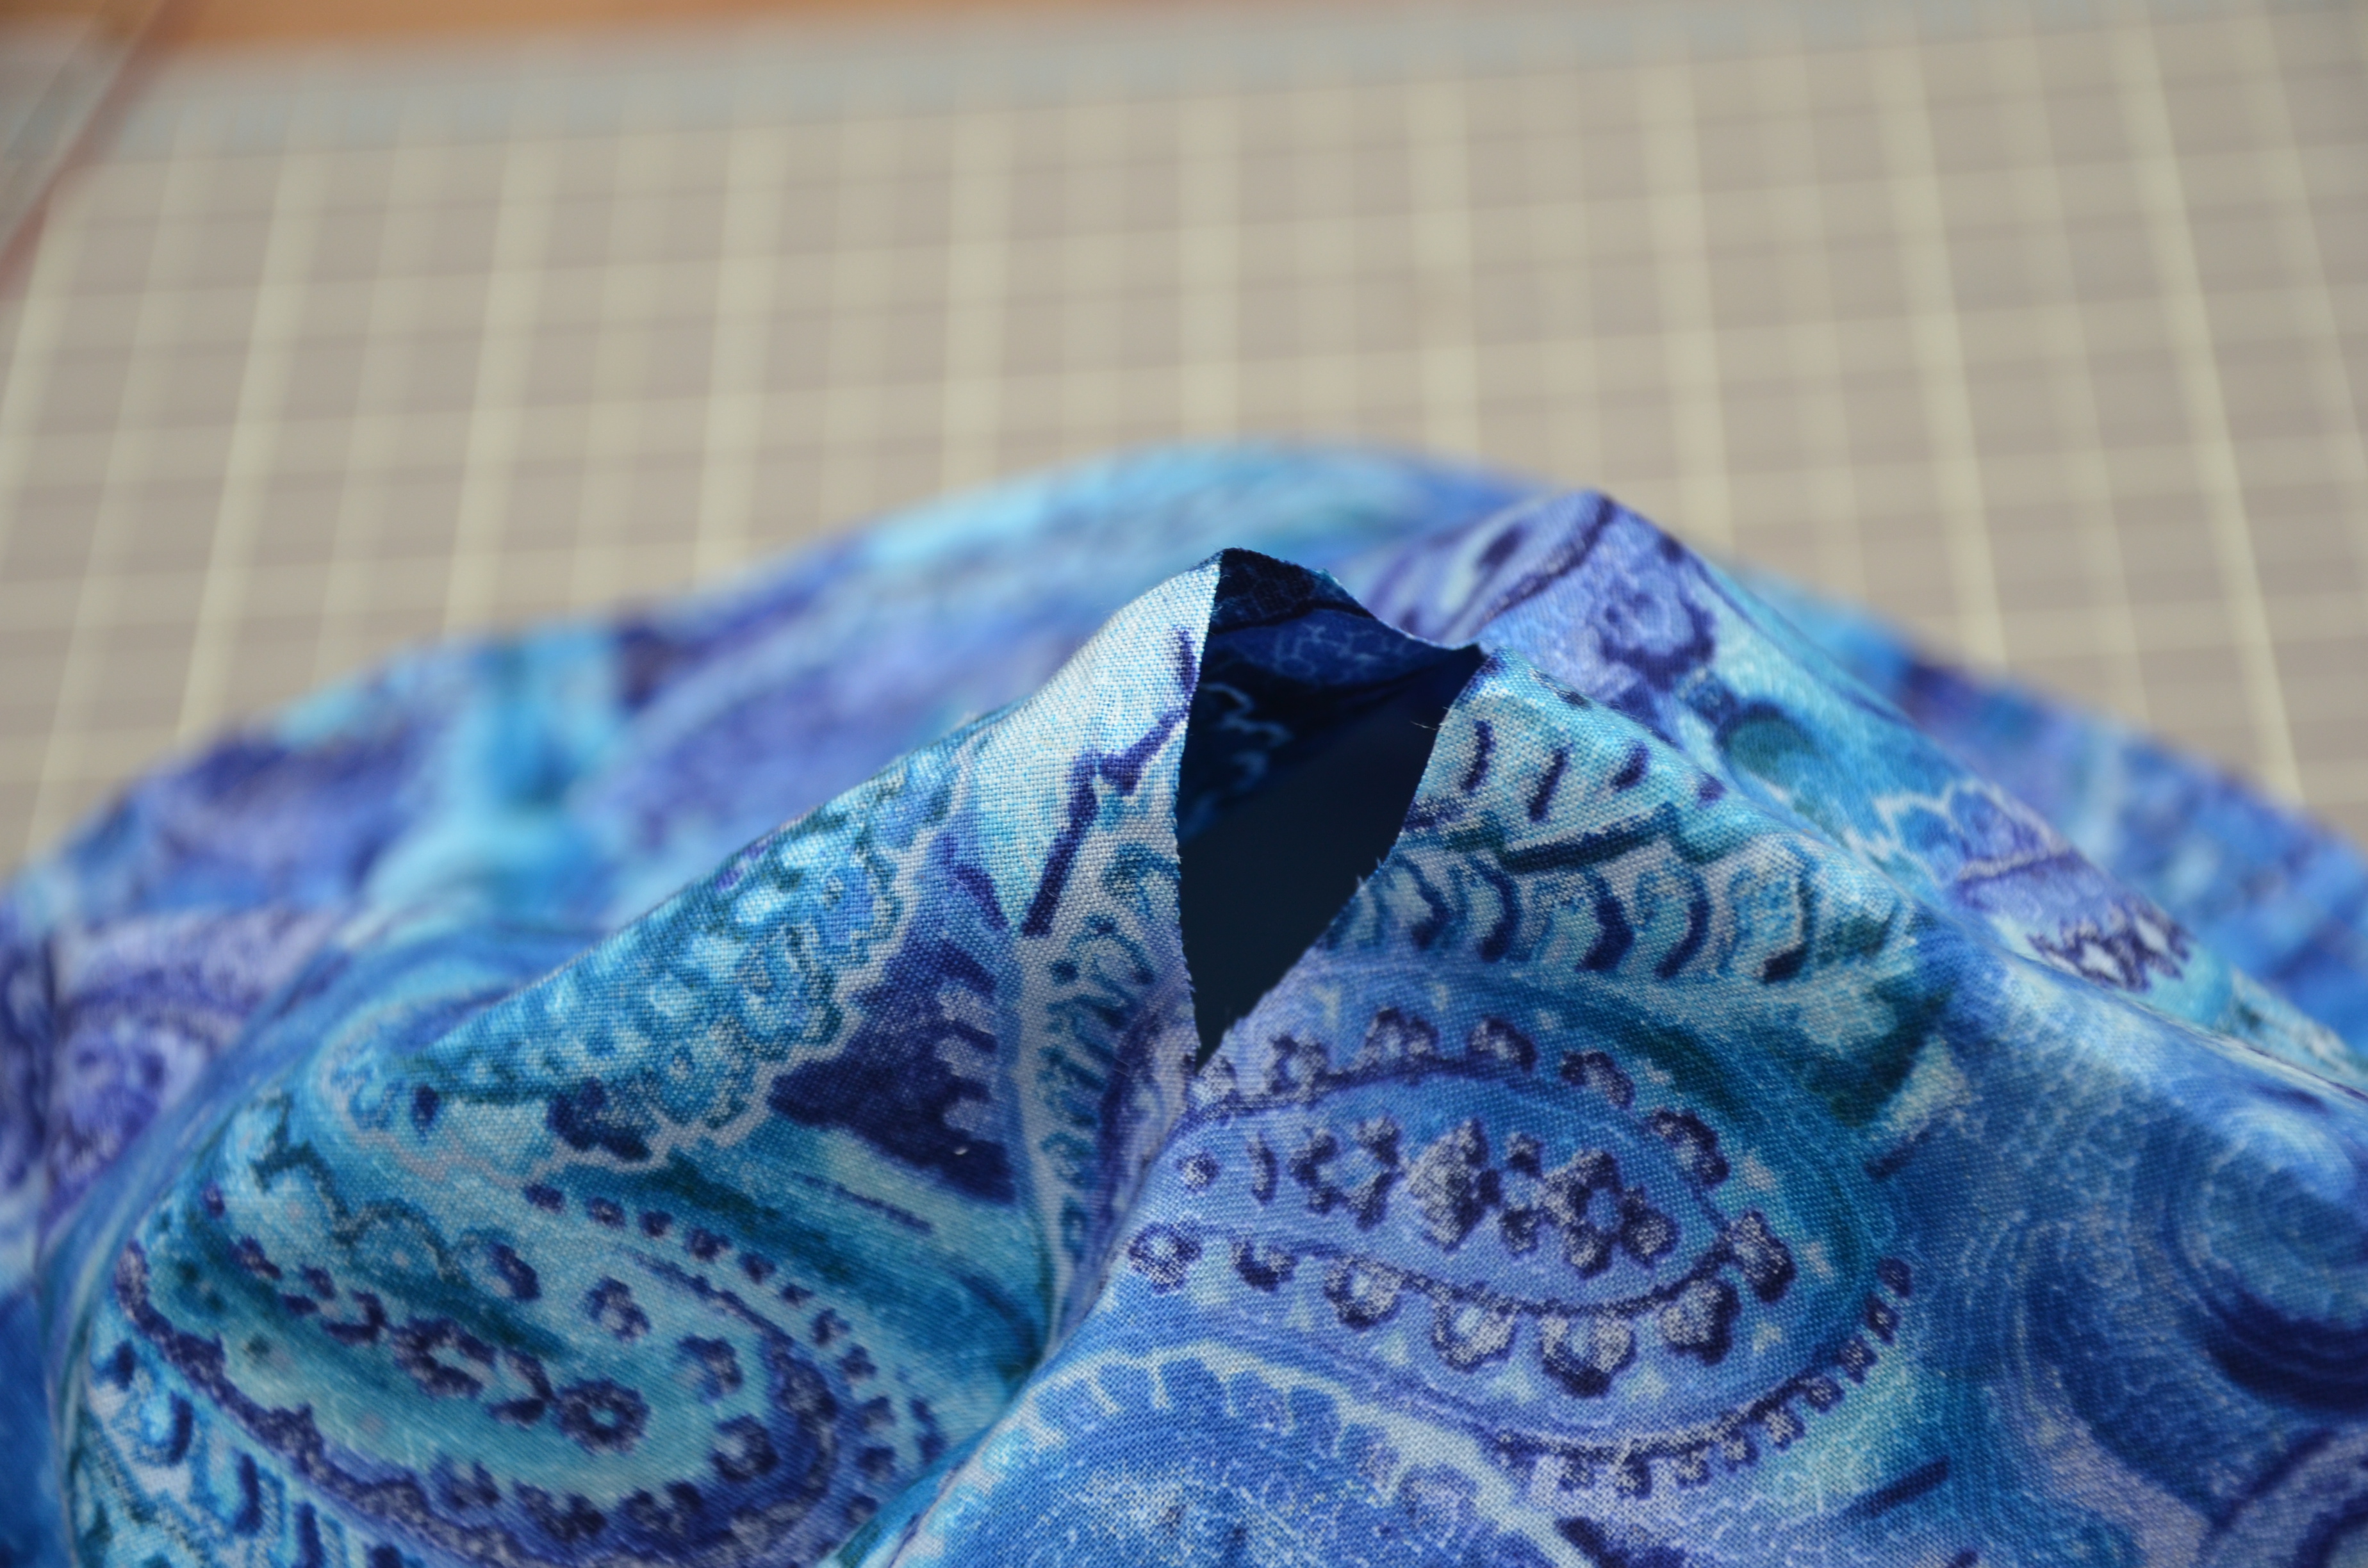
Now cut a hole, yes, cut a hole in the center of the lining fabric only! About two inches or so will do it.

And flip it inside out. Press flat. Don’t try to follow by the fabric, I took pictures using multiple bags! Keep reading it will all make sense eventually.

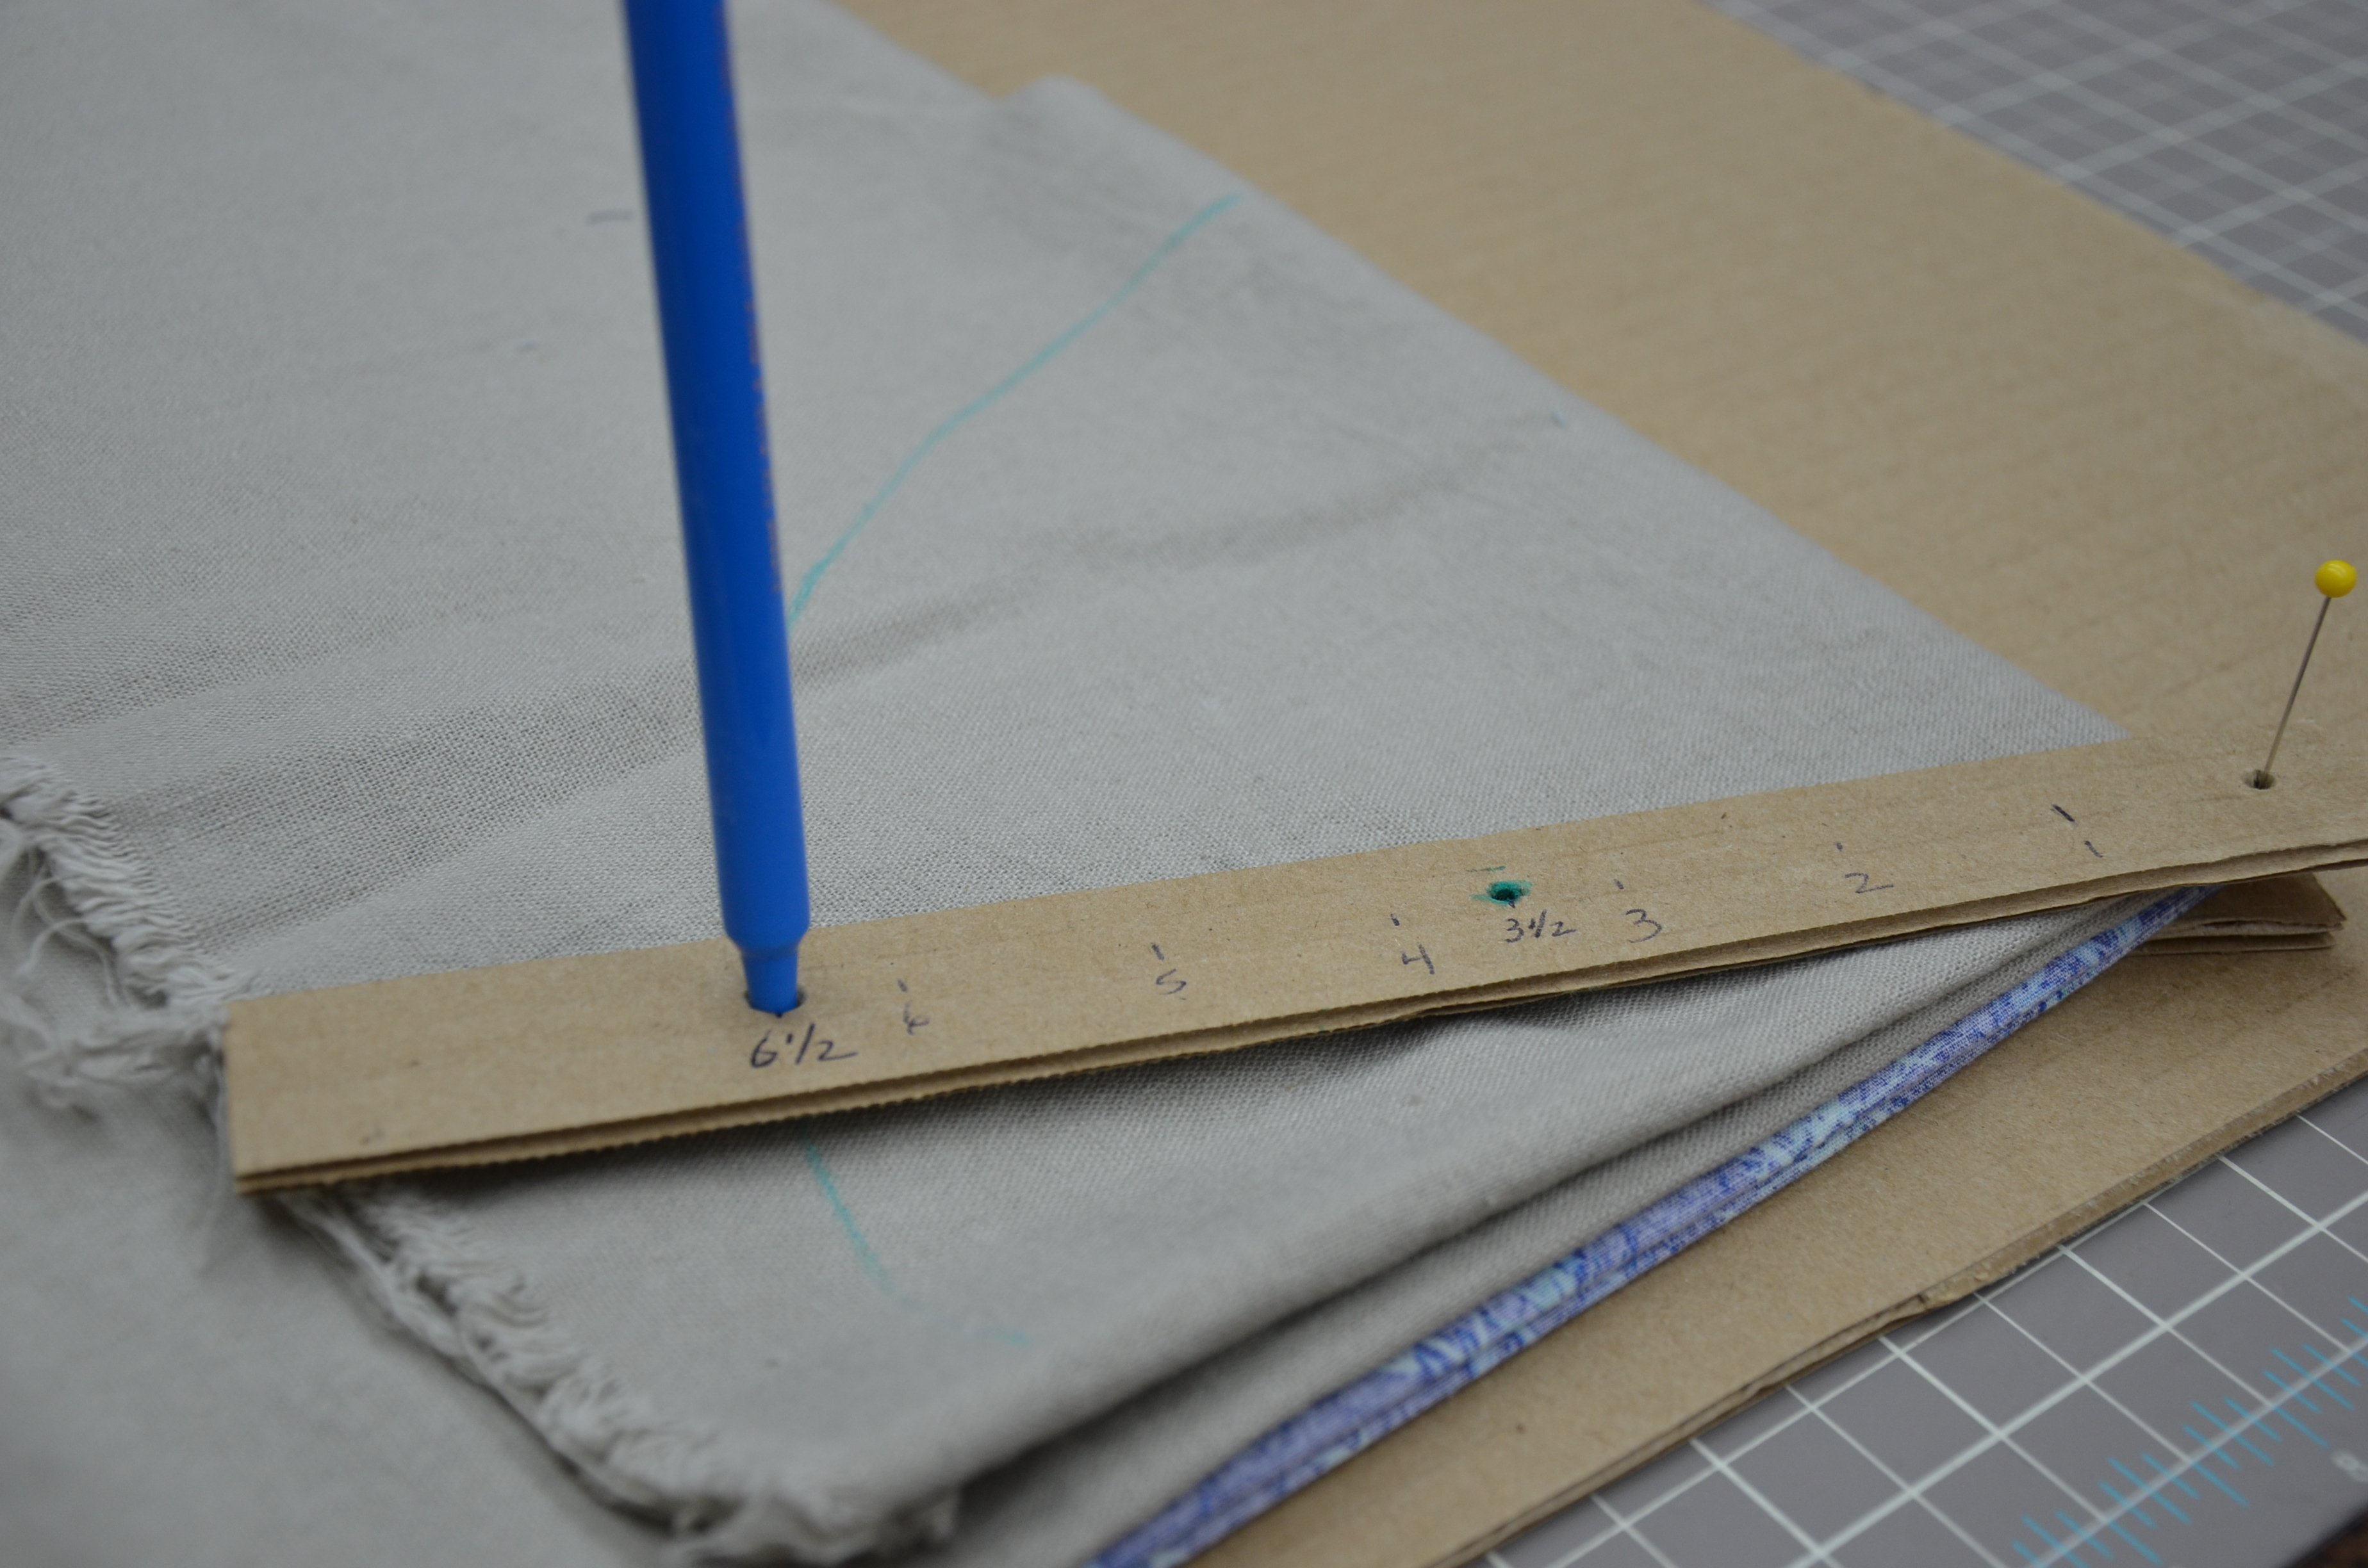
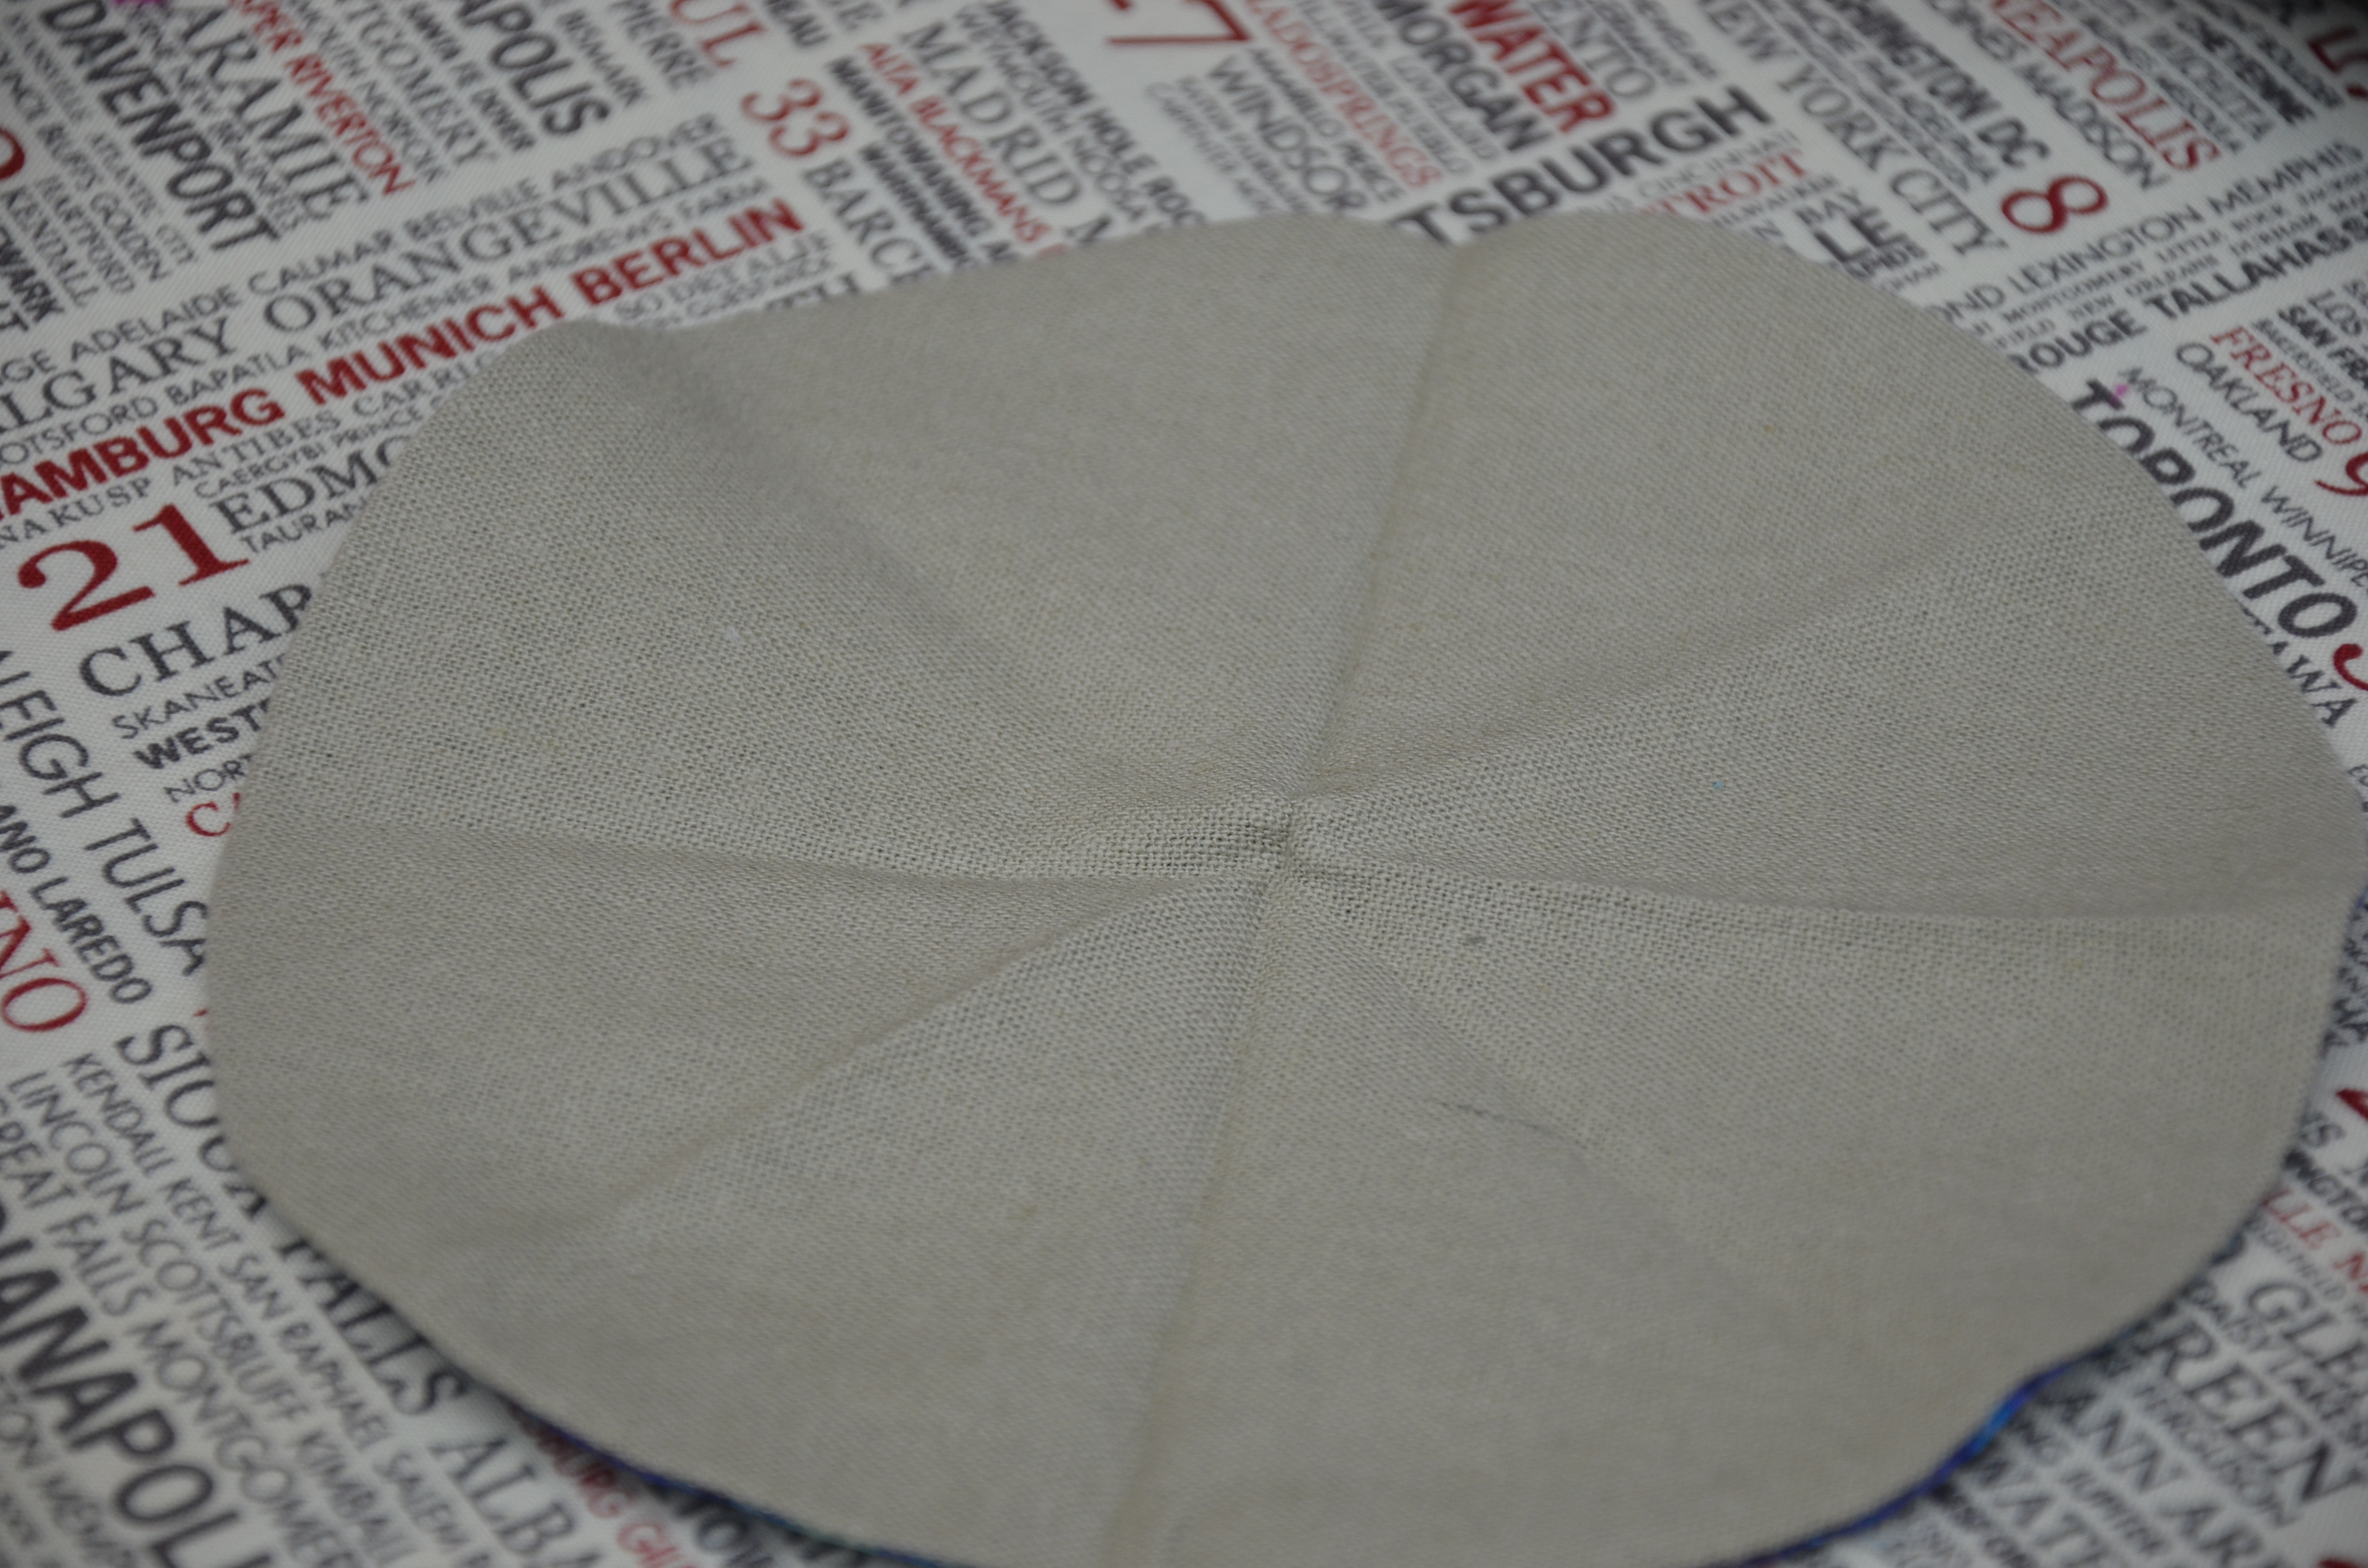
Now cut two circles with a 13″ diameter. If you don’t have circle templates, like I used above, you can use a strip of cardboard and create a compass that is large enough. With your fabric folded in quarters, cut these two pieces at 6 1/2″ measuring from the corner .

Sew these two together with good sides kissing.

Cut a hole in the lining side, the side you won’t readily see, turn, and press flat, same as you did for the larger one.

Now you want to mark this piece in eighths. I did it by steam pressing.

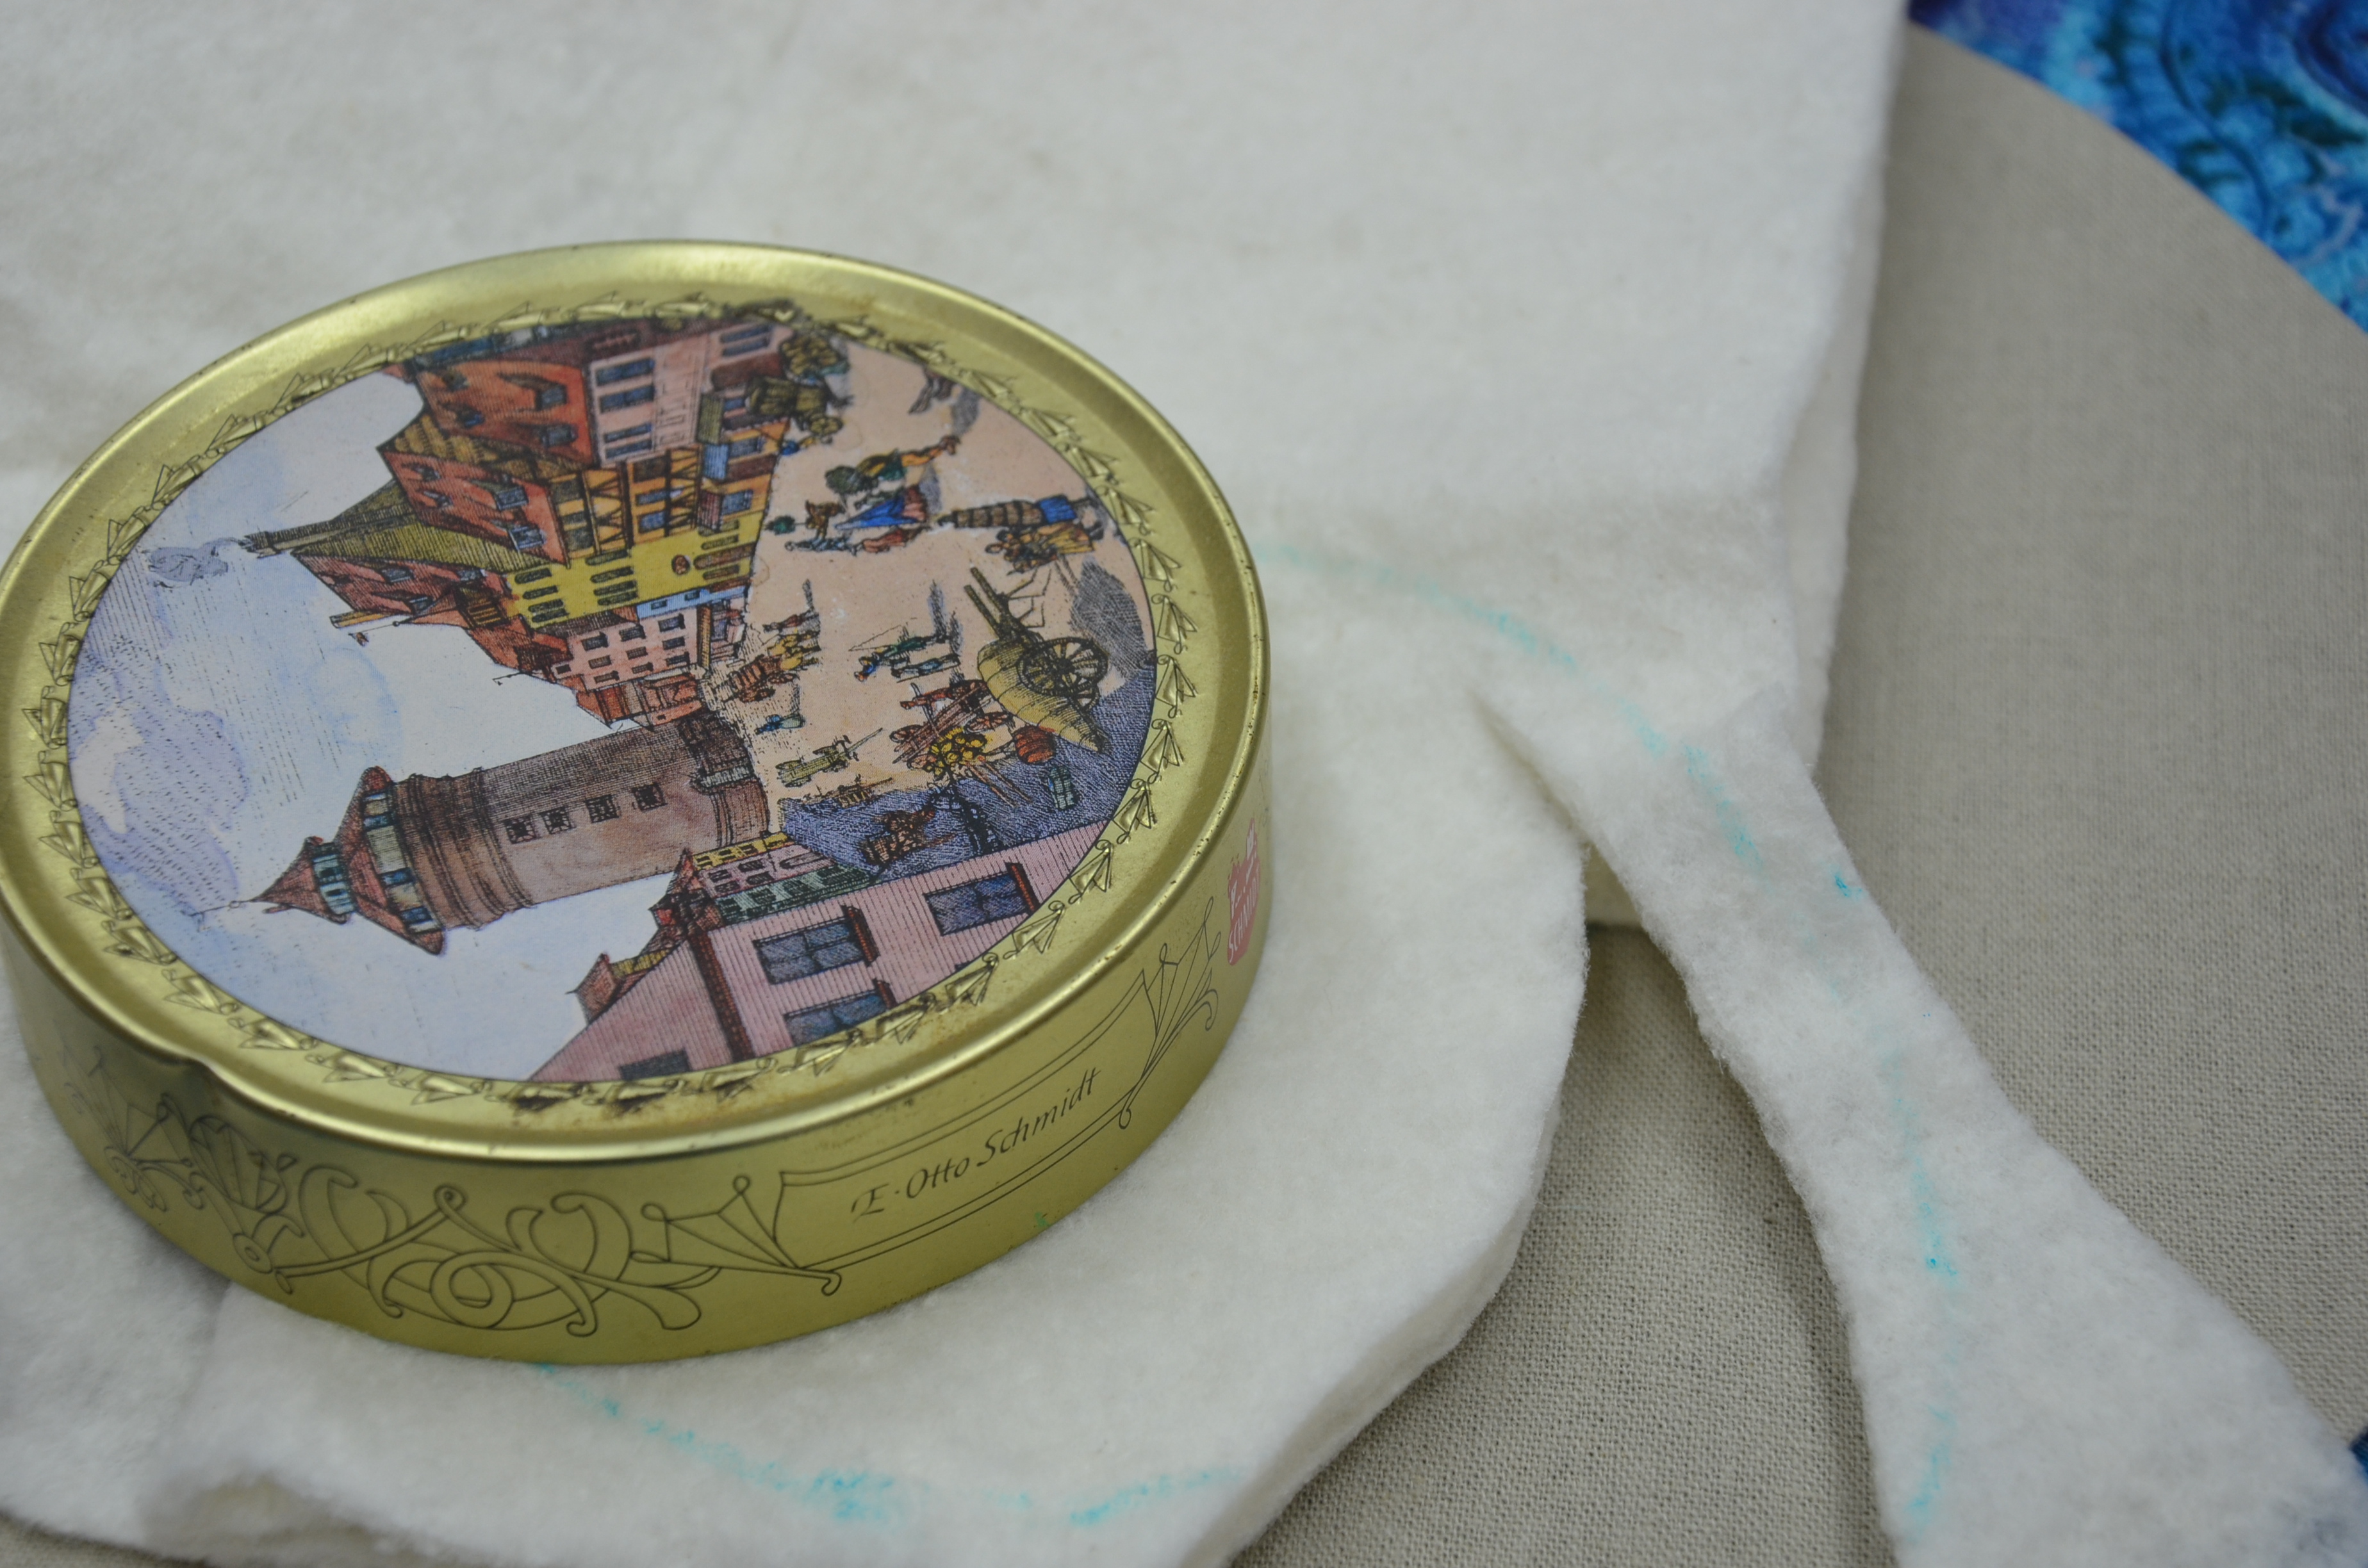
From leftover fleece, or batting, cut 3 circles at 5 3/4″. I used the lid of a tin (it was 6″ so I cut a little smaller all around).

I then used that same tin to mark a stitching circle on the center piece. This fleece is going to give the pouch a more stable bottom. Cutting the fleece a bit smaller allowed me to follow the tin tracing as a stitching line.

I’ve marked over my pressed lines, with a water soluble blue pen, so that you could better see where I will stitch. These will form pockets to hold earrings or smaller pieces of jewelry.

Now my pieces are stacked as they will be when finished. Fleece/quilt batting is between the inner and outer circles, under the center. The holes I cut, to turn the circles inside out, are now hidden in the innards. Now stitch on all the blue lines, through all the layers, securing by using reverse at each stop and start point.

Then flip the piece over and top stitch measuring from the outer edge 3/4″ and 1 1/4″ in, all the way around. This is on both sides of the buttonholes you stitched and will be the casing for the drawstrings.

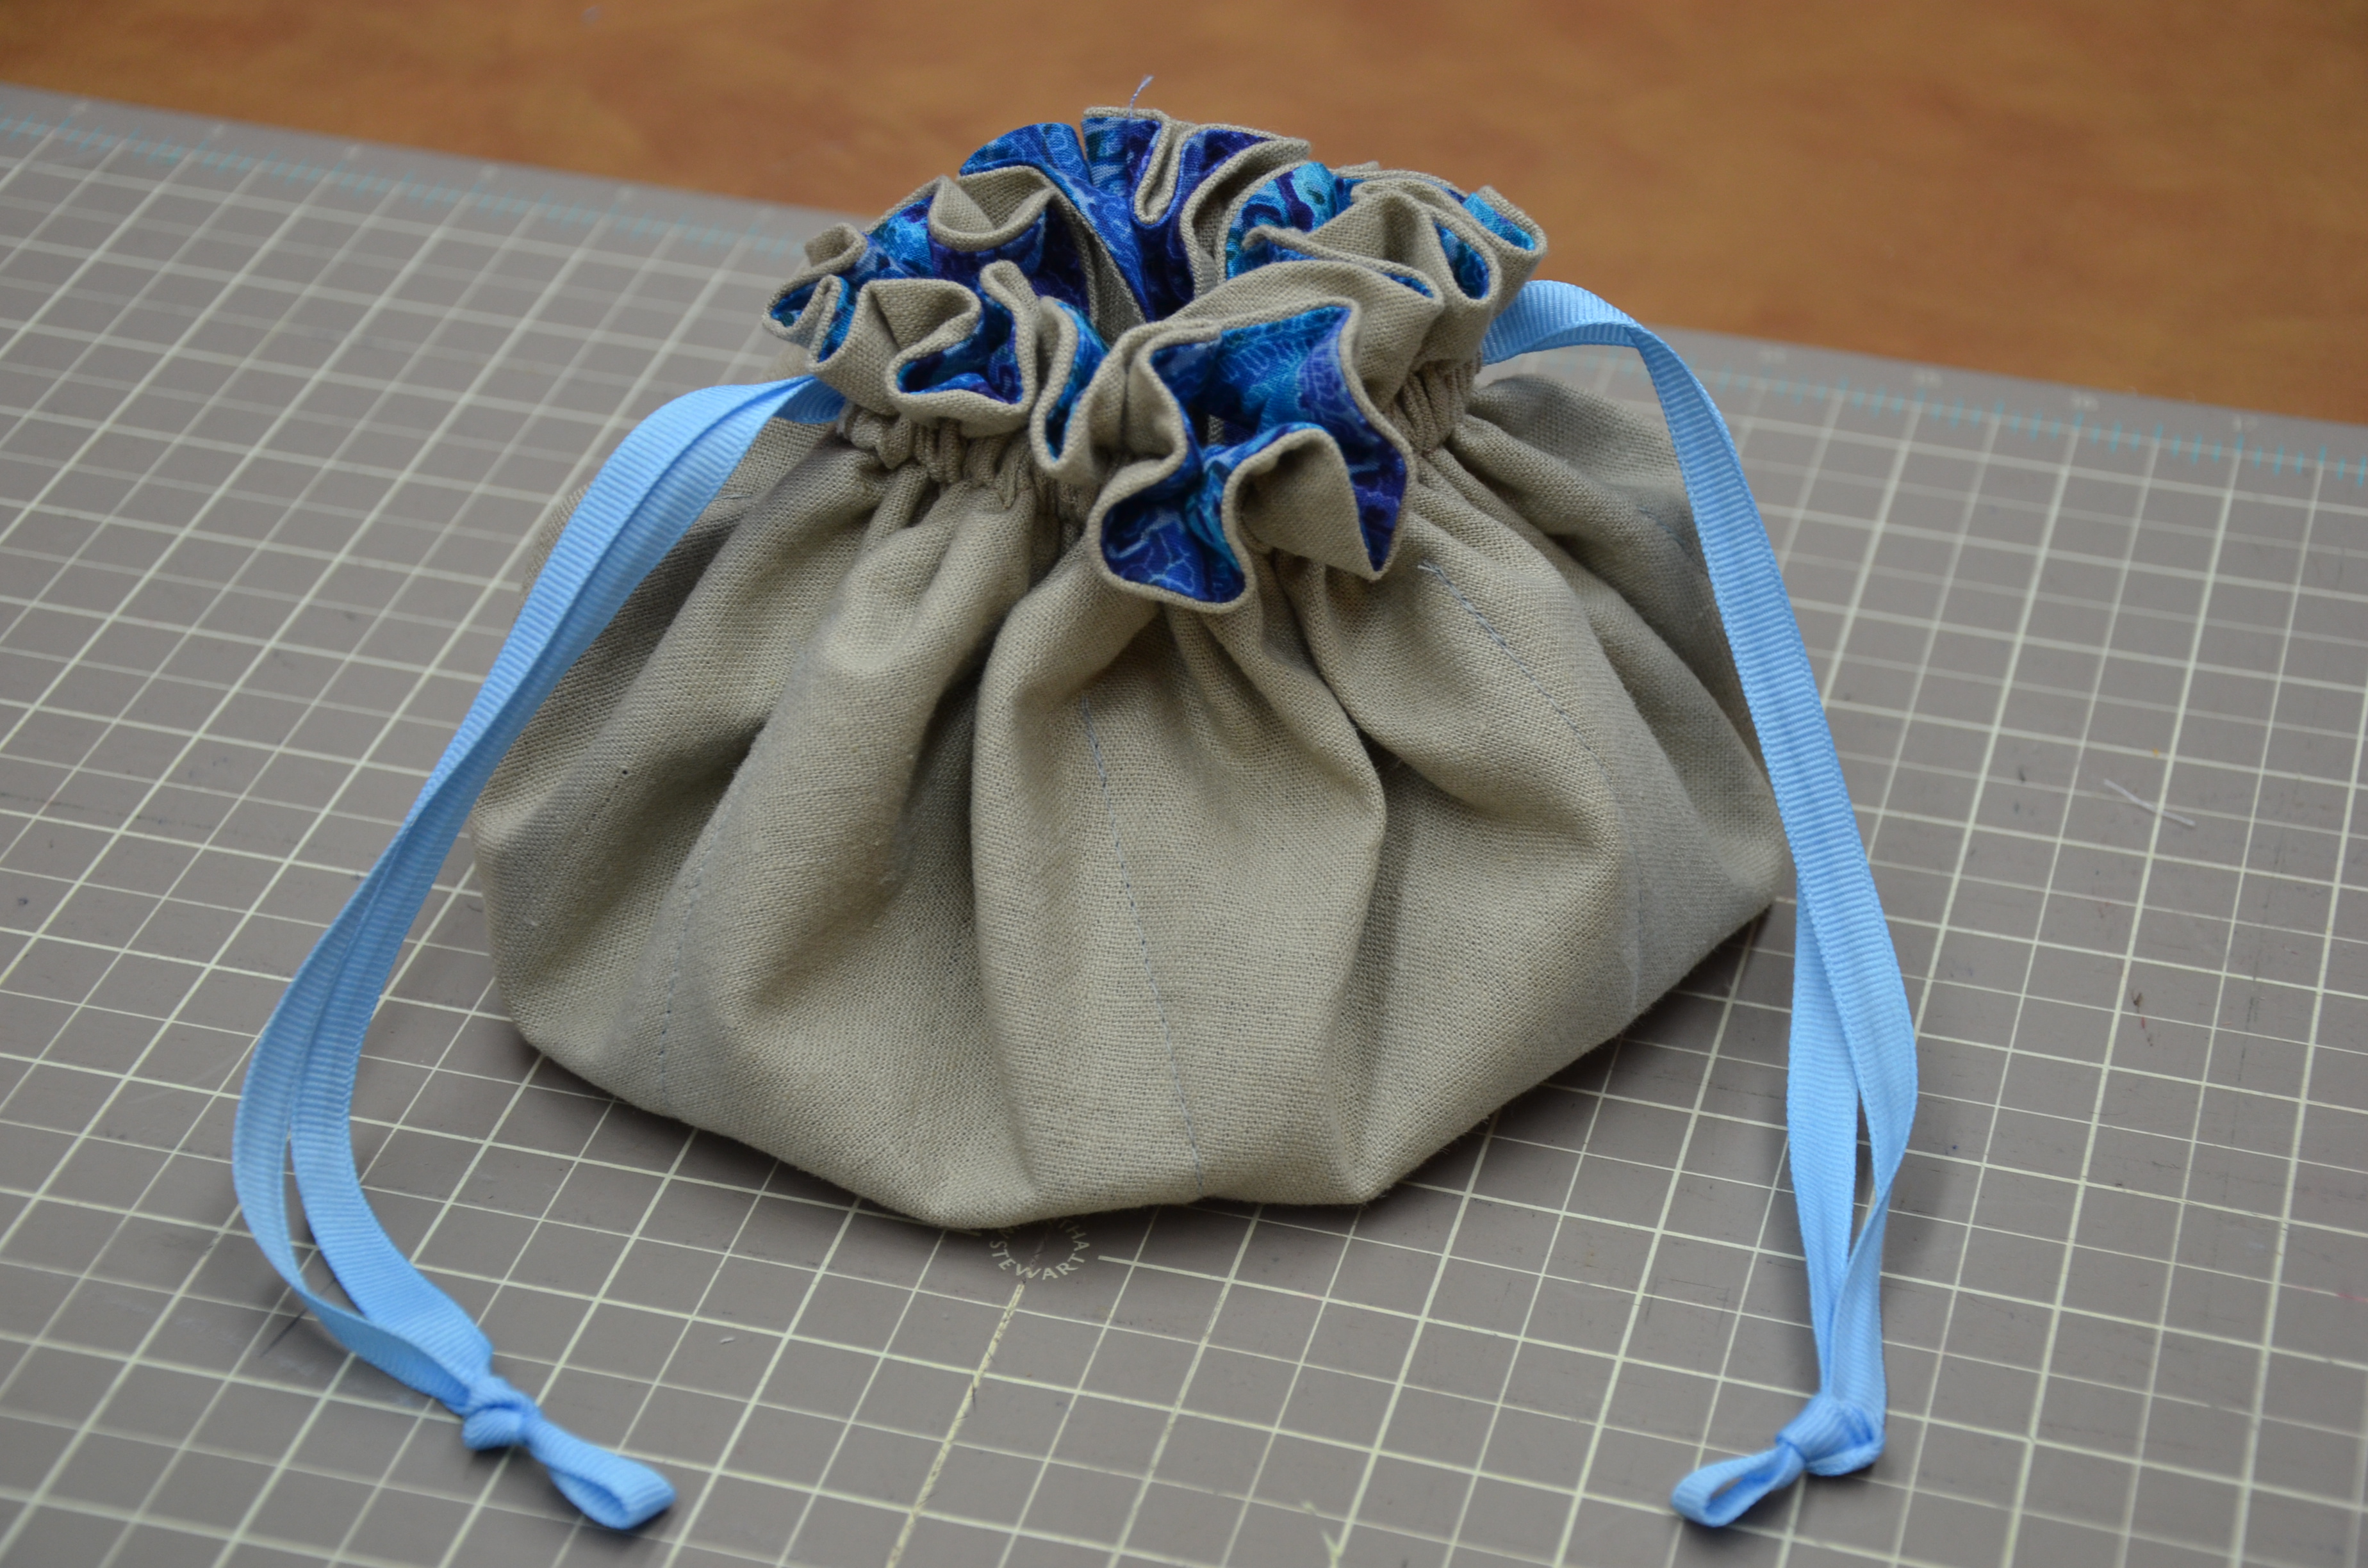
I now pulled through each of 2 26″ drawstrings, fed with a safety pin, and pulled all the way around the circle, back out the starting hole and secured the ribbon ends by machine. One piece of ribbon through each buttonhole. This will allow you to pull one string with the right hand and the other with the left and cinch it up securely.

I pulled on the ribbon and fiddled with them to get that seam back into the tunnel and hidden. Do the same through the other buttonhole. I added a knot at the ends of the ribbons to give you something more to pull it closed by.

Once you make one you’ll see just how quickly and easily these go together, you’ll be making them for all the women on your list! Perfect for girlfriends, teenagers, coworkers, babysitters, you name it. Everyone loves a little bag to contain things!

And this one will contain a lot! Plenty big for all your jewels!

Hopefully I’ve explained this well enough and you will let me know if you make one!

Any questions? Please ask!

Have fun!


Posted in A Sttitch in Time, Can I get a Whoop Whoop, Crafting, fabric, Sewing, Show it off Friday, TGIFF, Tutorial | Tagged , , , , , , , , , | 32 Comments

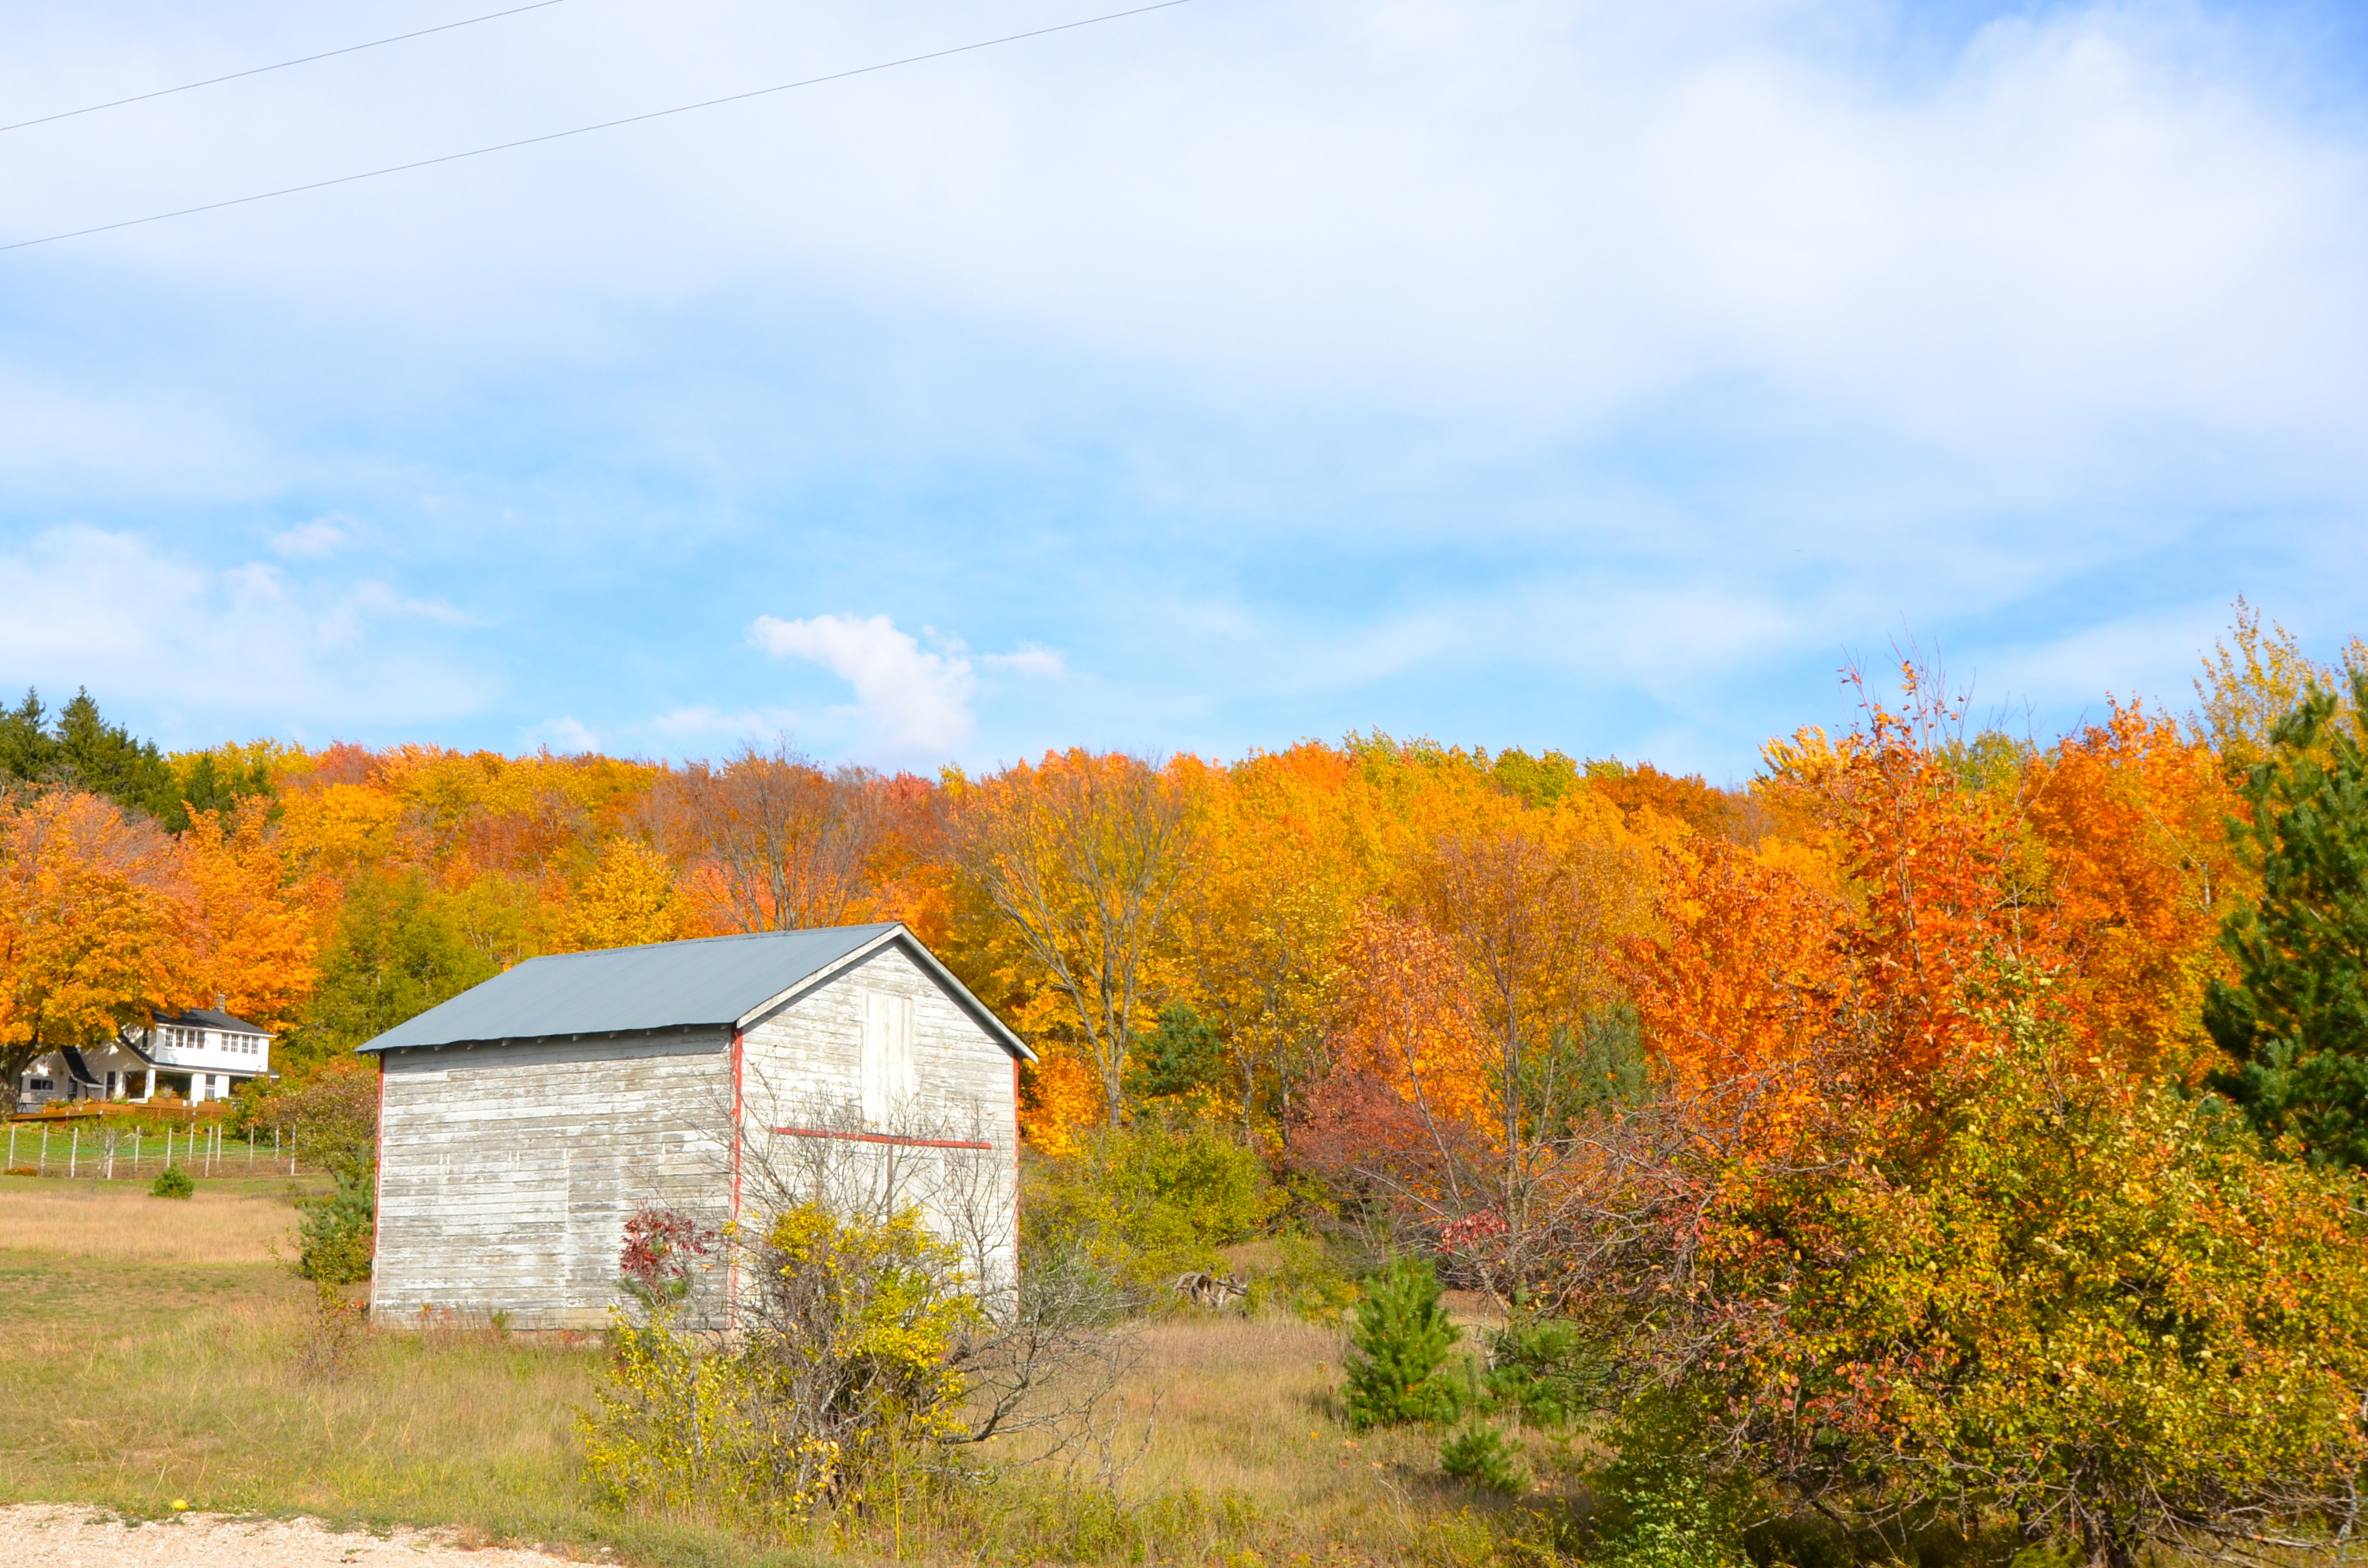
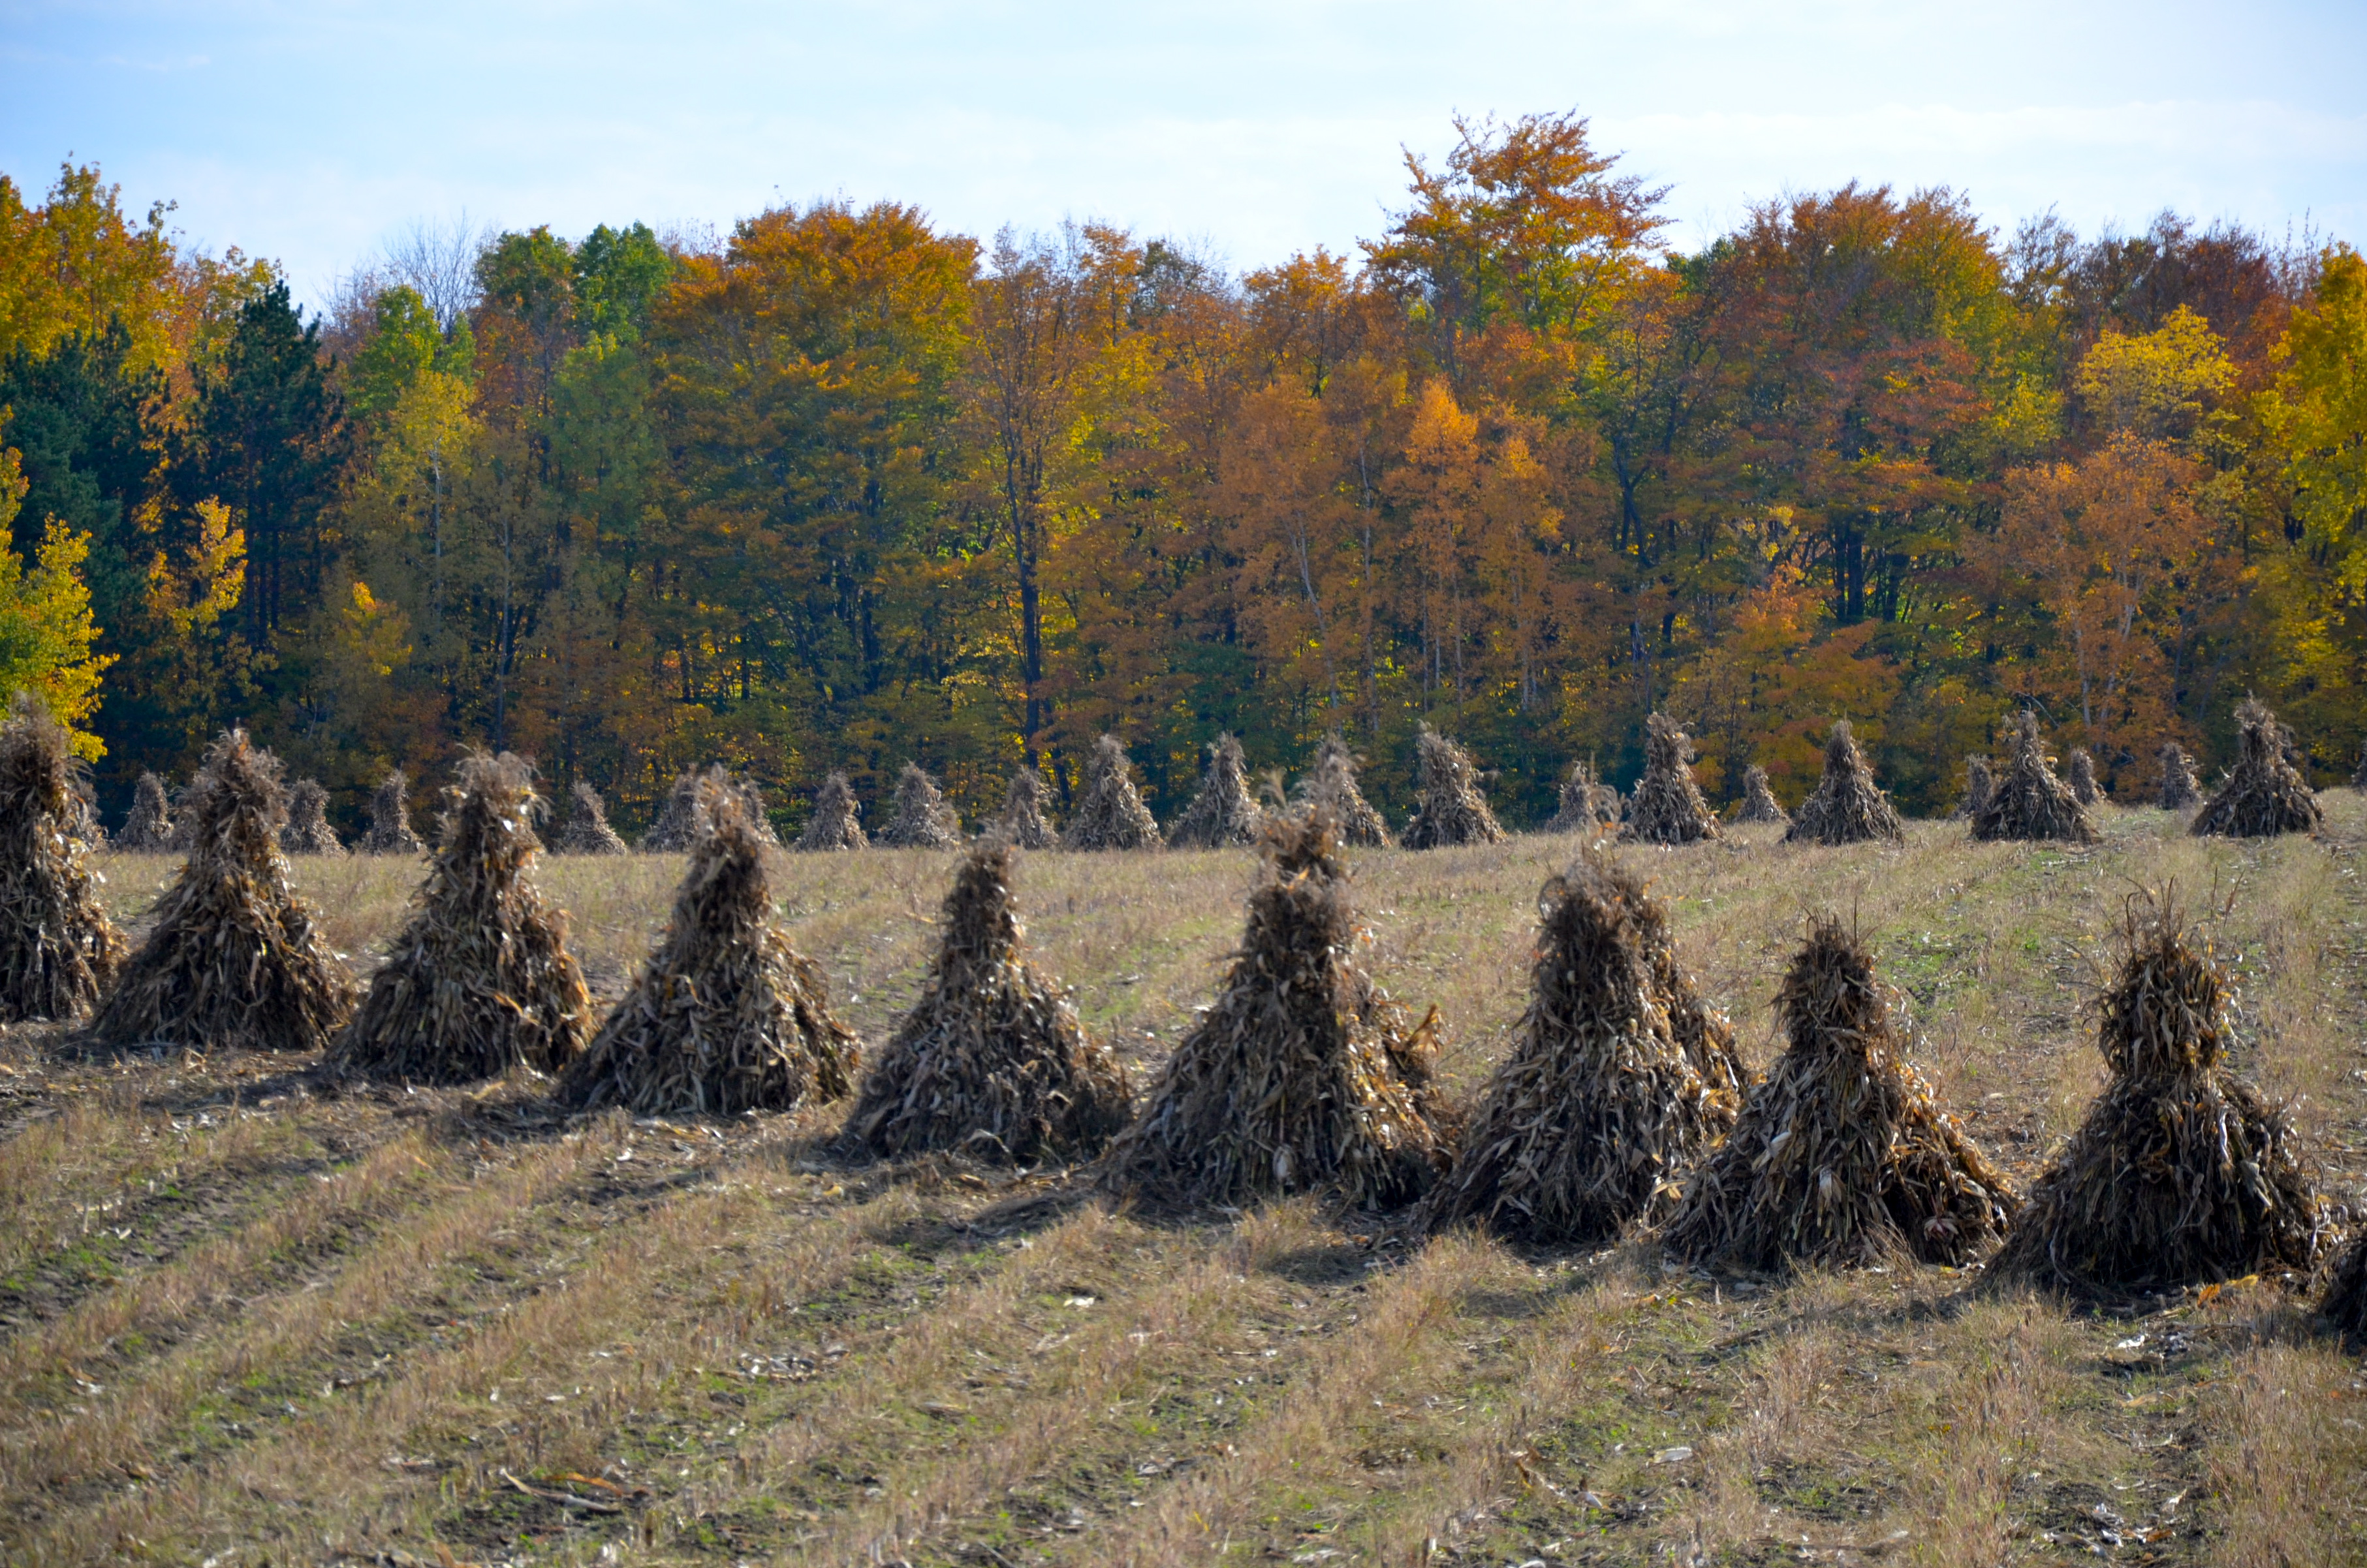
Fall in Northern Michigan

Considered by many to be the most beautiful place in the country.

I can’t disagree.

Particularly in the fall.

How fortunate we are

to have such a beautiful, sunny day, yesterday.

To take it all in.

Taking deep breaths to fill ourselves up

before this changes

to the white of winter.

Posted in Cottage, Favorite Things, Nature, Photography, Travel | Tagged , , , , , , , , , | 12 Comments

Happy Thoughts make Happy Quilts

A fire to take the chill off and quilting to keep the anxiety down.
Watching the Tigers vs the Yankees, Game 3.
No debate frustration will live in this quilt!

Go Tigers!!!

Posted in Cottage, fabric, Fabric Tuesday, hand quilting, Linkys, Quilting, Sewing, WIP | Tagged , , , , | 3 Comments

How to carry your bling in style

For those who asked, I just posted the tutorial. Finally!!

I needed a little gift for a friend’s birthday and I did not want it to be anything big, just a little something. And since I generally only see her when one or the other of us is traveling I thought maybe a traveling jewelry pouch might come in handy.

I just love this Lotta Jansdotter fabric as you may have noticed…

And since she is also a huge Detroit Tigers fan…  I thought trimming it with orange would be fun. The outside print is plenty busy, I liked this batik style orange to calm it down. It allows me to show off the Woven in Navy pockets that can be used for earrings.

My question was what size did I need? How does a 12″ or 16″ circle translate into usable space? You know what I mean? Well, I’ll tell you what I did.

I cut my outside circle and the orange liner at 15″ round.

The earring pocket circle is made of two circles cut at 10″.

There are three pieces of leftover quilting batting cut at 4″ in the center base to give it some body.

The drawstring stitching lines are 3/4″ and 1 1/2″ down from the finished edge.

I made 1/2″ buttonholes for my 2 24″ ribbons to go through. I used 1/2″ grosgrain ribbon. Buttonholes are not that difficult people. This is a good project to practice them on. You can only see one at a time, not like comparing a whole line marching down the front of a shirt! Get out your manual, you can do it, too!

As for the ribbons, I went with 24″ lengths. They aren’t long enough to open the bag out flat, but open enough for the earring pockets to be seen into. If I went with a longer length they would be too long, in my opinion, when it is drawn closed.

You can see how much I was able to put in this size. The turquoise bubble necklace is *big*.  There are also a couple of big chunky multi-strand necklaces and a string of baroque pearls. And it still closes and is not so big that you can’t toss it into your carry on bag. Just so you know, this size is smaller than the ready made ones, I have seen, by probably 2″ cut.

If you want the bigger size you might try cutting 2 @ 17″, 2 @ 12 ” and your 3 batting scraps @ about 5″. You’ll want your ribbons to be a bit longer too, you’ll have to just draw them through and see what works for you.

Tutorial coming soon. I do believe I need to make one for myself! What about you?!! Let me know if you do!


Posted in A Sttitch in Time, Can I get a Whoop Whoop, Crafting, Design, fabric, Gifts, organizing, Sewing, Show it off Friday, TGIFF, Tutorial | Tagged , , , , , , , , , , | 18 Comments

Get ’em While You Can Can ~ Vanilla Peach Jam

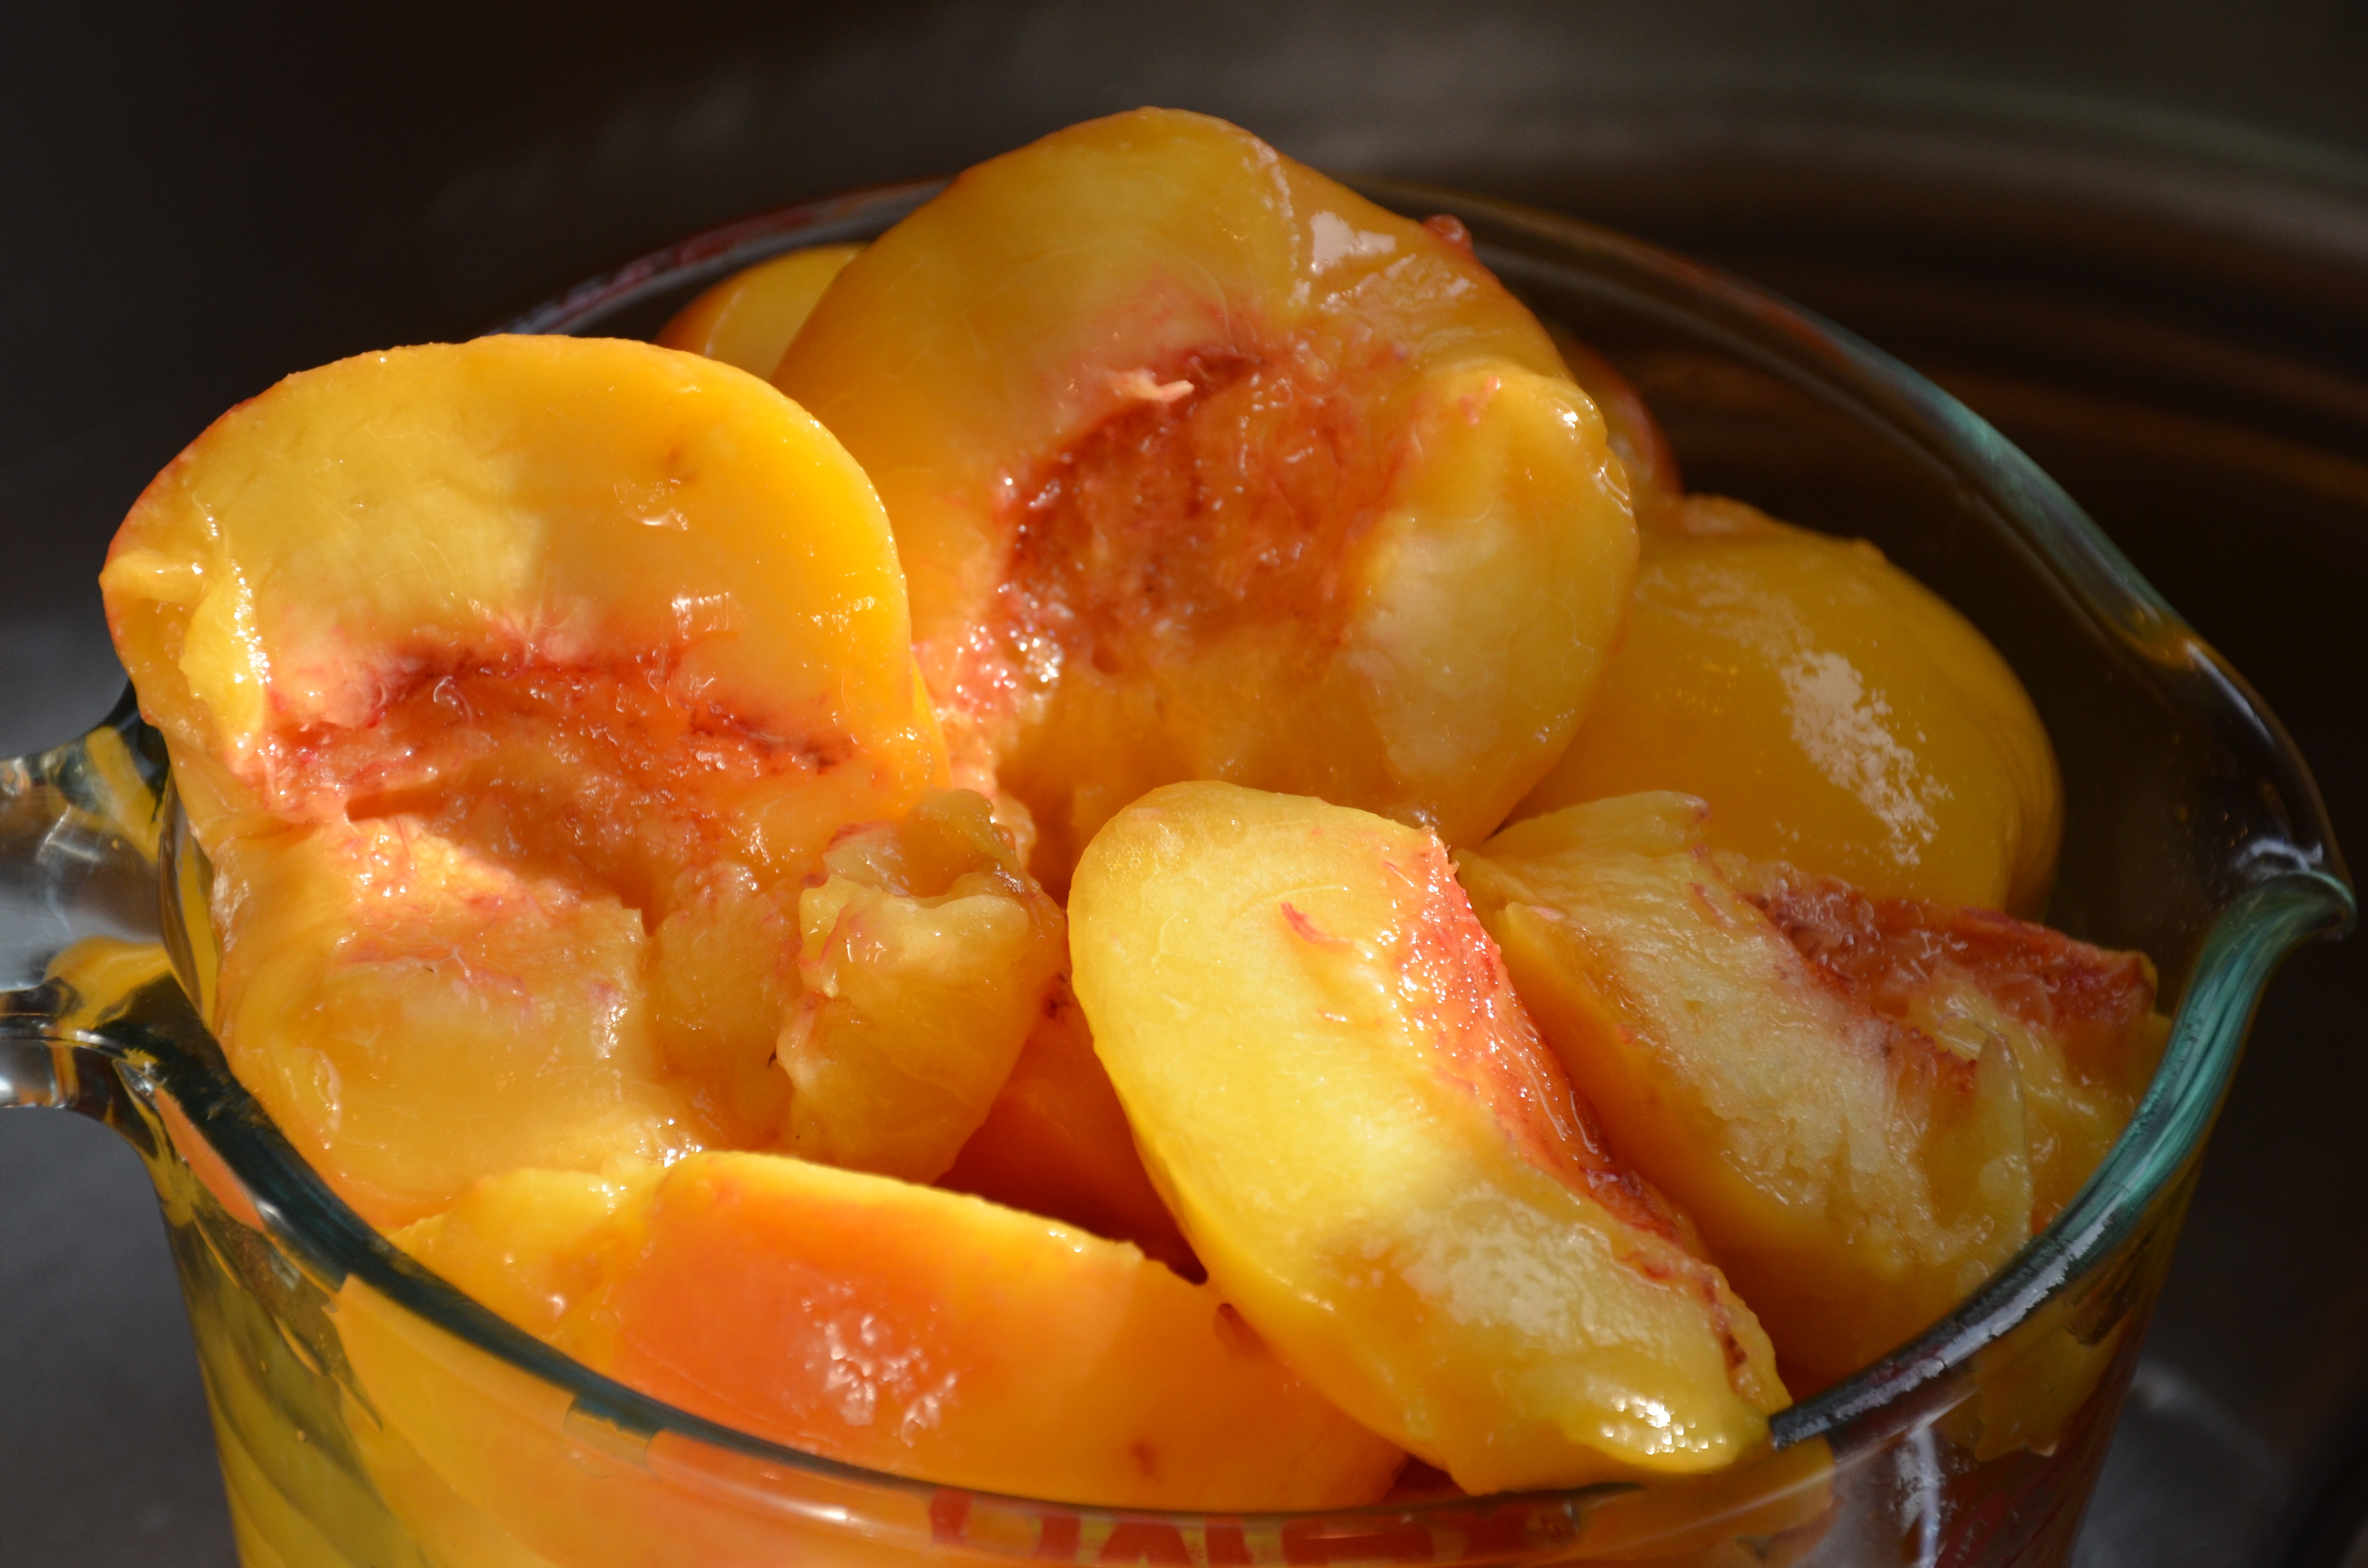
These may not be the peaches, from Campbell, Missouri, that I grew up eating, and later canning, but Michigan grows their own mighty fine peaches, too. You know the kind you have to eat over the kitchen sink because the juices are dripping off your elbow? Yes, we grow that variety here, too.

You have to get them while you can because you can’t get a good peach outside of August or September around here. And these were destined to be preserved.

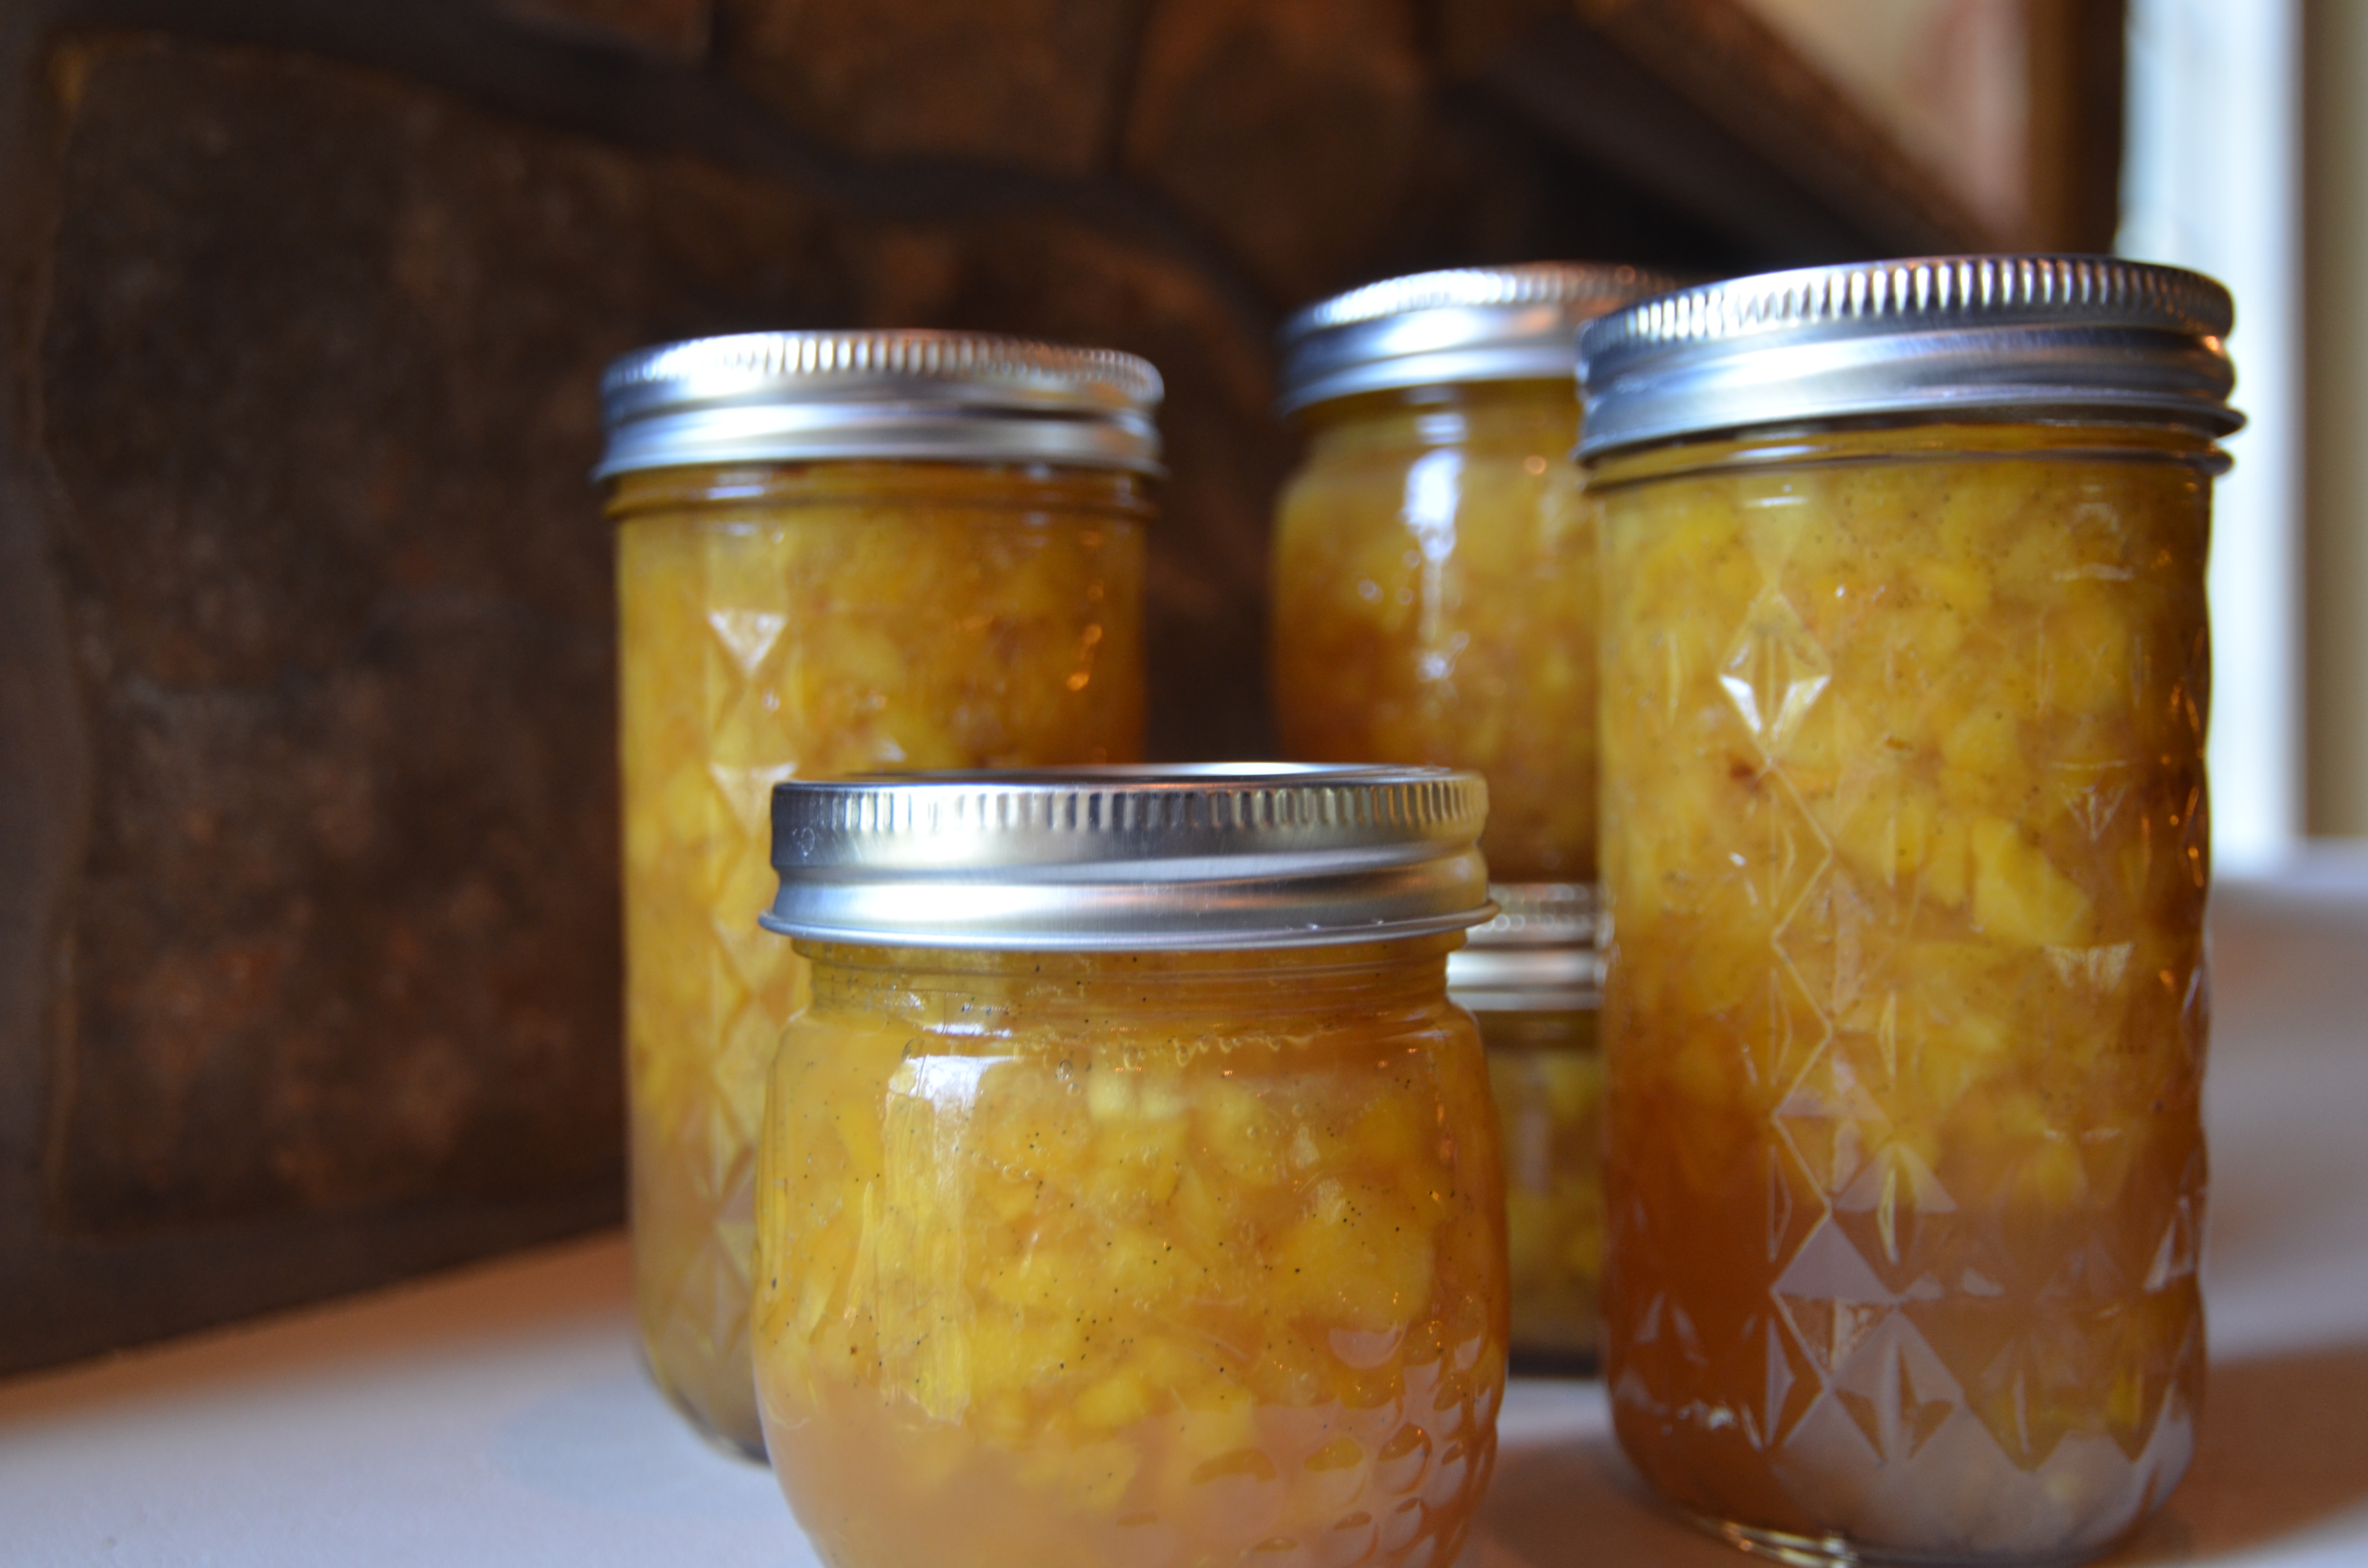
As a jam. That tastes like my Grandma’s Lazy Man’s Peach Cobbler*.

I am envisioning this spooned warm over a slice of pound cake on a cold and snowy night.

Vanilla Peach Jam
printer friendly version
inspired by GrowItCookItCanIt

yields 6 half pints

4 c. peeled, diced juicy ripe peaches (I think I started with 8, I bought more but they disappeared)
9 tsp. bottled lemon juice
1 c water
4 1/2 TBS Ball brand low sugar pectin
1 1/2 c sugar
3 fresh vanilla beans

In a small bowl, whisk together pectin and 1/2 c. sugar.  In a large, non-reactive pot, combine peaches, lemon juice, vanilla beans, sliced open and scraped in and the pectin-sugar mixture. Bring to a full boil, the definition of which is a boil that cannot be stirred down, and then sprinkle in the remaining sugar. Keep the heat on high, stir often to prevent the fruit from sticking, and bring the jam back to a full rolling boil. Start timing when the boil cannot be easily stirred down. Cook for exactly one full minute, while at a boil, then remove from the heat.  Ladle jam into sterilized jars leaving 1/4″ headspace. Wide rims clean and screw on the lids. Process for 10 minutes.

I’m thinking this would also be great in a fried pie. Grandma Ellis was known to make fried pies, cooked in a cast iron skillet, for Sunday night supper. She made other flavors, too, but I remember the peach best of all. Mmm….

And because I can’t get over how much this jam tastes like the peach cobbler Grandma Ellis taught me to make, when I first set up housekeeping, I thought you might want to make it, too. It is much easier than a fried pie!

Lazy Man’s Peach Cobbler
printer friendly version

1 stick butter
1 c milk
1 tsp vanilla
1 c self-rising flour or baking mix, gluten-free works well, too (if you don’t have self rising flour you can add 2 tsp. baking powder and 1/4 tsp. salt to all-purpose flour)
1 c sugar
1 qt or 29 oz can of canned peaches, juices included

Melt butter in a 13 x 9 baking dish on 350°.

Mix sugar and baking mix together; stir in the milk, with the vanilla added to it, until moistened. Pour over melted butter. DO NOT stir. Pour the peaches and juice over the batter. Bake for 45 minutes. The batter will rise to the top as it cooks and make a delicious crust.

Enjoy!!

Posted in Canning, Cooking, Dairy free, Eating, Family, Gluten Free, Recipes, Traditions | Tagged , , , , , , , , , | 3 Comments

Zippity Doo Dah

Don’t you hate how much zippers cost? What I hate even more is not being able to find interesting ones. You know when you buy clothing the zippers can be so interesting and heavy. Cool pull tabs, heavier metal, a much bigger variety of colors…

So when I got ready to start a new project that calls for 5″ zippers I headed out to JoAnn’s to see what I could see. Well, you know the rest of that story. Same old, same old…. But next door!

This is not a political statement but ding, ding, ding a financial statement!

As I walked in the door, of this new store, I took notice that on this day everything with a purple tag was 50% off! Off to find the purple tags. Nothing else. Only purple. Maybe.

And look at the interesting goodies I found in no time. Two were marked $3.99 and the other two $4.99 and with three of them having purple tags, I am in for a bargain that I can not find anywhere else, for any price!!

And I love them! I had to stop myself from buying more than I needed today, but aren’t these great? Just look at those heavy, interesting pull tabs!!

Then when the cashier rings me up and tells me it is $6.42 I can’t pay fast enough! Three of them were marked down to 69 cents!

Apparently one of these was not a purple tag…. Apparently I needed the gold tab/hot pink zipper really badly. But that’s okay. I found better zips, at a much better price, without having to use up all my 40% off Joann coupons!

Have you ever tried this? Do you reuse zippers for craft projects? It’s easy enough to shorten them to any length you want and with only needing 5″ zippers, I don’t have to remove the entire length, just the bottom half.

Hopefully the mess I make, upon removal, will still have me thinking this was the deal of the day!!

My plan is that by next week this will be a finish that I can show off!

Posted in Crafting, Sewing, WIP | Tagged , , , , , , , , , , | 12 Comments

Does she think I will forget her?

Our last child moved out last week and look what she left me to find.

Yes, hand drawn and propped right in front of my sewing machine. How sweet is that? (I can hear the Awwws from here.)

She also left me one of her handmade coasters. I guess she could see where I was leaving rings on the window sill? I’m going to miss her.

That inspired me to finally make a decision, for placement, and hang the Christmas gift she made me.

Yes, she designed my blog header and then designed, embroidered and created these three pieces to hang. There were several different spots that were tempting me, but here I will see them every time I enter my studio. I can’t help but think about her when I see them.

I think I found the perfect spot for them.

Perfect. I say.

That little trickster.

Posted in Crafting, Gifts, studio | Tagged , , , , , , , | 10 Comments

And the winner is…

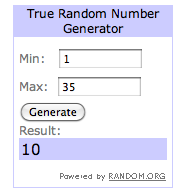
# 10

Image

which belongs to AZSoupLady. Congratulations! Let me know your gift card choice!

Thank you everyone for playing along in my very first giveaway! And thank you for your movie ideas. Between DVD movie loans and library audio books I won’t have to watch TV all winter long!

It’s a beautiful day here. Sunny and 70°. I’m off to clean all the sand out of my car before the weather turns too cold to enjoy doing it!

Hope you are having a great weekend, too!

Posted in Uncategorized | 2 Comments

A no/slow progress week

We all have them. Don’t we? You do, don’t you??? Surely it’s not just me, but sometimes it seems like it, LOL!

Thank you everyone who entered my first giveaway and gave me so many great movie suggestions! I picked up “Everything is Illuminated.” as suggested by Pat. Can’t wait to get to some long-delayed handwork tomorrow and watch it! I was shocked at how many of your recommendations my library had on the shelf. I had to restrain myself because I wanted a couple of new books on tape, too. I picked up one of books from the Elm Creek Quilts by Jennifer Chiaverini. I’ve not read any of them and Carol, another quilter, recently mentioned how fun reading a few of them are. With the long list of books she has written, sometimes I think too many books, by the same author, and it starts to feel like they are churning them out. So we’ll see.

Right now I’ve been struggling through a highly recommended older book, The Agony and the Ecstasy: A Biographical Novel of Michelangelo by Irving Stone. It’s good, just not living up to the reputation that preceded it. Or maybe I just need to get into bed, to read, earlier? Maybe you’ve read it?

I also want to thank everyone who took the time to vote for my Joseph’s Coat of Many Colors quilt. I really appreciate all the kind words. Thinking if all my quilt recipients would vote I would have it licked, but I guess it’s not to be… I’m definitely rethinking the gifting of quilts. Maybe not everyone appreciates handmade as much as I do??? Do you ever have thoughts like that? I really don’t care if I win a $30 gift certificate or not. It’s the principle of people want, want, wanting from you and then never giving back. Arrgh. You know what I mean, surely….

Okay, enough of that.

Well, I spent hours yesterday, over at Flickr, getting my hyperlinks fixed. I *thought* I fixed them a month ago, but apparently not. I can’t believe I can see traffic coming from there to here with all those broken links. And I can NOT believe no one told me they didn’t work! Maybe fewer people click-through links, to blogs, to see the full explanation of a project? I don’t know about you, but I know I do. All. The. Time.

Anyway…

Looks like what I need to be doing is finishing up the binding on my Honeycomb quilt. Yeah, that’s right. I’m sitting here covered up with it, dodging the straight pins, wondering why it’s last 6 feet, of binding, isn’t stitched down yet. And it still needs embroidered with my initials and the date.

The sleeve and embroidery, along with the name are still waiting to be attached to my unnamed wall hanging.

And the sleeve on my Bubble Quilt.

Such boring work. Especially since they’ve already been washed and I have seen them in all their shriveled up glory! (Well not the Honeycomb quilt, of course.) I think that is what pushes me to finish a quilt and then I still need to *really* finish it, LOL!

I promise I’ll have some of this stuff finished by next week.

Or I won’t be here on Wednesday.

One or the other…

But right now I have a bushel of tomatoes to turn into salsa.

Not exactly sure why I put a white shirt on today…

Posted in Books, Canning, Cooking, Giveaway, hand quilting, Linkys, Quilting, Sewing, WIP, WIP | Tagged , , , , , , , , , , , , , , , | 8 Comments