Making Progress

Last week I was kicking myself because in the middle of a project I ran out of natural colored quilting thread. Who runs out of such a basic item, one I use constantly. Seriously. I tore the house apart looking for just one more spool, but it was not to be. So, I ventured out and braved the heavy construction and headed to JoAnn’s for a spool of thread. One measly spool of thread. I wandered around trying to find something else to spend my other 50% off coupon on and had just about given up when this magazine jumped out at me. Keep in mind, I *never* buy quilting magazines. I’d rather spend my money on fabric! As I was waiting in line I thumbed through it and it looked like it had several interesting projects in it and of course ads for all kinds of things I didn’t even know were out there…  I decided to splurge and get it using my coupon.

Modern Patchwork Spring 2013

Later at home, I was eating and thumbing through it when I just about choked on my lunch.

Blogger's Quilt Festival

Besides all the really interesting projects, there is a nice article on the Blogger’s Quilt Festival. I had been interviewed and asked to submit photos of my Bubble quilt, from last fall’s BQF but never heard anything more about it. Well, it finally made it to print. Unfortunately, my quilt was not included…. but…

quilting daily.com

I was quoted twice and my blog address was included! How about that?! That was a pretty cool random surprise! I think it’s amazing when sometimes you are drawn to something and don’t understand why and then after the fact you realize why. That’s what this felt like. Of all the magazines there were to pick from, this was the only one I even picked up. 🙂

In other news…

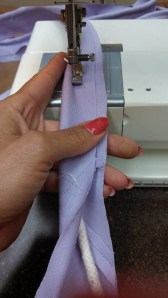
Continuing on with last week’s project, I’ve made lots and lots of 1/4″ bias covered cording.

Creating piping

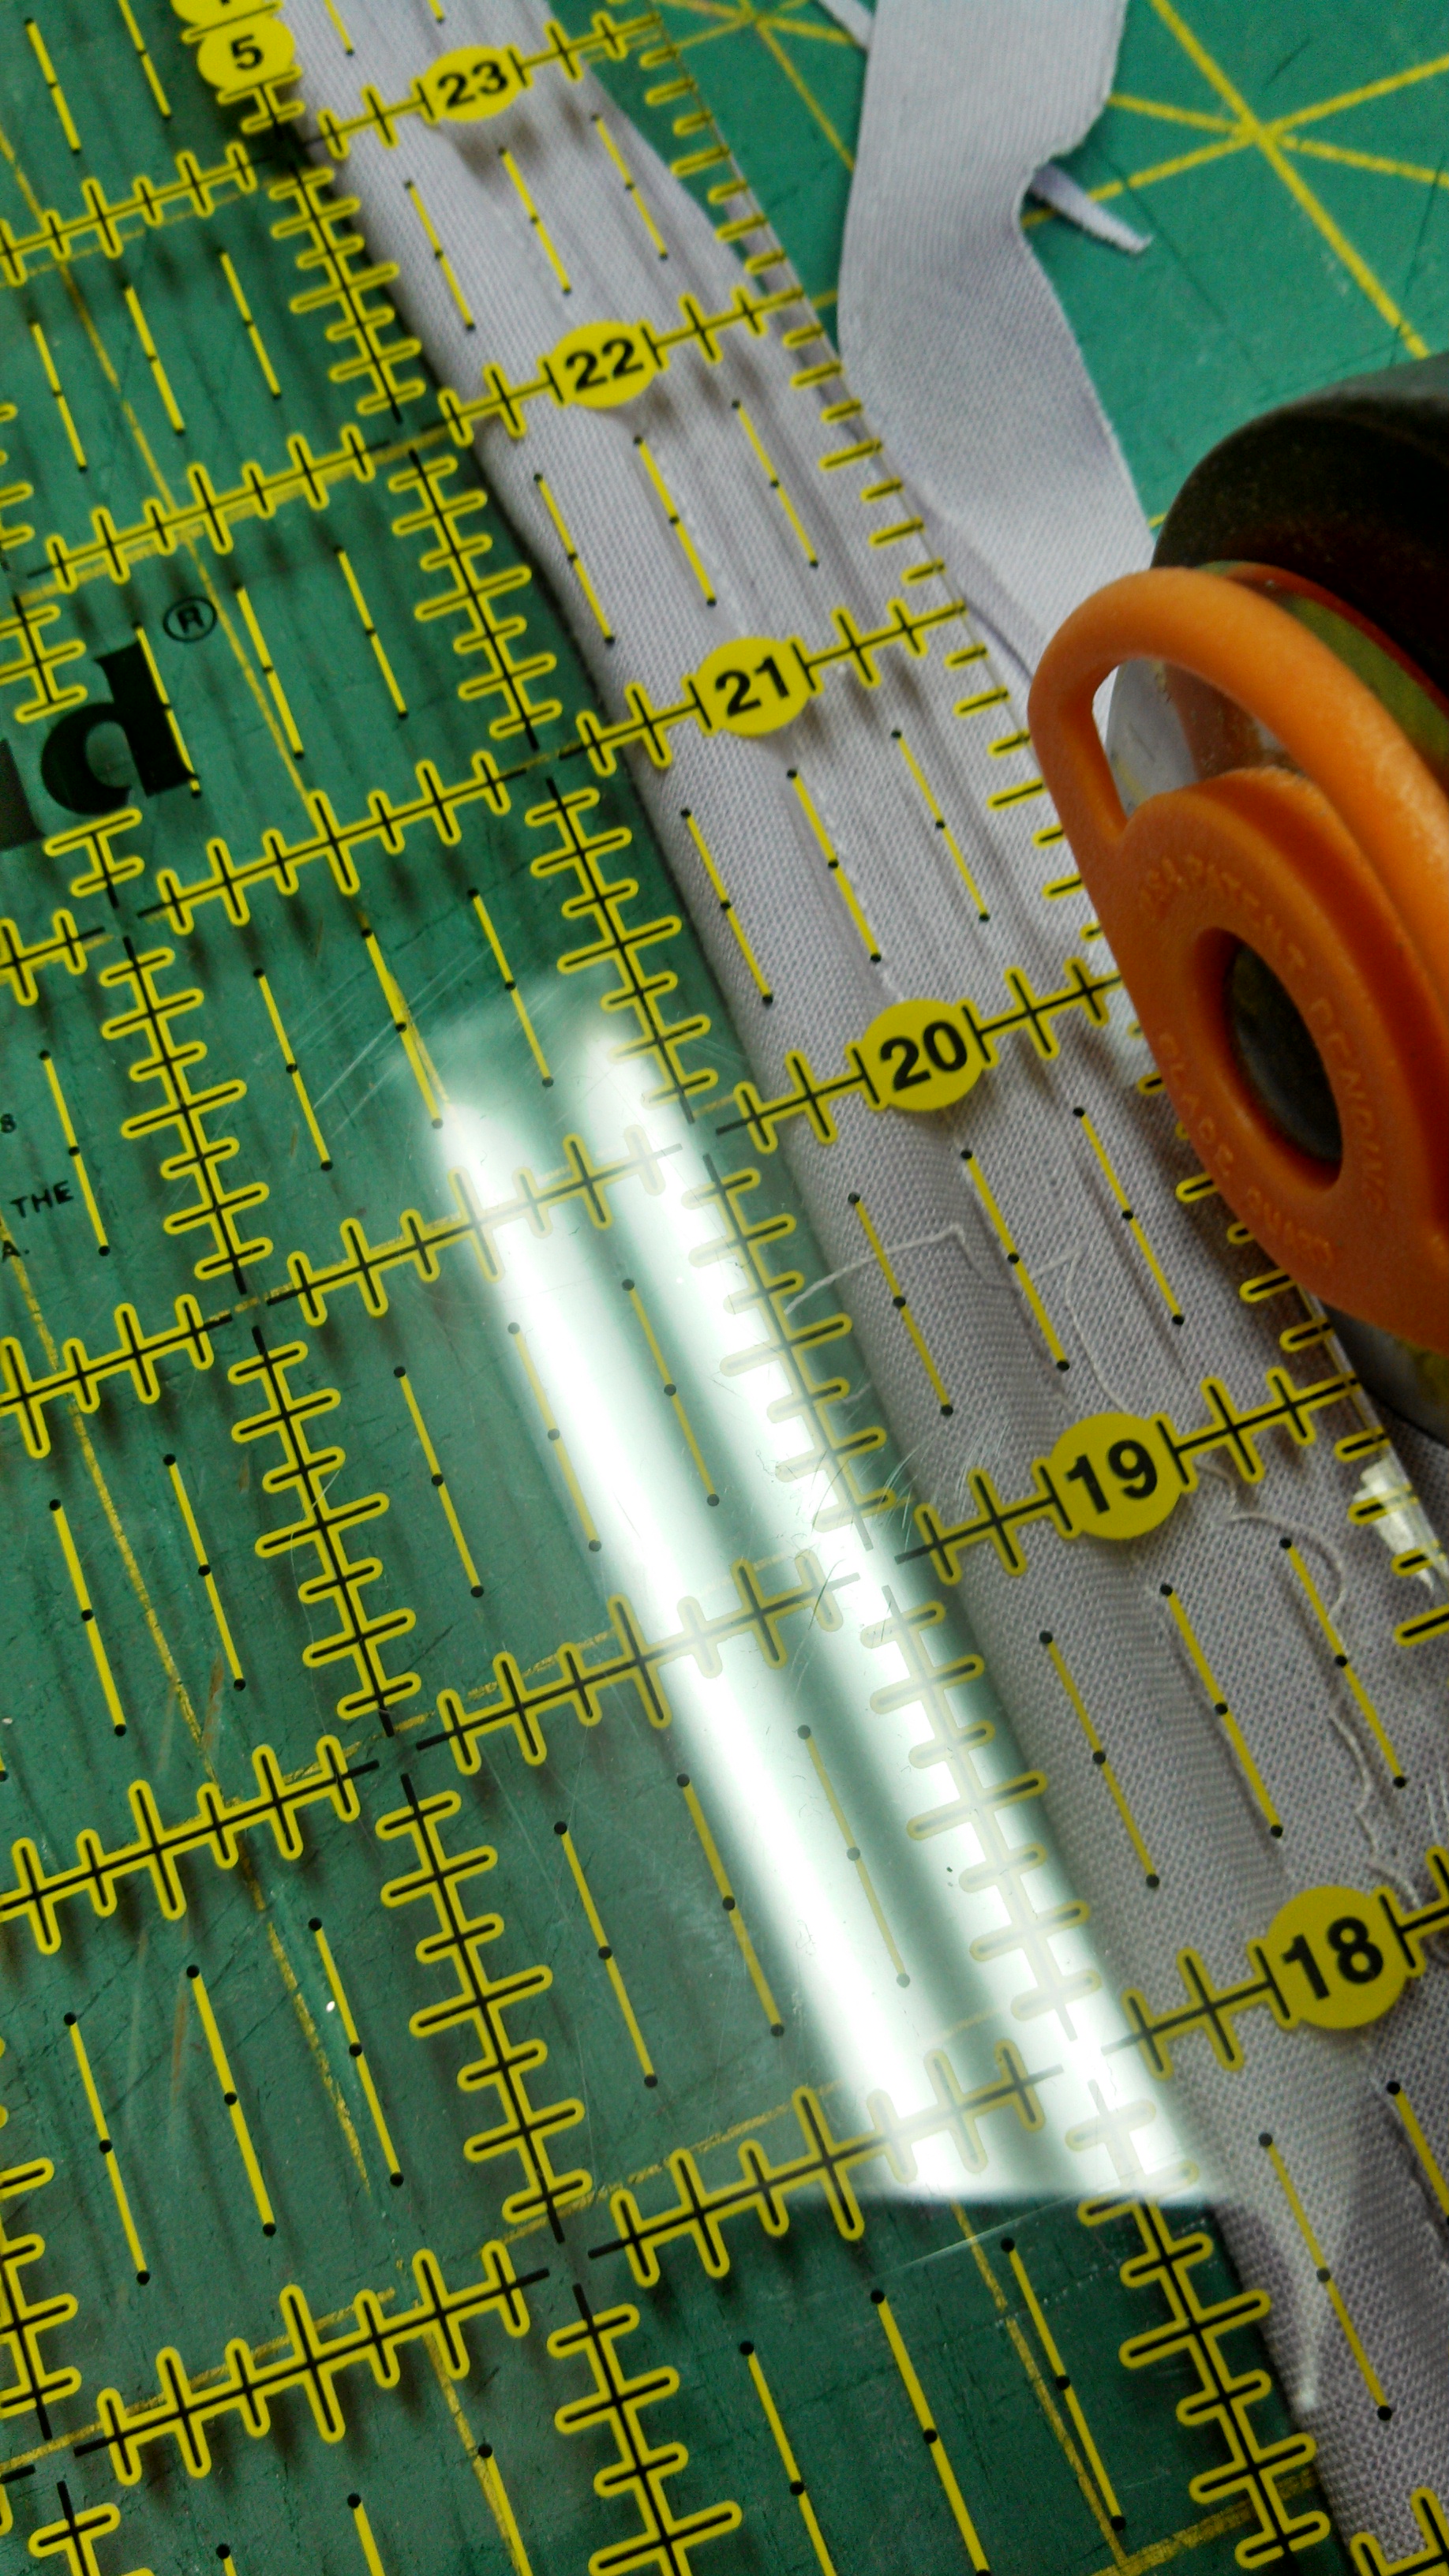
I trimmed it down to size allowing a 1/2″ seam allowance. I like to make it wider than necessary because I think it’s easier to seam up, then trim it down, as opposed to it barely being wide enough and it twisting off the cord as you’re trying to sew it with your zipper foot, then not having enough of a seam to insert in to a seam…. I am getting smarter as I get older! And besides I had lots of extra bias cut from covering the 1/2″ cording for the duvet cover, which was naturally wider. I have also learned that if I hold a finger alongside the cording, as I make it, the bias fabric lays much smoother. See how smart I’m getting? LOL!

Trimming to width

I also made 24 ties for the bumpers. I cut them at 16″ x 3″, folded them in half, lengthwise, stitched them the length with a slight angle on one end and then turned them right side out and pressed them.
Sewing 24 ties

Along with the other projects I’ve been working on, I got two of six of the bumpers finished.

Baby bumpers

I really, really like how they are turning out. I wish a had a crib to try them out on, and the baby girl to go in it!

Crib bumpers

Pretty sure what the rest of my week looks like…

Linking up with Freshly Pieced and Fabric Tuesday.

Posted in fabric, Reading, Sewing, Uncategorized, WIP | Tagged , , , , , , , , , | 10 Comments

Show Me My Options

The real finish of the week was making decisions. I’m exciting to be doing the nursery for our next little granddaughter, due August 24! Her mother found a picture of the fabric she wanted, I then did the research and found the line. It is a Premier Fabric line in Wisteria and Storm. I found them at fabric.com and onlinefabricstore.net. Kona orchid and Riley Blake dots in gray were the perfect go withs. The big decision was which fabric to put where.

Premiere Prints wisteria and gray storm

Confirmation that I am just a simple girl from Missouri, you’ve got to show me my options, before I can decide. I did a mockup of crib bumpers, inside and out, orchid standing in as the sheet, showing the thickness of the mattress on the front view, and the dust ruffle.

option 1 Option 2  The winner option 3 Option 4 Option 1

We independently decided on option 3. Yippee!

While I was putting off figuring all this out, I created the duvet cover for the twin bed, that will also be in the nursery. This, because I knew what the plan was, was easy to knock off the list.

Riley Blake white with gray dots fabric

Finished! This is actually the backside of it and I really like it! I used a Riley Blake gray dots on white fabric and added white , to add the panels, to give me the width I needed for a twin. And since I don’t have a twin bed, it was hard to photograph, but you get the idea. I bound 5/8″ cording, around the outer edges, in Kona orchid. Storm gray duvet cover Linking up with:
Finish it Up Friday
A Stitch in Time
Can I Get a Whoop Whoop

Posted in Decorating, Design, fabric, Finishes, Sewing, Show it off Fridays | Tagged , , , , | 17 Comments

Baa, baa, black sheep, have you any wool?

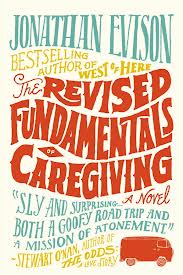
Listening to The Revised Fundamentals of Caregiving written by Jonathan Evison, read by award-winning narrator Jeff Woodman. A thirty something guy is at his rope’s end, running out of money, no career path or employment history, to speak of, decides to give caregiving a try. His first job is with a 19-year-old, wheelchair bound, girl crazy, angry teenager with Duchenne muscular dystrophy. Personal forgiveness and finding purpose in life seems to be the theme. I’m enjoying it. Perfect to listen to while working on a quilt, nothing too heavy, nothing I will be quizzed on later, but with feelings that will stick with me, I am sure.

Love the narrator, he sounds like a guy next door. I had to double-check to see if the author was reading it because it feels so genuine. I like that about a reader. He also read, with an accent, Life of Pi.

Revised Fundamentals of Caregiving

So, while listening, I’m still working on getting this quilt to the point of sitting in front of the TV and quilting it. For a hand-quilter, that’s always the goal, isn’t it?

This is my first experience with wool batting. I was advised Hobbs Heritage was the best, all I could find locally was Hobbs Heirloom. No one could tell me exactly what the difference was except the other one was folded.

Wool batting is very thin. Thinner than even any of the really nice cotton battings. This one does have some slightly thicker and thinner spots but nothing like the cabinet full of cotton batting I used to use. I also hear wool is very warm for its weight and washes beautifully. I’m really excited to see for myself.

Heirloom Wool Batting

My friends over at Celebrate Hand Quilting highly recommend wool and I can now see why. They also gave me a little tip to get it nice and smooth before basting. Use a hair dryer. You can actually just watch the wrinkle melt. Well, not melt, that doesn’t sound good, but they do just disappear in seconds. And those big humpy lumps left from being on the outside of the roll? They just blow off the edge of the batting! What a brilliant cure. Reason enough to use wool on every quilt!! This needs just a little more time under the heat and it will be ready to baste.

Hair dryer removes wrinkles from wool batting

I’m using a Bohin mechanical chalk marking pencil and marking for 1/4″ outline stitching. This pencil works really well. Nice thin lines. This is one of the few quilts I’ve marked before basting. Normally I wait until after because I’m not sure how I’ll quilt it, then I have to mark over pins and puffy batting. It doesn’t make for as accurate marking, doing it after it is basted, but enough to show me where I am going.

And while I almost always quilt 1/4″ outside the seams, and should be able to do it without marking it, this one is going to have some confusing contours to it. I decided to go ahead and spend the hour and a half marking it, instead of removing screwed up quilting, later. I’m getting smarter with every quilt.

Marking a quilt

Pin-basted and ready to start the quilting. Well, not exactly. I should probably finish my  current project, I’ve only got about 10 hours left to go on it.

Grow*ing* Benzie quilt

That’s what I’ve been working on. How about you???

Linking up with:

Quilty WIPs
Fabric Tuesday
Design Wall Monday

WIP

Posted in Books, Fabric Tuesday, Quilting, Reading, Sewing, WIP | Tagged , , , , , , , , , , | 7 Comments

The you won’t Believe They are Gluten-Free Peanut Butter Cookies recipe

I haven’t made a dessert or snack in forever. Like months. I actually can’t even remember when the last time was. This coming from a kitchen that had homemade snacks on the counters every day. Every. Day. It’s probably a natural evolution from having kids at home to cooking for just the two of us.

Anyway…

This afternoon I was feeling the need for just a little something sweet. Something we don’t have. Digging around in the pantry, with a headache (that I believe is related to the lack of sugar in my diet) trying to think of something simple, that I had all the ingredients for and the gumption to throw it together. Normally, on a day like this, I would make Rice Krispy Treats, easily made gluten-free, but I didn’t have marshmallows. Peter can’t eat chocolate before bed, it keeps him awake, so Mississippi Mud cookies, another go to gluten-free, pantry staple, snack was out.

Then ding, ding, ding! I remembered these no flour, making them gluten-free(!), peanut butter cookies. They are so good I dare you to even notice that there aren’t any flours in them!

Gluten free peanut butter cookies

Gluten-free Peanut Butter Cookies
printer friendly recipe

1 egg
1/2 cup granulated sugar
1/2 cup packed brown sugar
1/2 cup creamy peanut butter
1/2 cup extra crunchy peanut butter
1 teaspoon vanilla extract (make your own or check to be sure it is gluten-free)
½ teaspoon baking soda

Preheat oven to 350°.
Line your cookie sheets with SilPat or parchment paper and set sheet aside.
Using a spoon, blend all ingredients together until incorporated.
Use a cookie scoop or spoon to portion tablespoon-sized balls of dough. Roll these into balls then dip the tops into sugar and place 12 to each cookie sheet (sugar side up). Press top of each cookie with fork tines twice crosswise to form a classic crosshatch pattern. Sprinkle with additional sugar if you like.

Bake for 12 minutes. Be careful not to overcook them. They will still have a little puffiness to them, then they will fall as they cool but still be moist. Allow cookies to cool, on baking sheet, a few minutes until they firm up. They are fragile until cool. Remove to a rack and cool completely.

Makes 24 cookies about 3 inches in diameter. Store in an airtight container.

You could toss in some chocolate chips for variety, if you like.

You can use whatever peanut butter your family prefers. We like both extra crunchy and smooth at our house. The extra crunchy has larger pieces of peanuts in it and by adding the smooth you don’t get too many nuts, to cause inclusions that can make your cookies break apart, but fewer larger ones instead.
Nutrition Facts
Serving Size 1 Cookie
Calories 99
Calories from Fat 50
Total Fat 5.6g
Saturated Fat 1.2g
Cholesterol 7mg
Sodium 79mg
Total Carbohydrates 10.5g
Dietary Fiber 0.7g
Sugars 9.3g
Protein 2.9g

Enjoy!

Posted in Dairy free, Eating, Gluten Free, Recipes | Tagged , , , , , , , , , | 7 Comments

Is it warm, yet, where you live???

The last time you saw me working with Liberty of London, I left you here.

Liberty Tana Lawn multi

And I did finally finish it. I cobbled together a few different patterns to make a sleeveless blouse. I am not much of a blouse person, I lean towards knits, and I still I love how it turned out. From all the tiny photos of choices, on Purlsoho‘s website, debating which Liberty tana lawn to choose, I couldn’t have picked a better design. I love everything about it, especially since I already own a golden-yellow cardigan and this seems to be the spring and summer where I will need a cardigan, or more, every single day….

This was one of only a handful of days, over a month’s time, where Florida was warm enough, in March, to sit out at our favorite lunch waterfront spots in a sleeveless shirt!

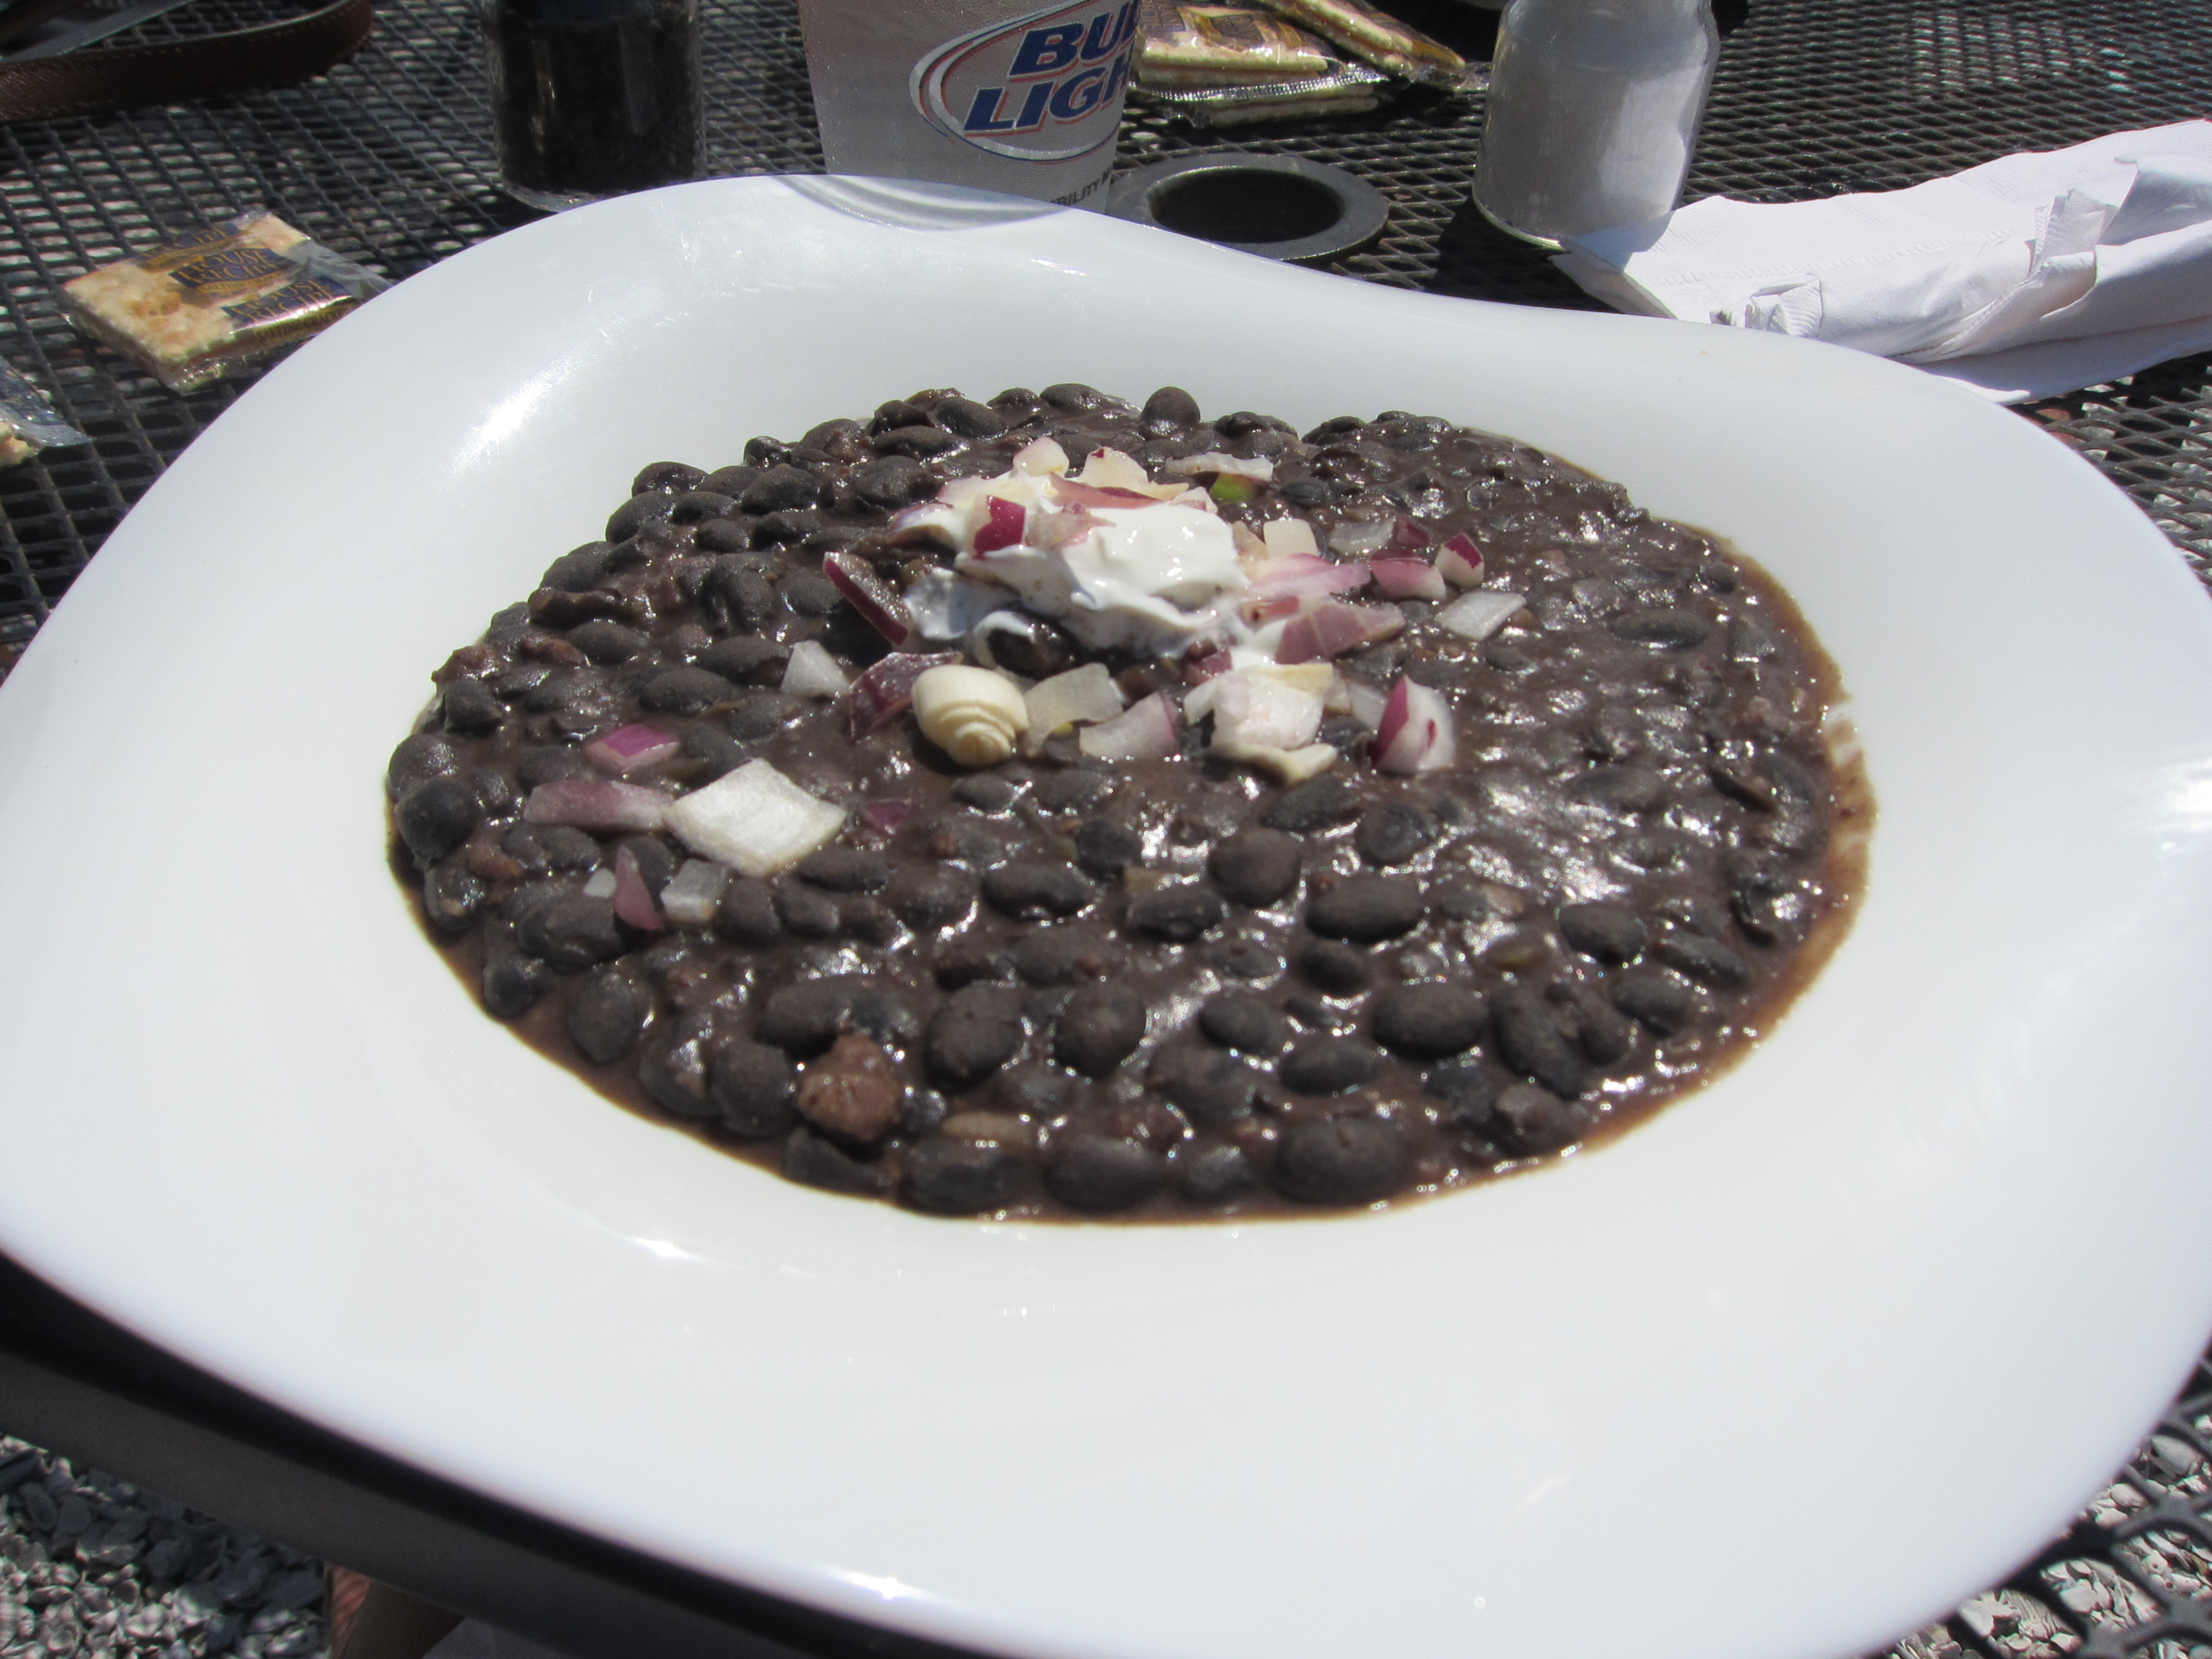
The view at I swear The Bridge Tender, has the best black bean soup on the island of Anna Maria. Seems as if everyone serves a “their” version. It usually consists of black beans, over a small scoop or white or yellow rice, topped with onions, jalapeño peppers and sometimes sour cream. The view might sway the vote just a tad, but nonetheless, in my opinion, you just can’t beat a good bowl of black bean soup, while watching the water!

The best black bean soup on the island.

I could use a bowl about now. April 20, and in Michigan it’s still snowing…….

April 20, it's still snowing in Michigan

Linking up with:
Finish it up Friday
Can I get a Whoop Whoop?
A Stitch in Time

Posted in Eating, Finishes, Sewing, Travel | Tagged , , , , , , , , | 7 Comments

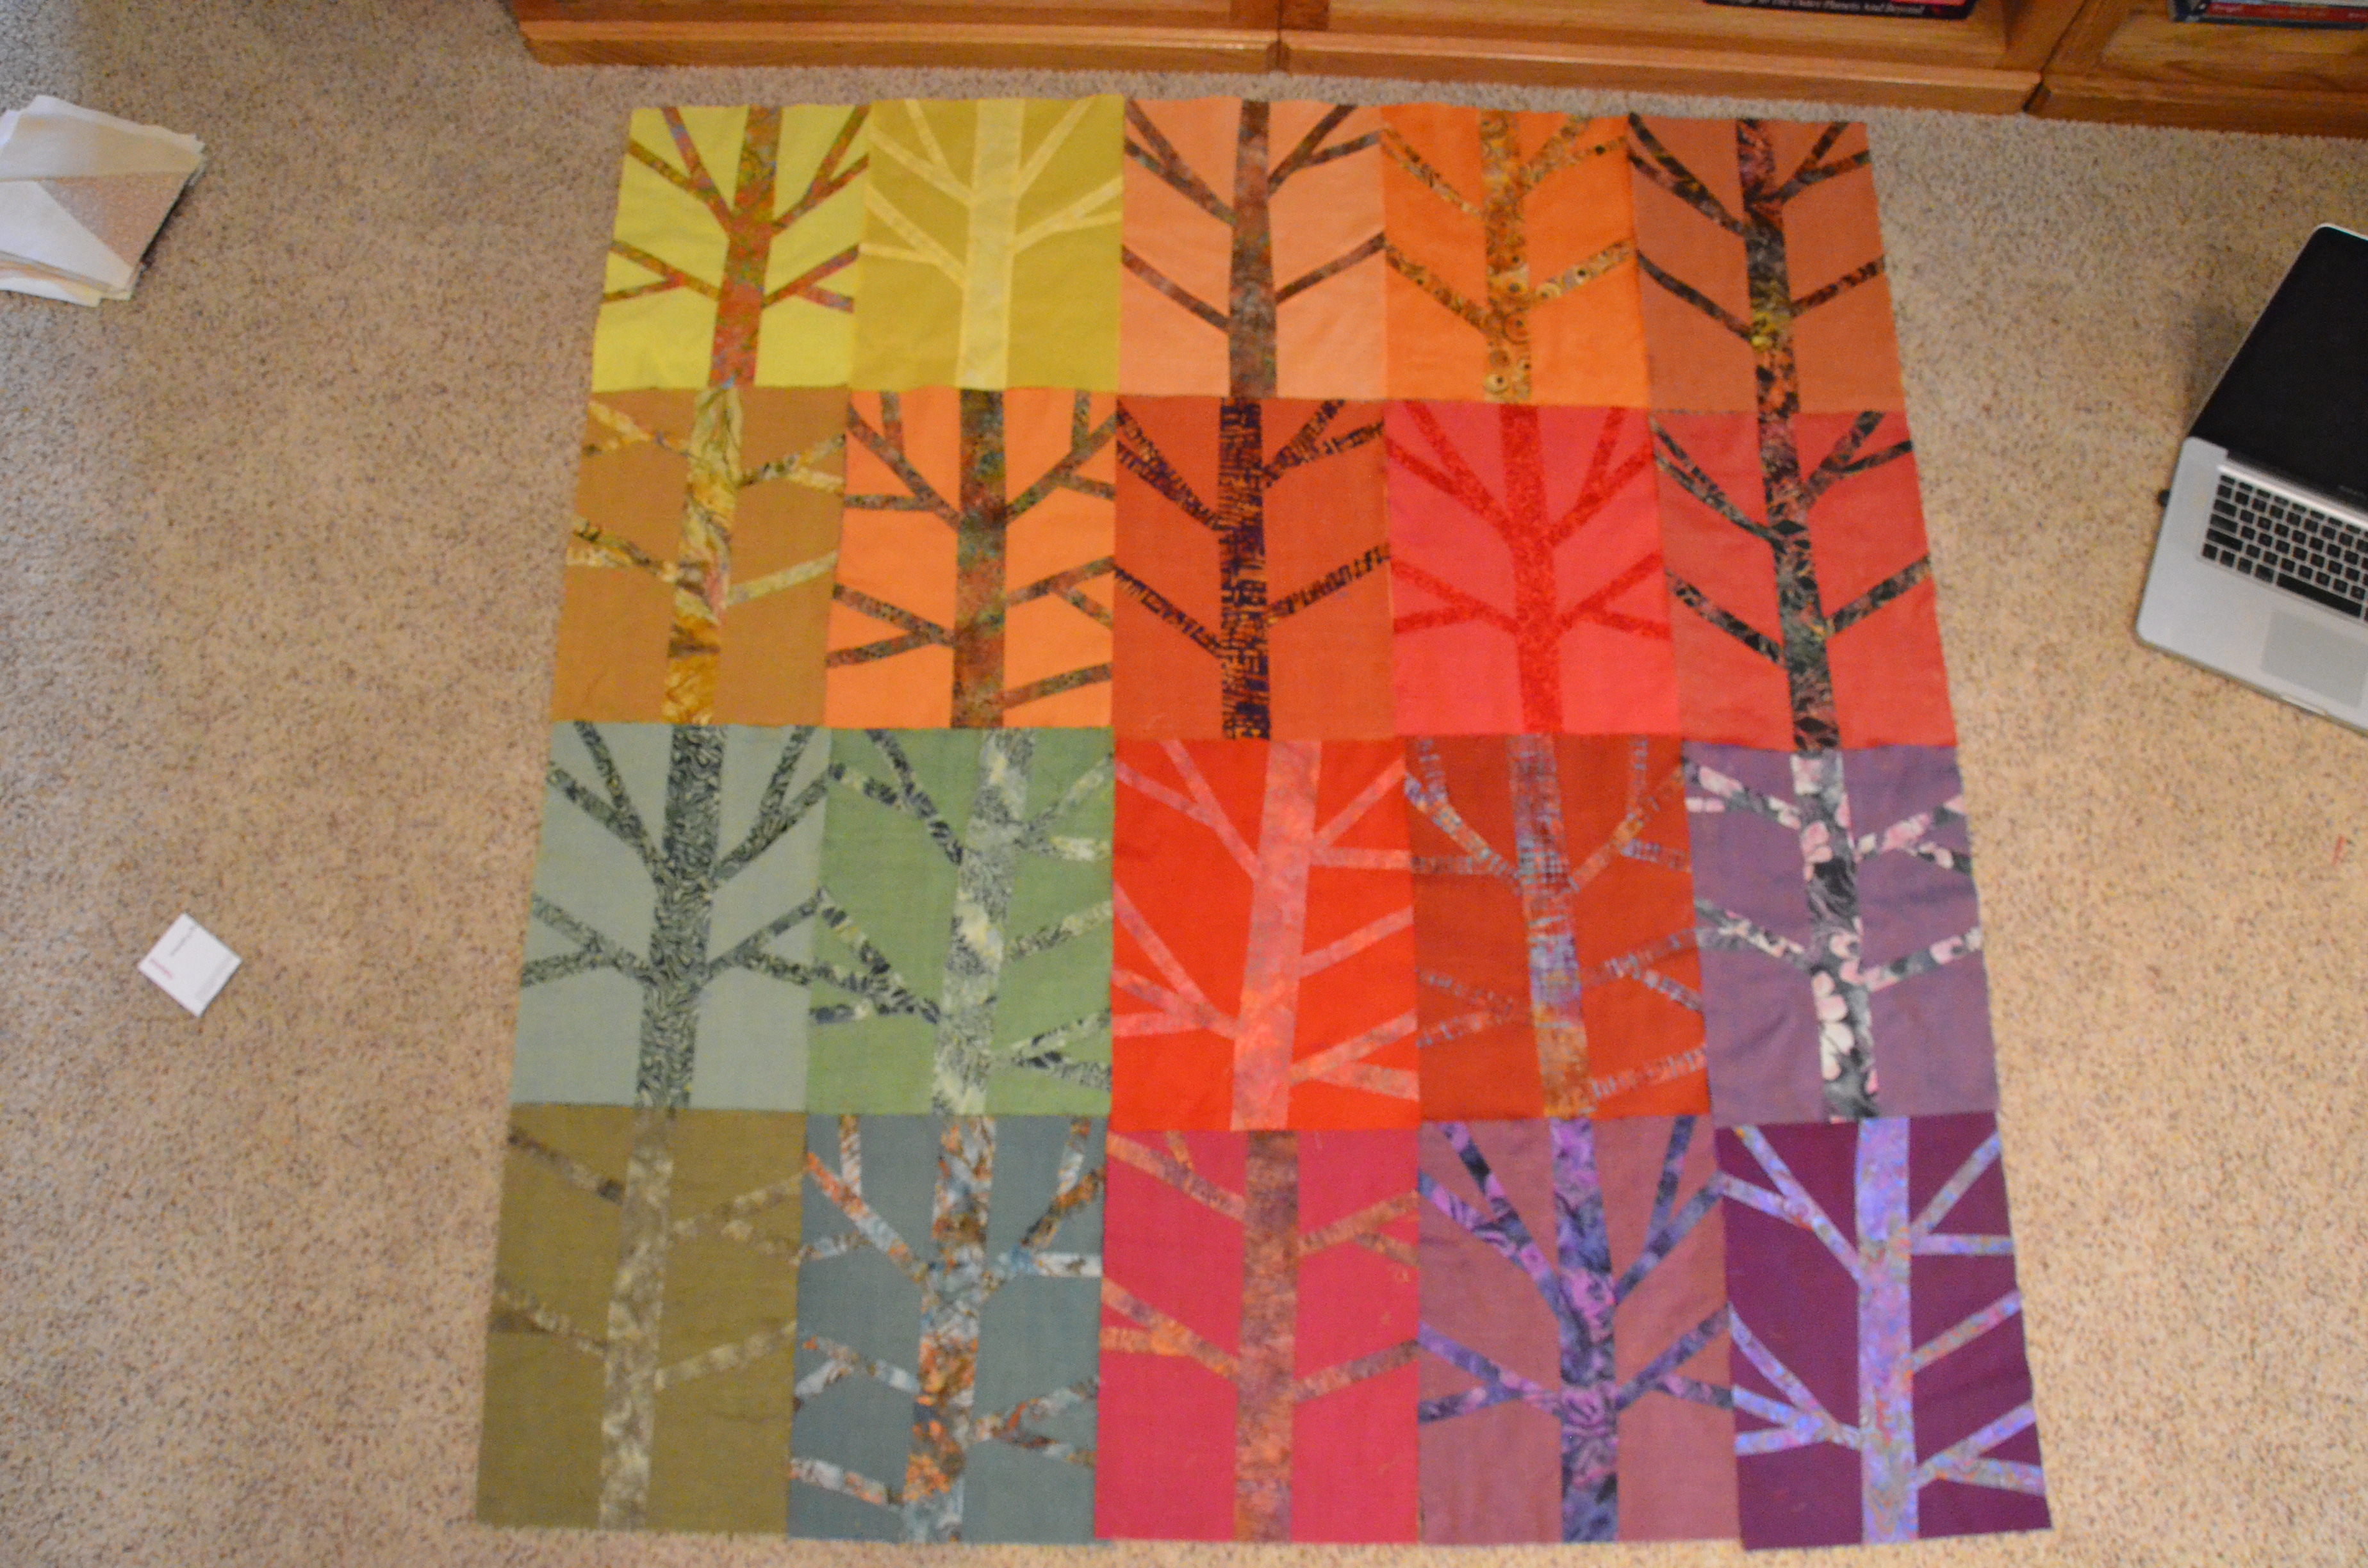
Next up… a fundraising quilt.

This is what I’ve been working on.

Squaring up blocks

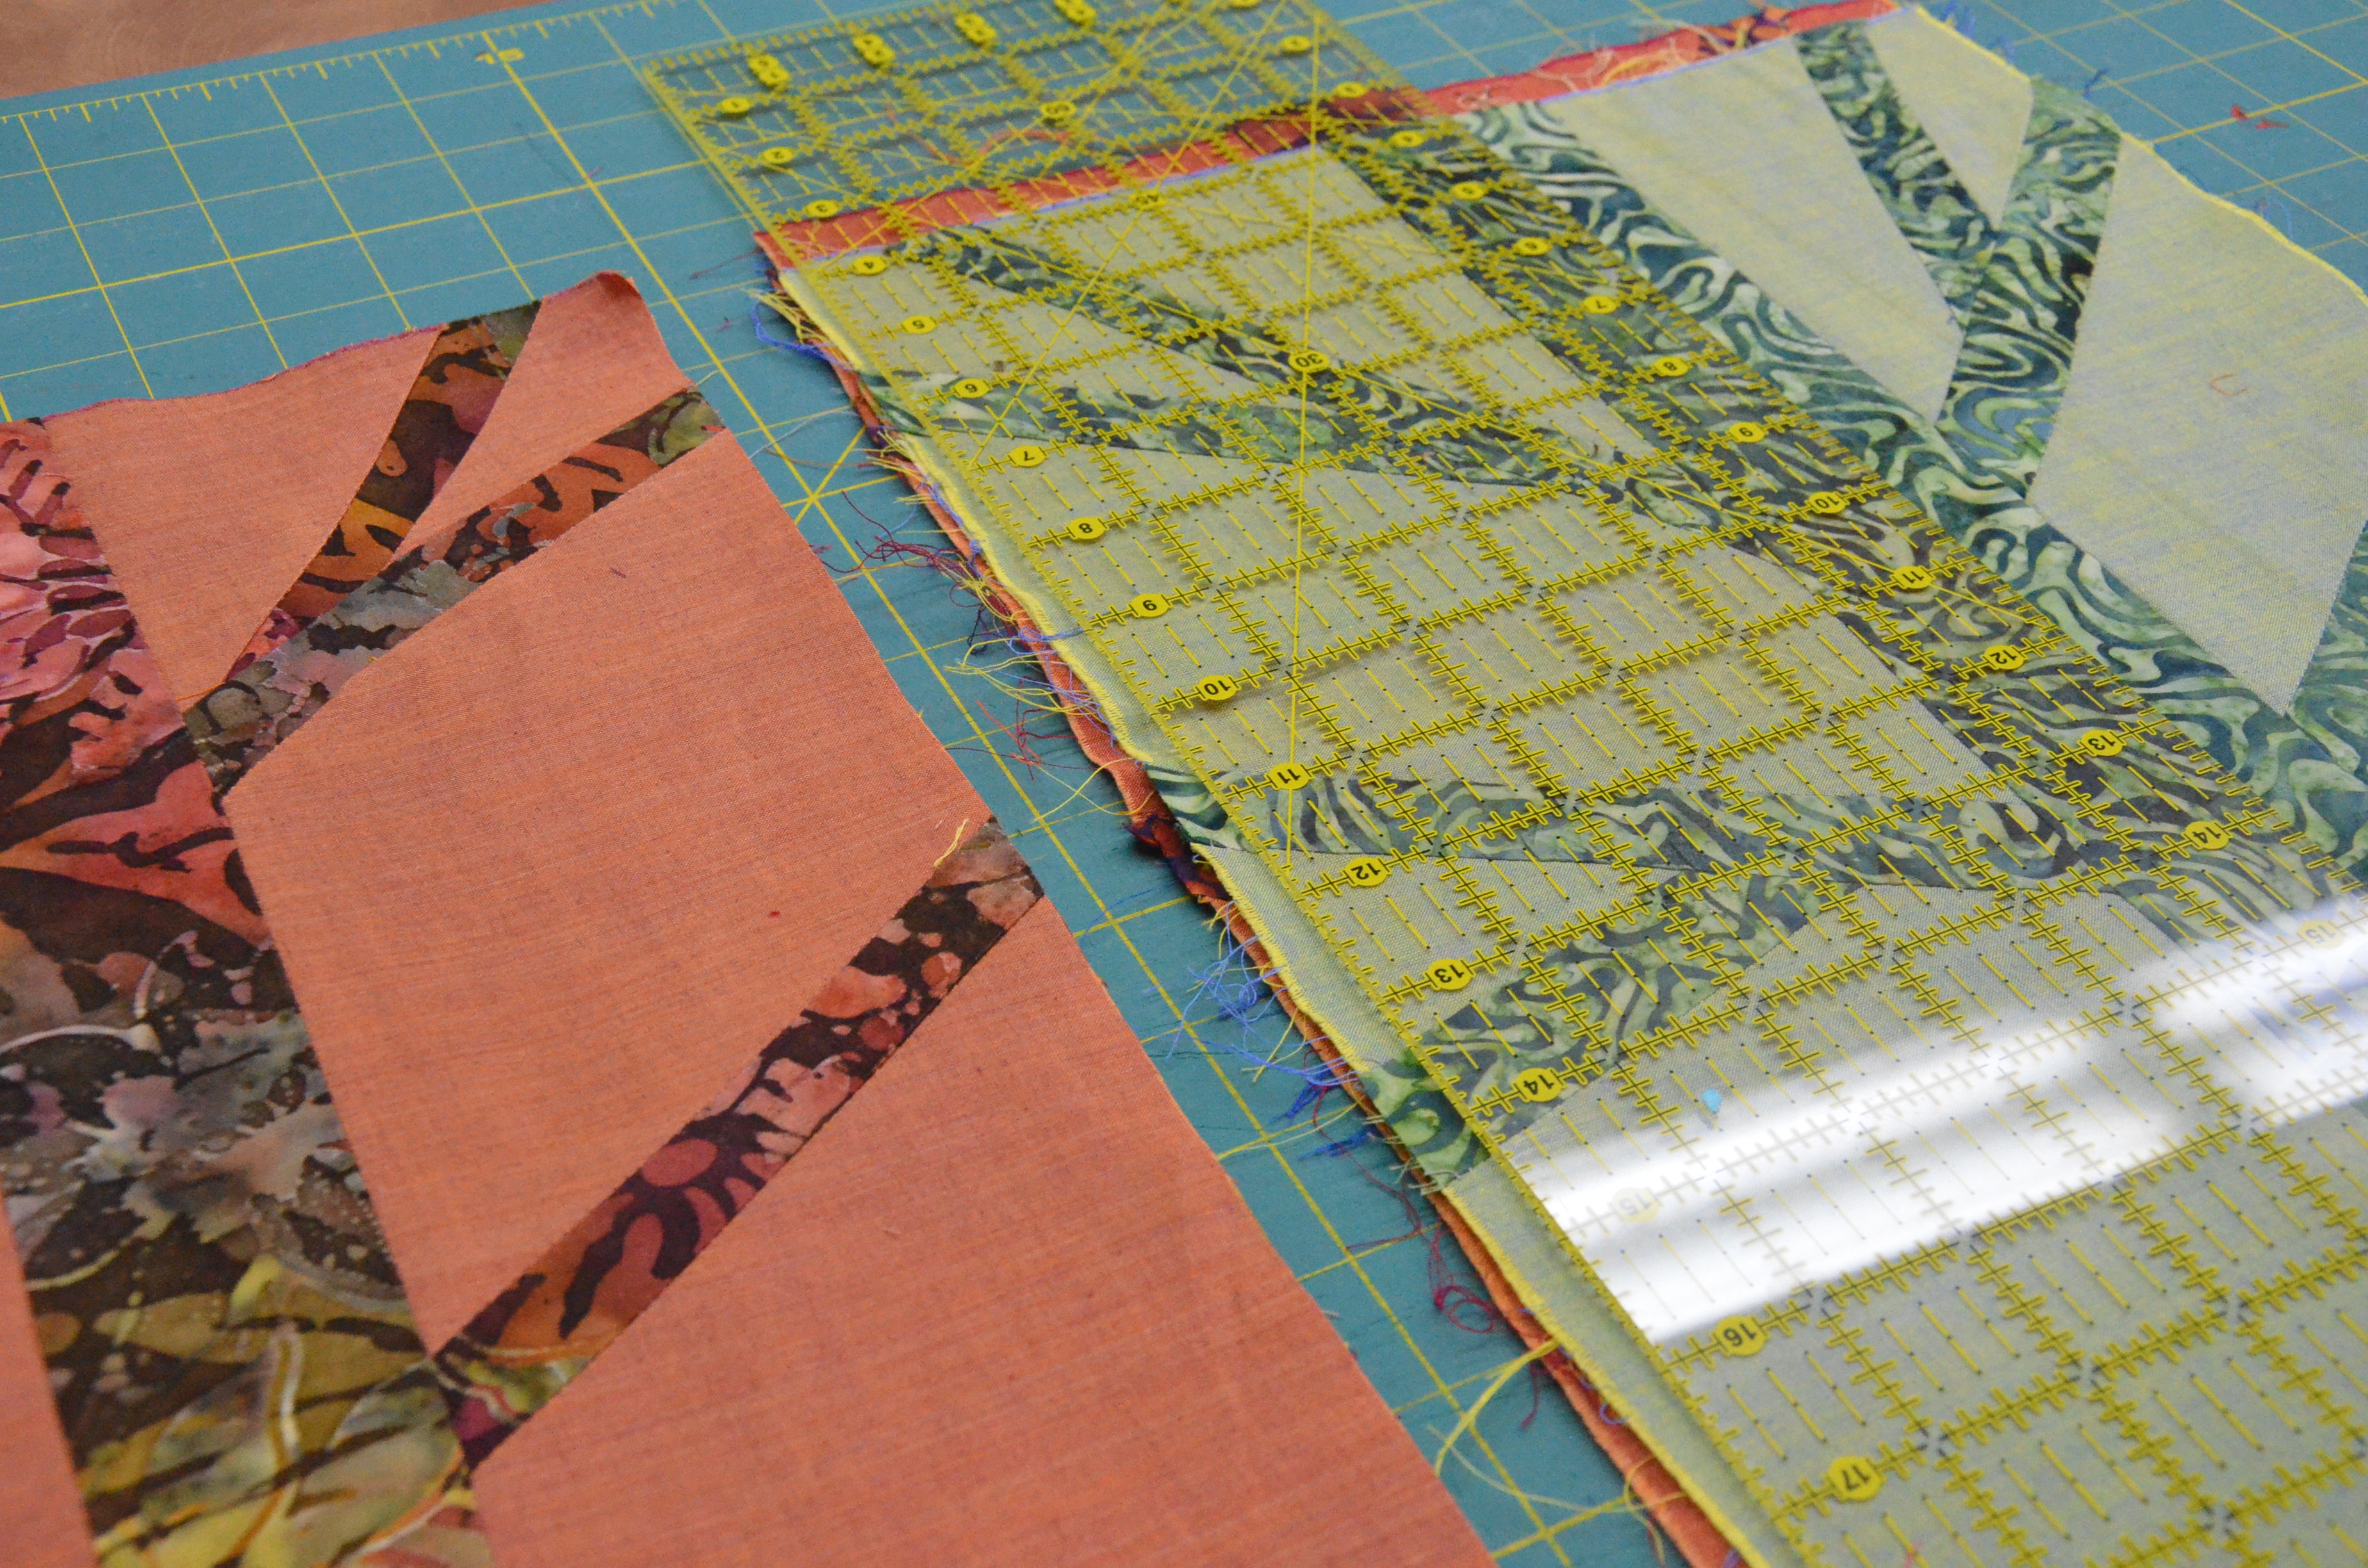
I’m squaring up blocks, that after I made them, I decided I should soak and rinse to make sure nothing would bleed. I don’t normally prewash, but I’ve never used anything like Oakshott cotton and the pigment is so dense, I got nervous about fading after I made all the blocks. I hand rinsed each block, squeezed them out, tossed the in the dryer, with a dry towel for about 15 minutes then stretched them out square and pressed them the rest of the way dry.

I drew me up a grid, using pencil and a scrap of white fabric, and pinned it to my ironing board. I used this to roughly square up blocks as I pressed them dry.

Good news? Not one drop of dye could be found, from the deepest purple, brightest, yellow, rusts or even the reds. I could not be happier!

TTrimming blocks to the smallest blocks' size

Then I squared them up to the smallest sized one and arranged and arranged to match the color arrangement in my head. I find that taking pictures, then looking at them on the computer screen is more accurate than my eye, when arranging colors and patterns. So lots and lots of pictures and rearranging and maybe even some email and texting going on before I finalized it.

My final layout.

Grow*ing* Benzie charity quilt

I think.

At least until the are stitched together.

More details to come….

Show and Tell

fabrictuesdayfinalcopy

WIP

Posted in Charity Quilt, fabric, Fabric Tuesday, Quilting, Sewing, WIP | Tagged , , , , , , , | 25 Comments

Pushing Reset

I’m sure you wondered where I disappeared to. Or maybe you didn’t notice?

We spend part of our winters in Florida and this year that part was March. It seems strange telling relative strangers, or relatives who are strangers(!), our plans ahead of time, so instead I just kind of dropped out of cyberspace. I contemplated writing generic posts while away, but it felt really good to slightly disconnect with no expectations. It was nice. Really nice.

I took lots of books, no quilting or hand work and very few pictures!

One evening we took a sunset, sailing cruise on the Manastee River. We randomly chose a boat at the marina and the captain just so happened to have two spots left for that night. We had a little history tour, astronomy lesson and maybe a little wine and appetizers. There were only 6 of us on board so it was really interesting. Highly recommend the Windancer!

DSC_5460

We took in quite a few of Tiger’s baseball games. I think it is going to be a good year!!

IMG_3555We enjoyed lots of fresh produce from a local farm market. We were also really happy to find that there was a brand new Fresh Market grocery store nearby. This is one of our favorite chains and we’ve missed it since it closed in Grand Rapids.

DSC_5362

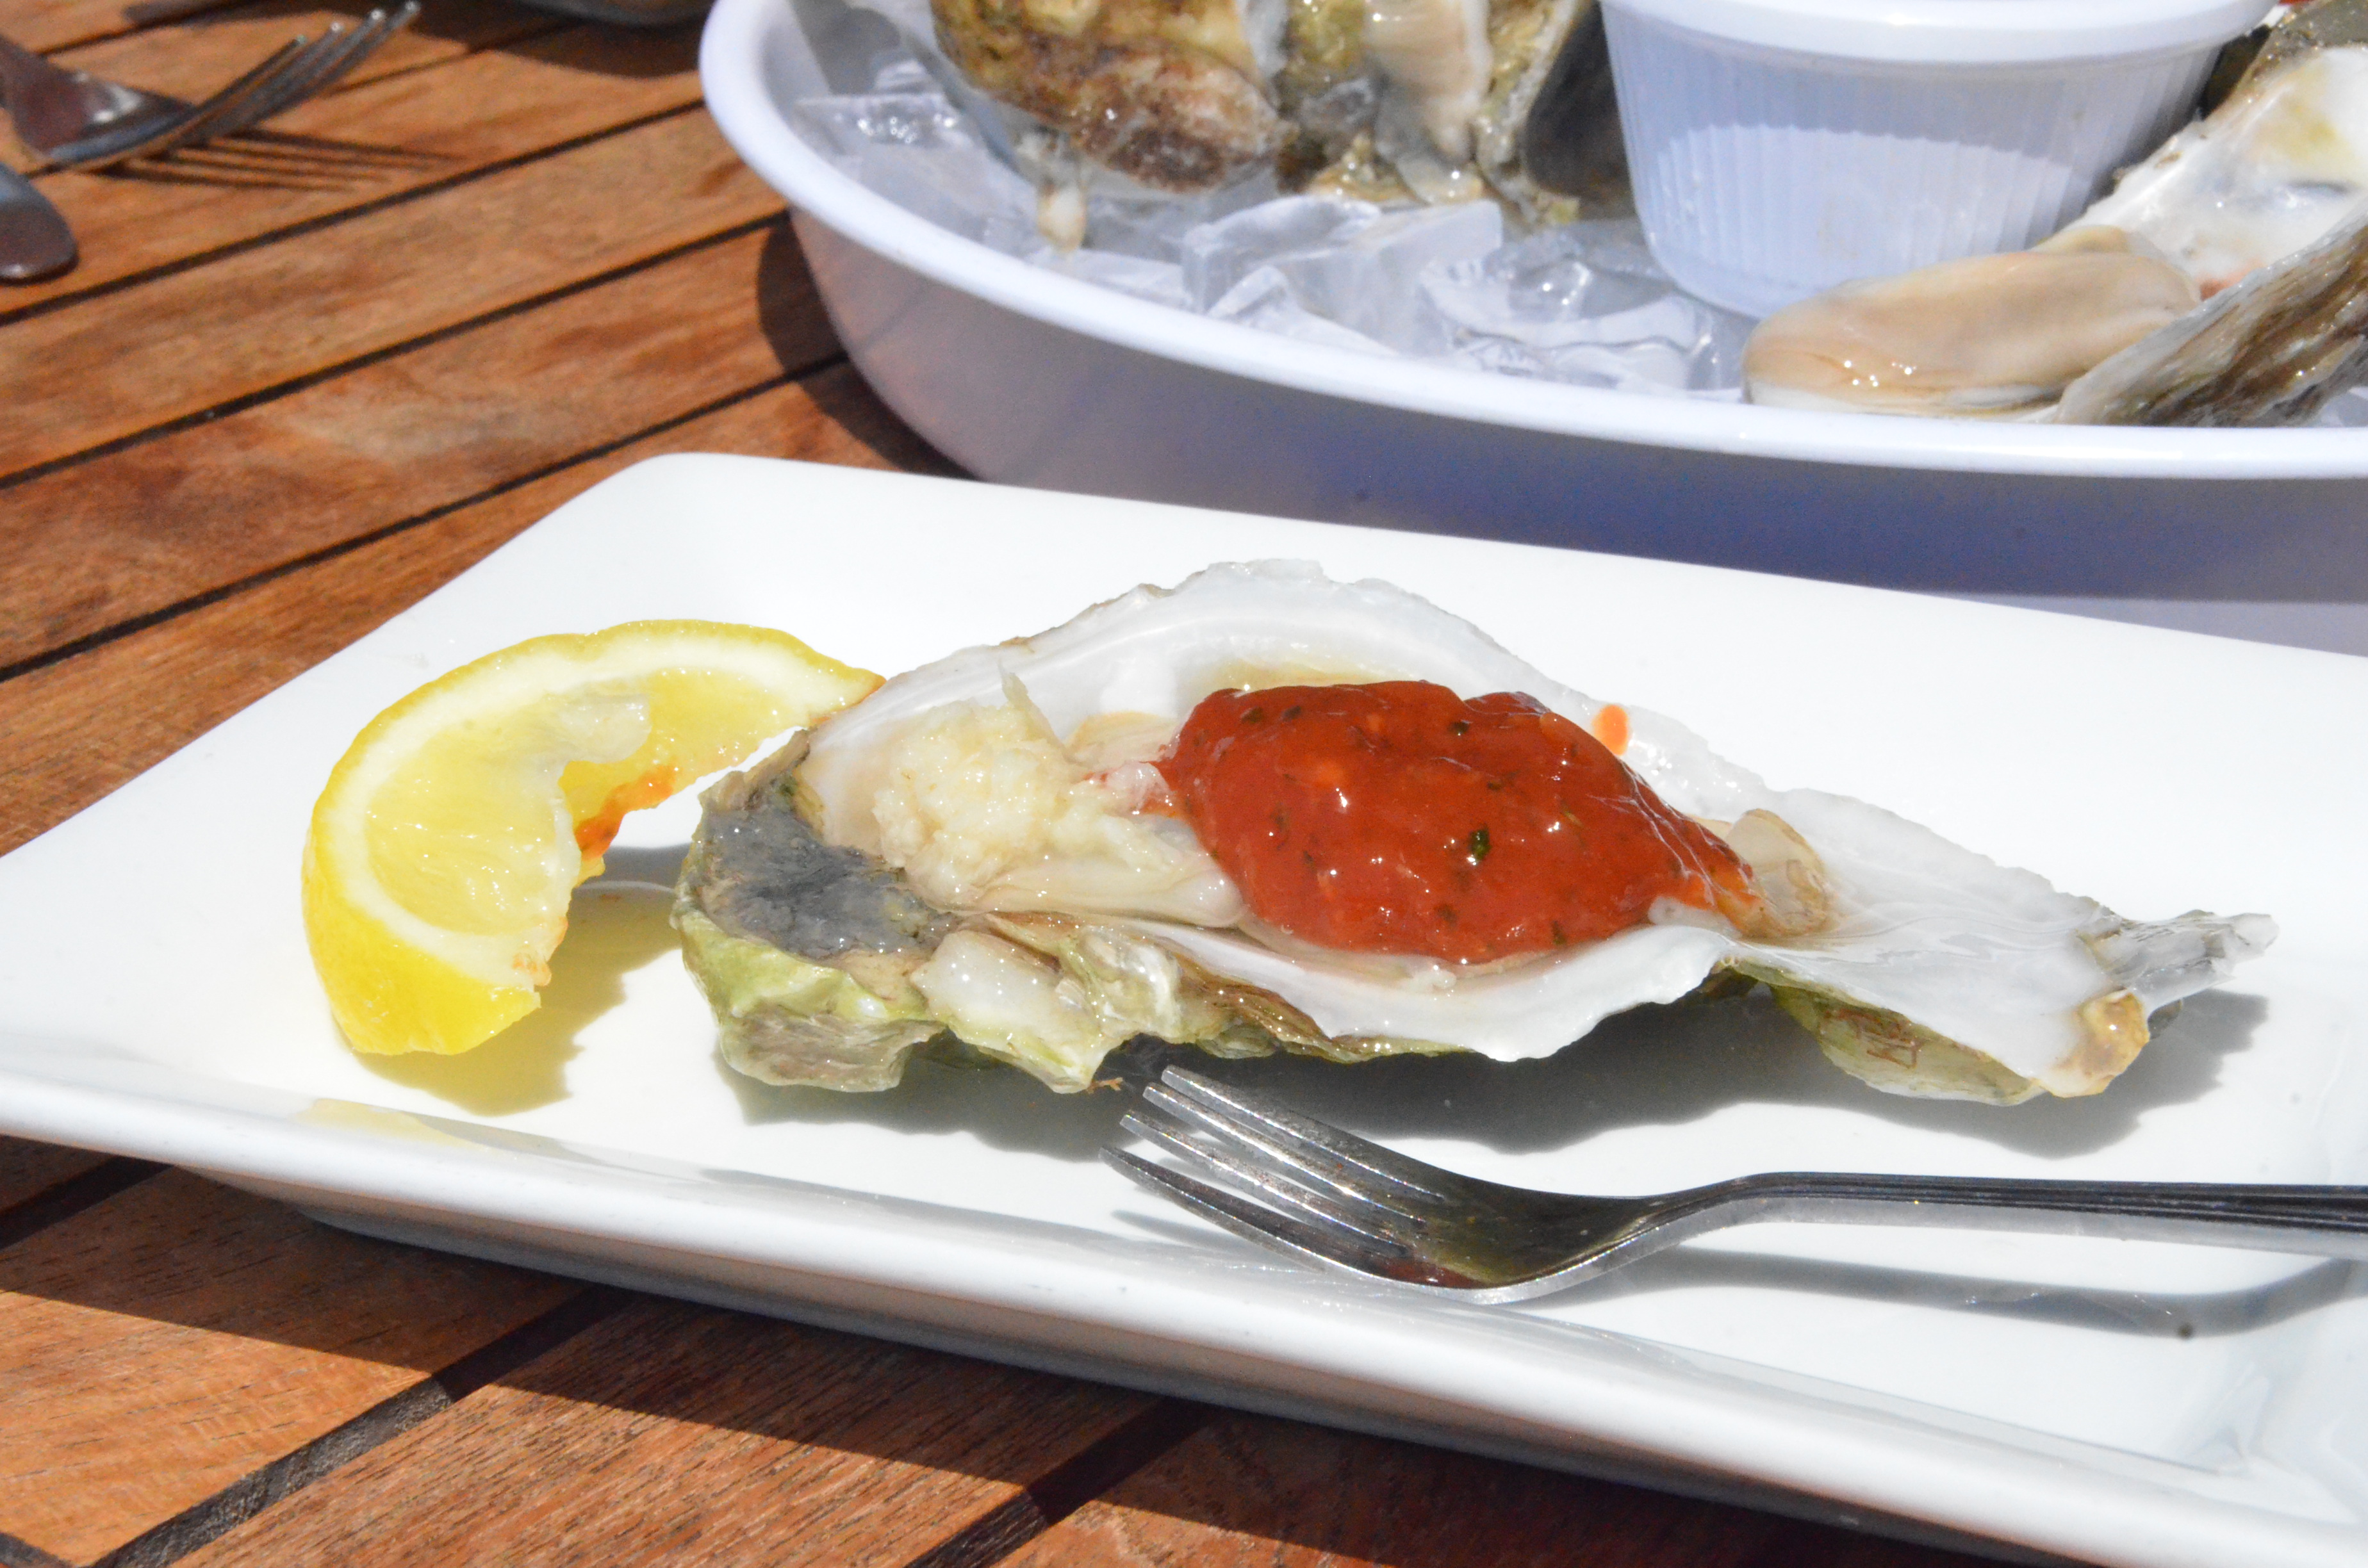
We enjoyed fresh oysters as often as possible! They were HUGE!!  And just look at that sunshine! Can’t get enough of that, either!

Fresh oysters

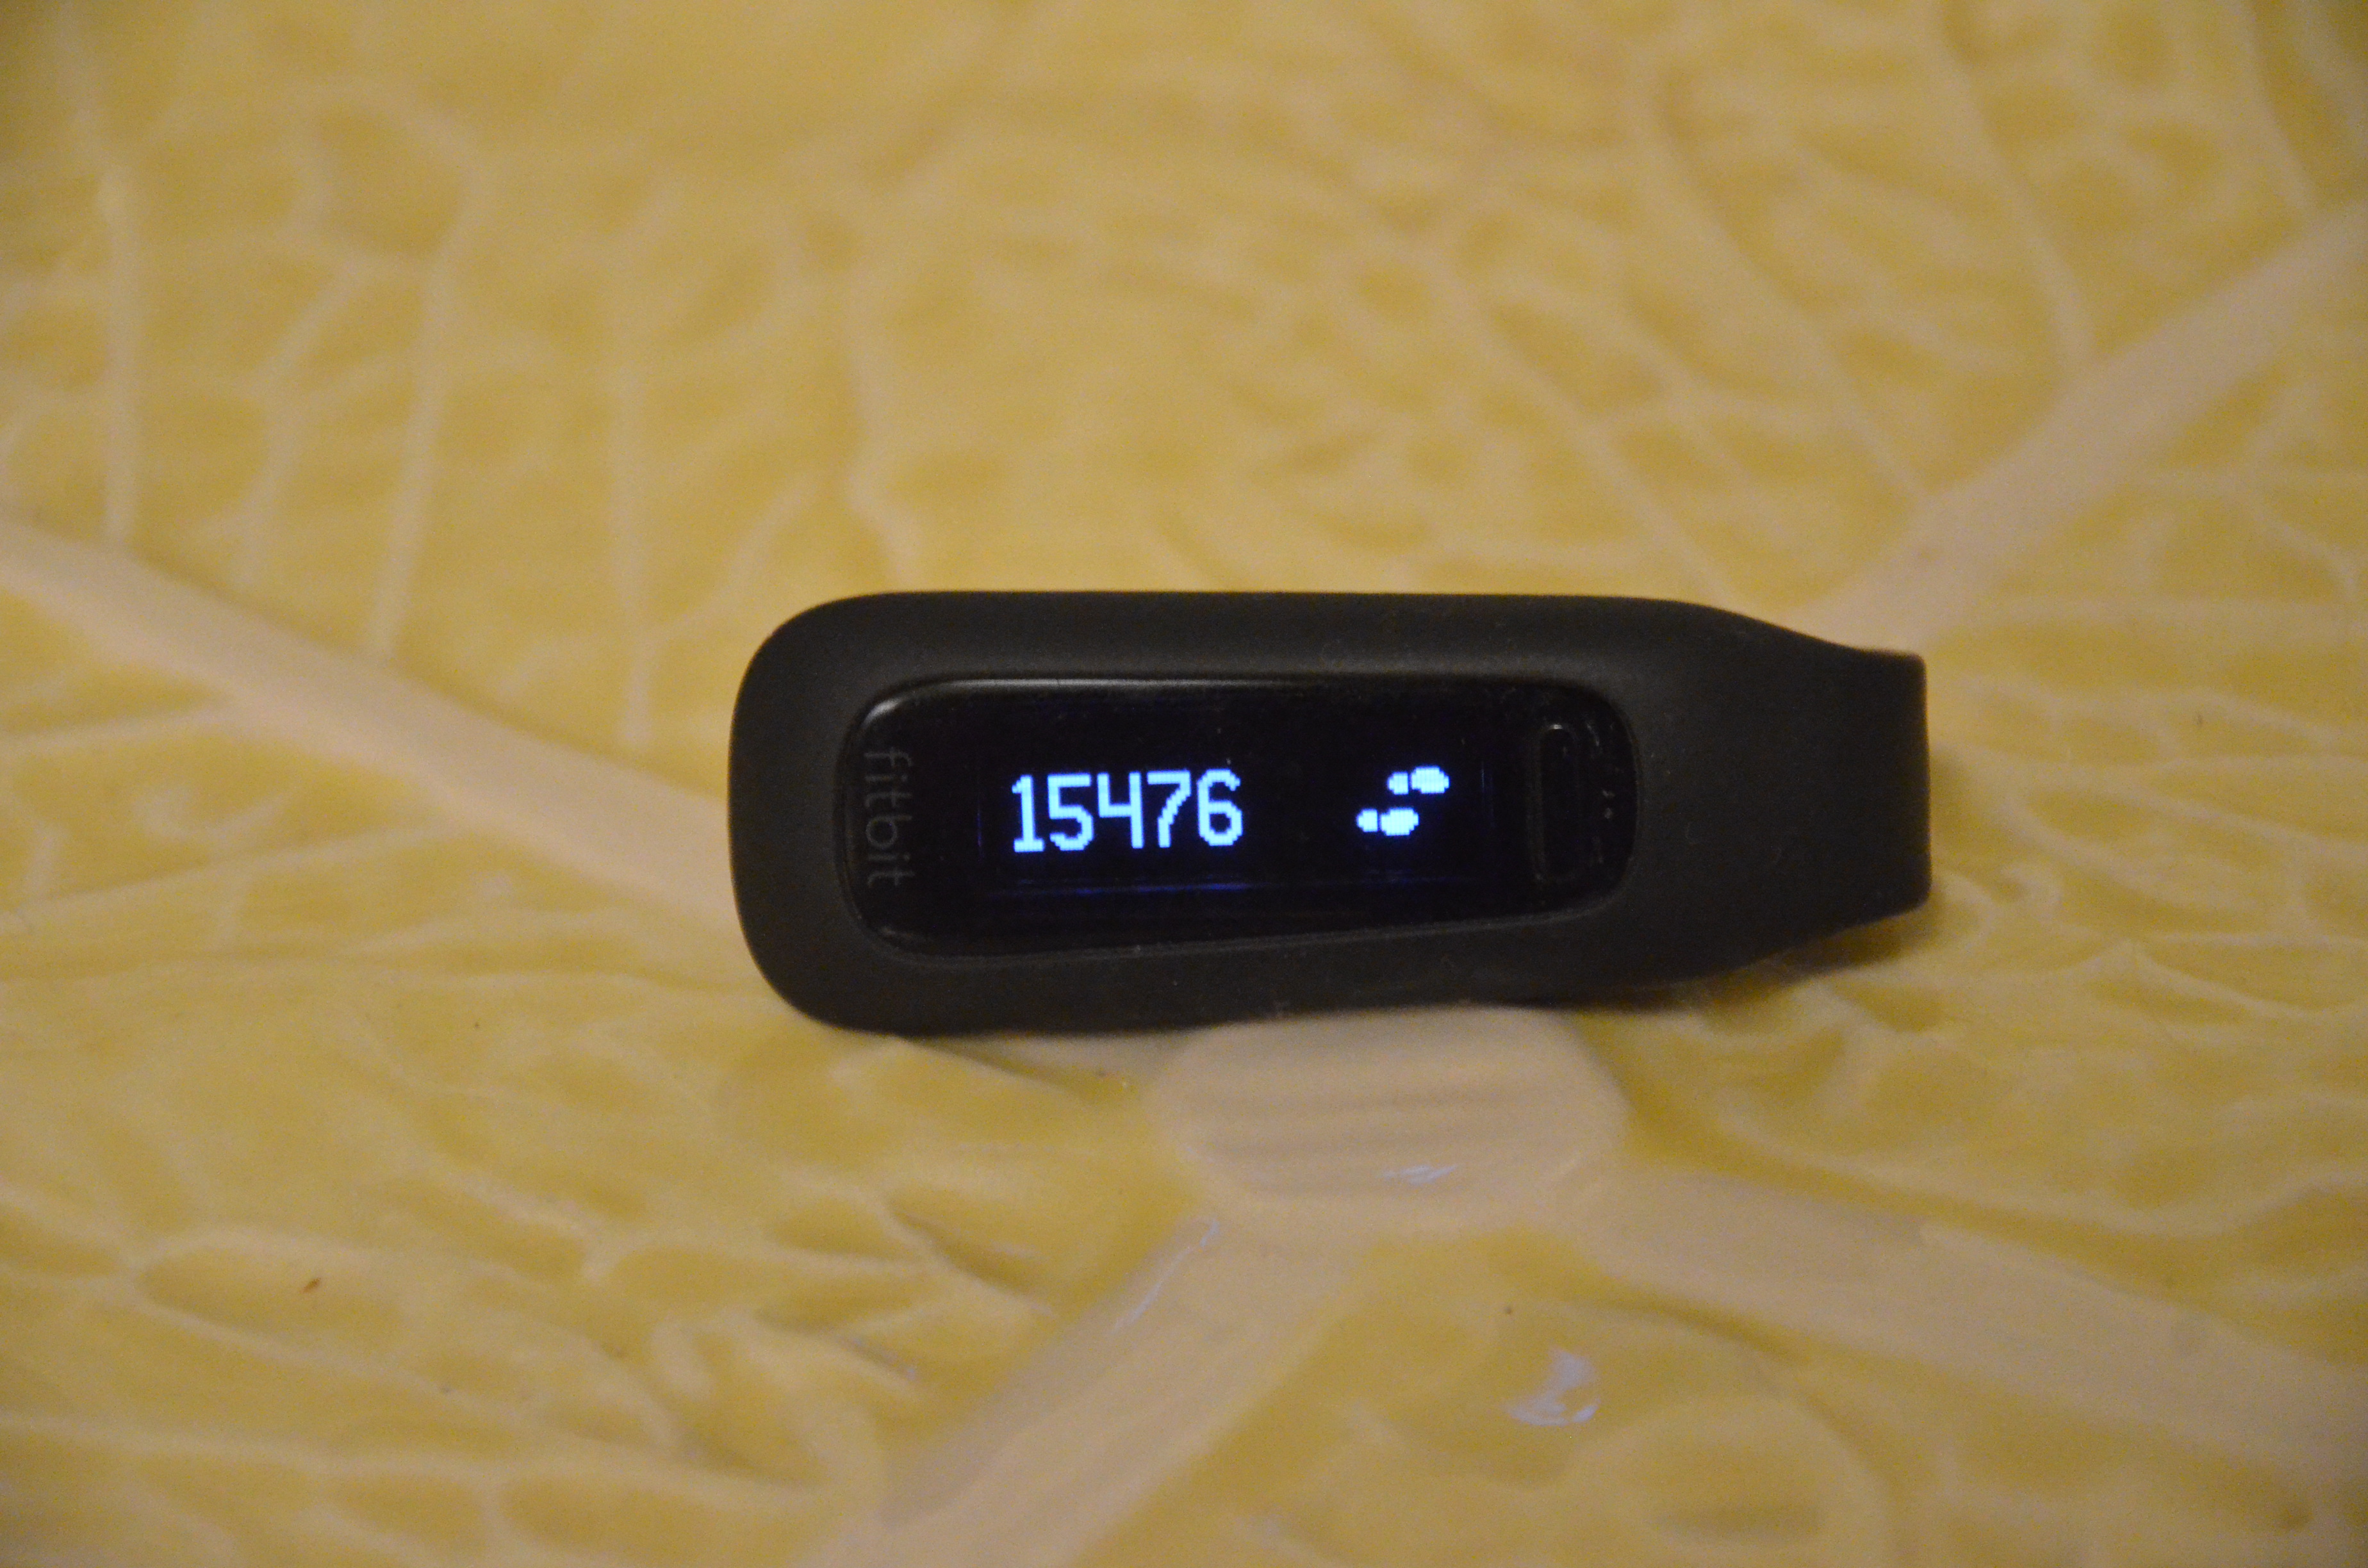
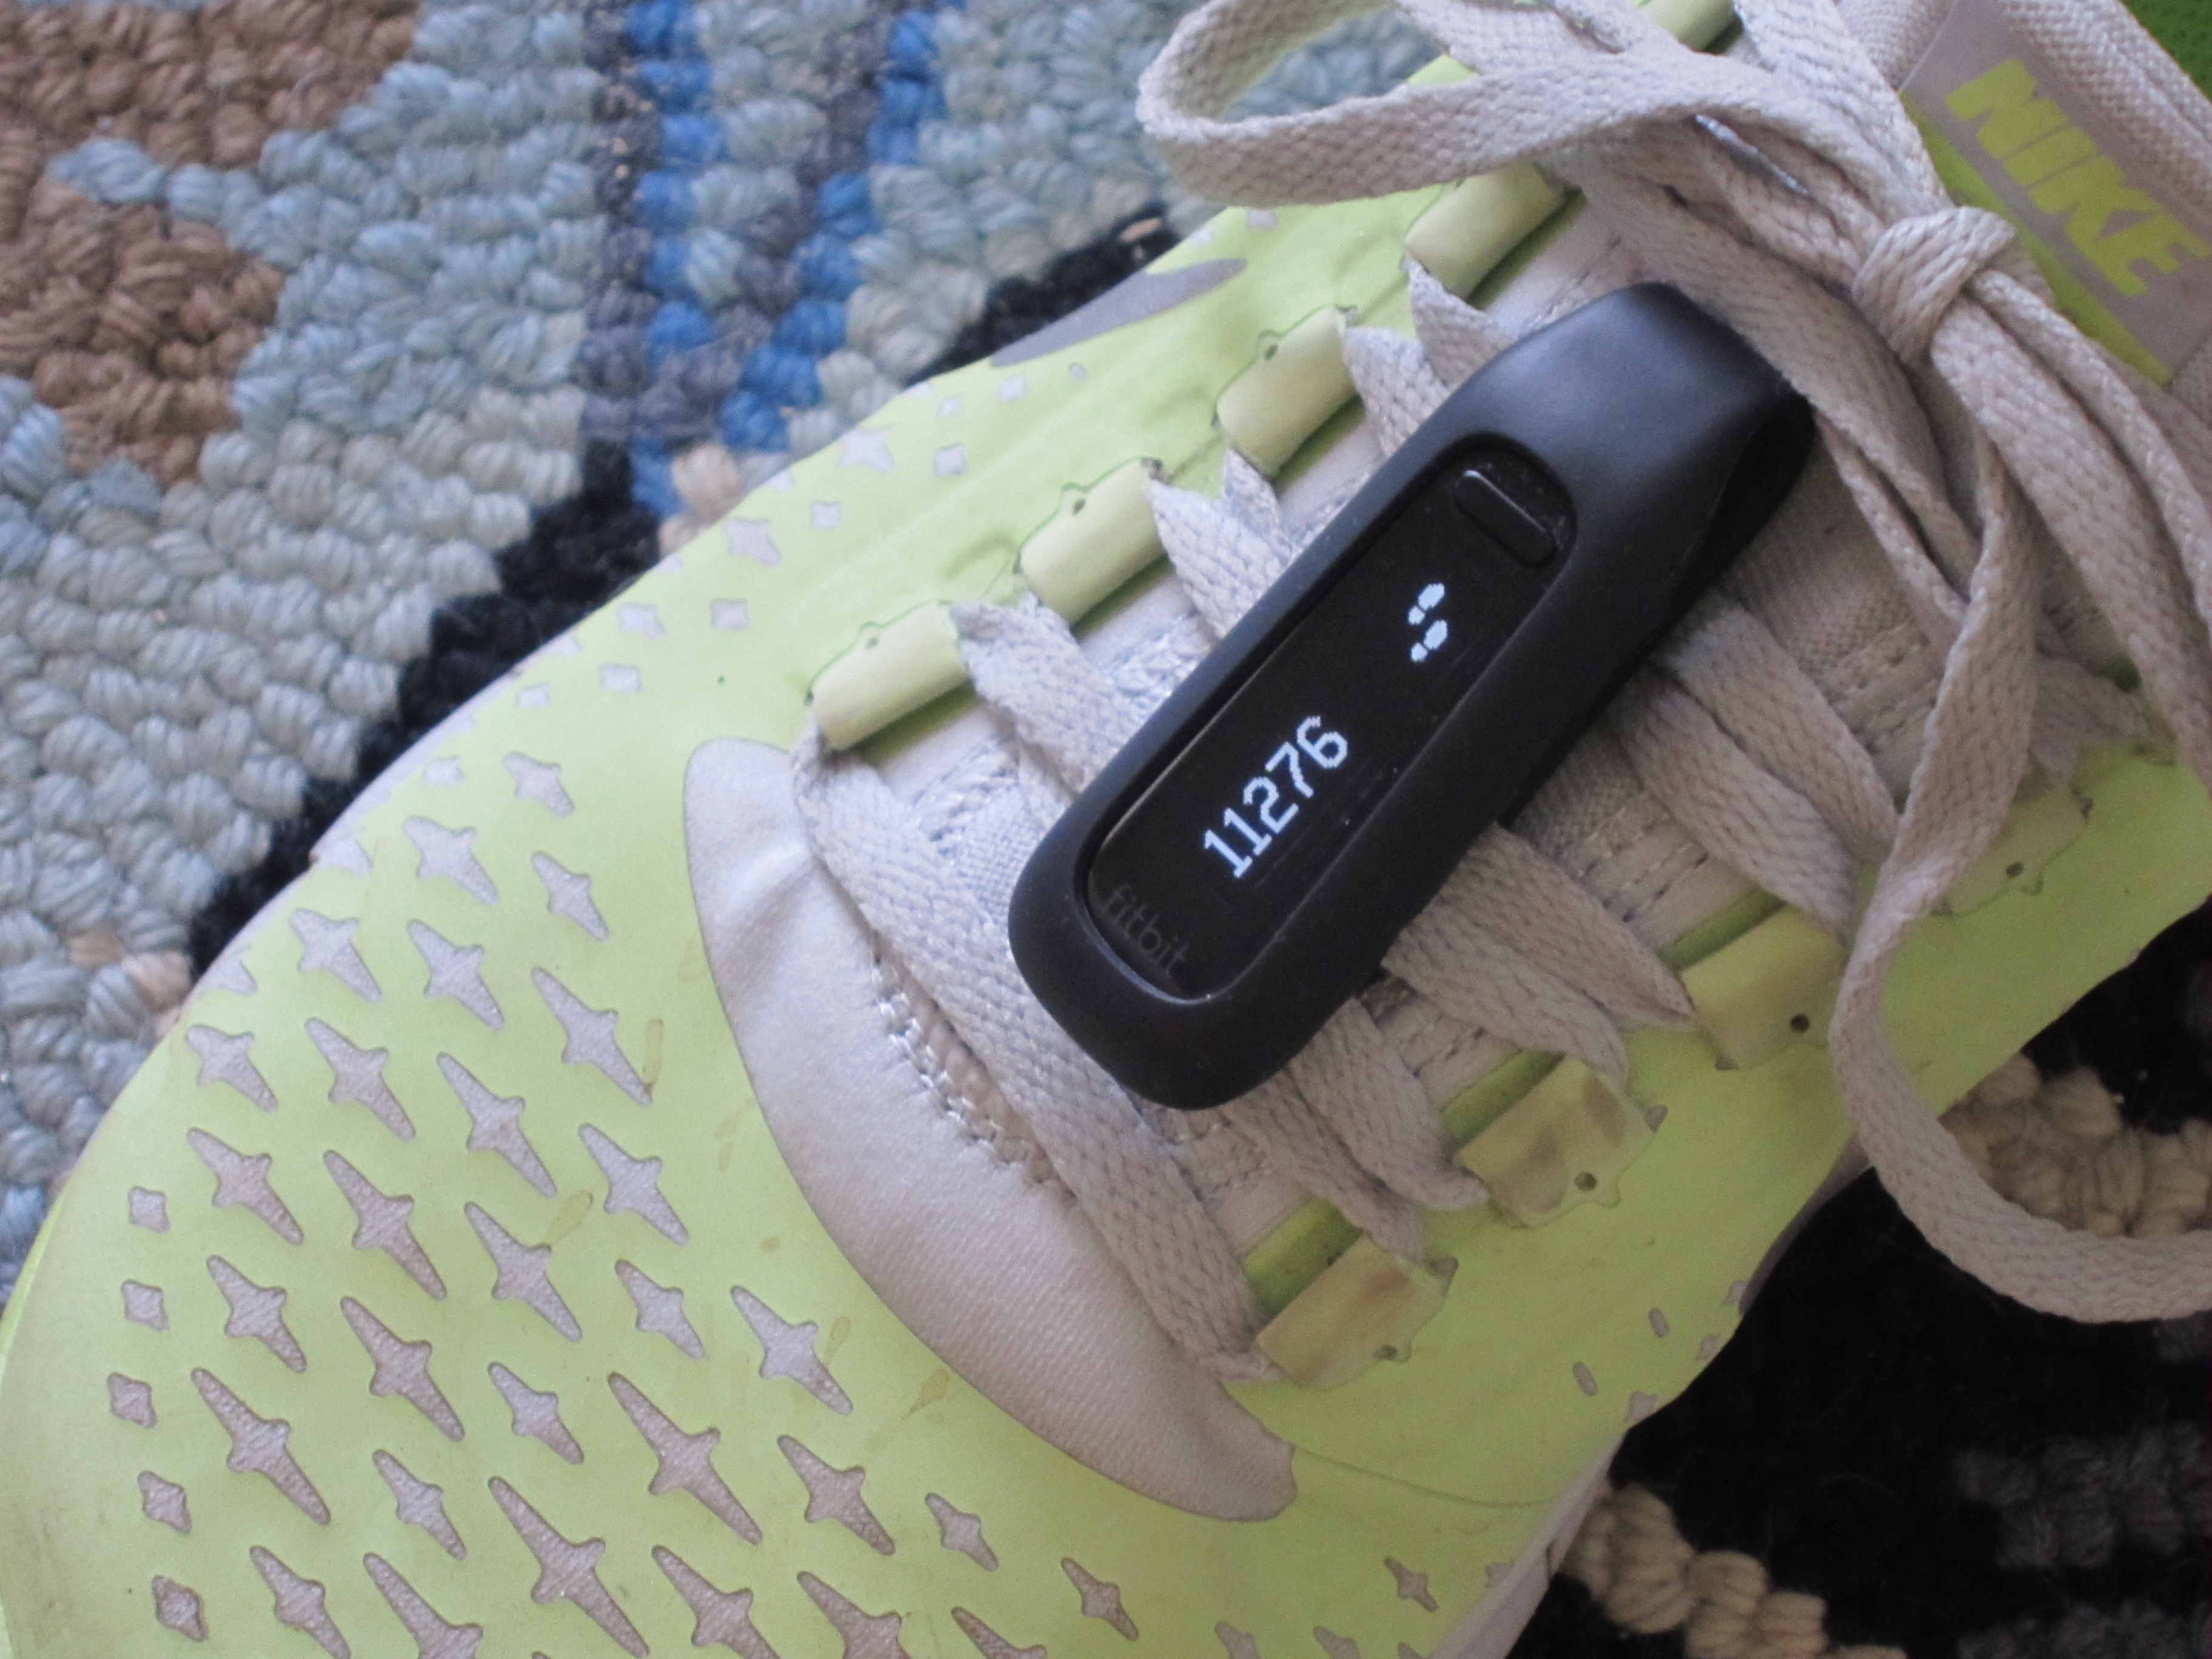
And lots and lots of walking. We walked about 5 miles first thing every morning. I think we only missed 3 mornings for the entire month. And even then we made up our 10,000, minimum steps, later in the day. Now that we are back home, we are waiting for the cold to move on out, to get back at it. Outside.

Fitbit Fitbit Fitbit

Getting out, breathing the fresh air, getting away from the TV, news, and media really does revive a person. Listening to your inner voice, not those being pushed on to you is like pushing a reset button.

Marie Selby Botanical Gardens

Oh and the sunsets……. I think they were showing out, this year, they were just gorgeous. The perfect ending to any day. Don’t you think?

Sunset Anna Maria Island, FL

We feel blessed to be able to spend part of our winter in Florida, but it sure feels good to be back home!!

Posted in Favorite Things, Nature, Travel | Tagged , , | 3 Comments

4 hours to a smarter packed traveler

Per the norm… it all started with a trip to my local fabric store….
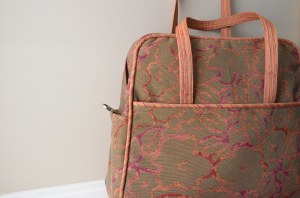
Carry on bag

They have a second building with tons of home decor fabrics at discount prices. Rolls upon rolls of upholstery fabrics that are just a delight to behold. Most of them run about $18-25 a yard which is super cheap compared to most places.

But still…. Ouch!

I’ve been going to make me one of these Amy Butler Weekender carry on bags since I first saw the pattern, years ago. Well, this week I decided it was finally time. I need one! My usual carry on isn’t big enough for my laptop and if I have to gate check it then the purse I carry is dictated by the size of plane I am traveling on because I then have to toss my laptop in to my purse. This is so not cool.

I spent probably an hour trying to decide on which fabric to pick, what coordinate for the lining and piping… “Ouch, this is going to be way more expensive than I thought or dreamt”, kept rolling through my head, hindering a decision. Then I spotted the green print propped up along the side wall and thought that was sweet with the raspberry and orange flowers, but of course I’d done that 100 times already. Everything in there is sweet! But this one wouldn’t show the grunge of traveling like the off white Parisian print I was carrying around on a 54″ roll…. As I continue digging around, trying not to have all these rolls spill down on me, while holding on to fabric… I spot the orange one and it is has the same raspberry in it and appears to come from the same collection. Then I spot the sign that says all rolls of fabric 1.00 off per yard. Can’t beat that. I take a look at the tag and what??? 4.97??? Then a dollar off? Woah! You’ve got my attention now!
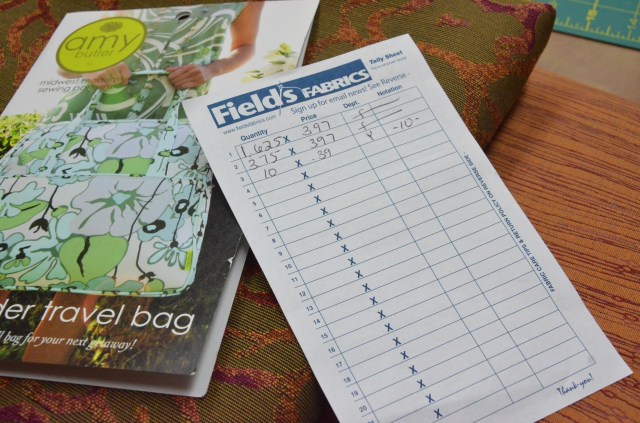
Amy Butler Weekemder fabrics

It’s it funny how quickly you can decide on fabric choices when there is a bargain to be had?!!

And yes, I bought way too much fabric, I didn’t have the pattern with me and apparently reading those small numbers, off a website from my phone, cost me a yard and a quarter of fabric, I didn’t have to spend. At least now I have extra to make coordinating pieces…

I’ve made lots of bags and this pattern had no real surprises to it. It does get really, really thick in places and you’ll want to have a stock of heavy-duty needles, because no doubt your break at least one, I broke 2. I started out on my newer machine, a Janome 6600P. I’m not a big fan of the 3 different zipper feet I have for this machine and since that’s what you use pretty much the whole time, because of all the cording, I wasn’t having fun. Once the fabric got to about 10 thicknesses, that machine makes a horrible noise and says “stopping for safety reasons” and there you are, stuck. Turn it off, turn it back on, wait for it to reload…. Adjust all the settings, again, or else hit the zipper foot with the needle…. Every time I turned around… What is up with that? Does anyone know how to bypass that? I don’t believe it stopping for safety. I just want to sew!!!
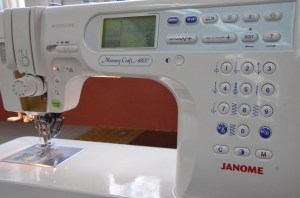
Janome 6600P

That’s when I decided to step up to my older machine, which I highly prefer for zippers and cording, anyway. I say step up because this one is set up as at counter top height as a standing sewing machine, which I really do love! I bought this Bernina 1080 in the early 90’s, back when it was still made in Switzerland. At that time I was sewing, for a living, out of my home, and this baby was a powerhouse, still is. It has put in more replacement zippers than most people can even imagine. The throat on this machine isn’t as large as on the Janome, but that really wasn’t an issue here. The only reason I bought the Janome was because this one was aging and I knew I would eventually need a back up machine for service time, which can be slow.

Bernina 1080

So the changes I made, weren’t changes as much as additions. I added a 6″ x 8″ patch style pocket on one side of the interior and on the other I added a pocket the full width, lined with Peltex, similar to the exterior pockets. It’s the perfect size for my Macbook Pro!

Added pockets in my Amy Butler Weekender bag

I happened to already own the Peltex, the super, heavy-duty interfacing, the pattern called for, so I did use it on the front, back, base, large interior pocket, handles and just two layers in which Amy refers to as the false bottom… I did not use any other interfacing. With the heavier weight fabric, it was just not needed. Plus the time involved in cutting, ironing…. not a fan, if not absolutely necessary. And it wasn’t.

Adding hardware to Amy Butler weekender bag

I changed the way the zipper went in because I am persnickety about zippers. The way I did it caused the lining to need less seam allowances so it needed to be trimmed off close to an inch, on each side, before the center panel was treated as one. I stitched and folded the lining back tightly against the zipper so there is no chance of the lining getting caught in the zipper. Actually I stopped reading the pattern about here, because I don’t believe in hand stitching. If you can figure it out, you can work the lining and the front piece, kissing good sides together and stitch from one bottom corner, over the top and down the other side, (with the top zippered panel inside it), then pull it inside out and Wa La! No hand stitching! Repeat for the other side.

I lengthened the shoulder straps to 52″, the perfect, toss it over my shoulder length for me.

I also added these heavy-duty brass swivel snap clips with a tab attached down, in the side pocket, allowing me to attach a detachable shoulder strap, if I pack it too heavy. And because this bag holds so much, it weighed it at about 30 pounds, fully loaded this morning.
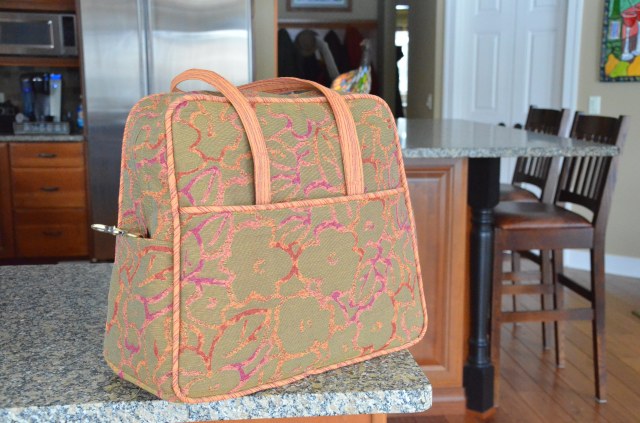
Amy Butler weekender bag with changes

Finished Dimensions for the Weekender Bag:
14” wide across the top of the bag
17” wide across the bottom
14 1/2” tall
7 1/2” deep

And in just four short hours and less than 20$ later, it is done, and I am out of here!!
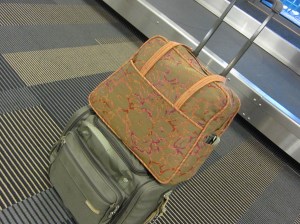
My Amy Butler carry on

Linking up with:

Crazymomquilts

tgiff-button-here

canigetawhoop whoop

A Stitch In Time 2013 1

Posted in A Sttitch in Time, Can I get a Whoop Whoop, Crafting, Crazy Mom Friday Finishes, fabric, Finishes, Linkys, TGIFF, Travel | Tagged , , , , , , | 31 Comments

Lots of Hugs II

I was glad to finally get this one finished. I didn’t want to have to mail it along with the previous quilt that goes with it. I don’t know about you but I despise shipping quilts.  I hear too many horror stories about them being lost in the mail, not knowing if they were received, and Lord forbid the uncomfortable having to ask if you received the quilt I put so many months in to creating. Okay, okay… Enough of that. I knew if I would hurry up with the embroidered labeling, and the notes, I could hand deliver them, when I was over that way, which I finally did. This week!

Cross Terrain quilt

Lots of Hugs II
48″ x 60″
Scrap quilt
Kona White
machine pieced
hand quilted
gifted to Margaret’s Hope Chest‘s
A Mother’s Hope program
February 2013

I actually cut the pieces for this one when I had “all” the scraps spilled out, back in May,  when I creating the first version of this quilt. You can read all the details here. So when this cause put out a call for quilts, I knew what I needed to do. What a bonus to have had this lovely piece of voile, tucked away to use for the backing, making it especially cozy. This is the first time I’ve used voile on a quilt. What a beautiful piece of fabric to quilt through! Between that and the Quilter’s Dream batting, this was definitely a dream to hand quilt!

Lots of Hugs II

So my finish this week is both Lots of Hugs II, but primarily getting both of these quilts wrapped up, notes written and actually delivered!
Cross Terrain quilt

Yay, for wrapping things up! I love Fridays!

Crazy Mom Quilts

canigetawhoop whoop

A Stitch In Time 2013 2

tgiff-button-here

Posted in 2013 completes, A Sttitch in Time, Can I get a Whoop Whoop, Charity Quilt, Crazy Mom Friday Finishes, fabric, hand quilting, Linkys, Quilting, Sewing, TGIFF | Tagged , , , , , , , , , , | 11 Comments
Quilting is paused…
as I play with my very first Liberty of London, tana lawn, yardage! This one is called Multi Flowers 0025a, over at Purl Soho, where I picked it out.

Liberty Tana Lawn multi

They have a beautiful selection and they are also one of the few online stores to carry Quilter’s Dream batting. I love supporting my local stores, but you can’t always get what you want….

Anyway…. with a picture in my head, an invisible zipper and hand-made rosettes, let’s see how this is going to work.

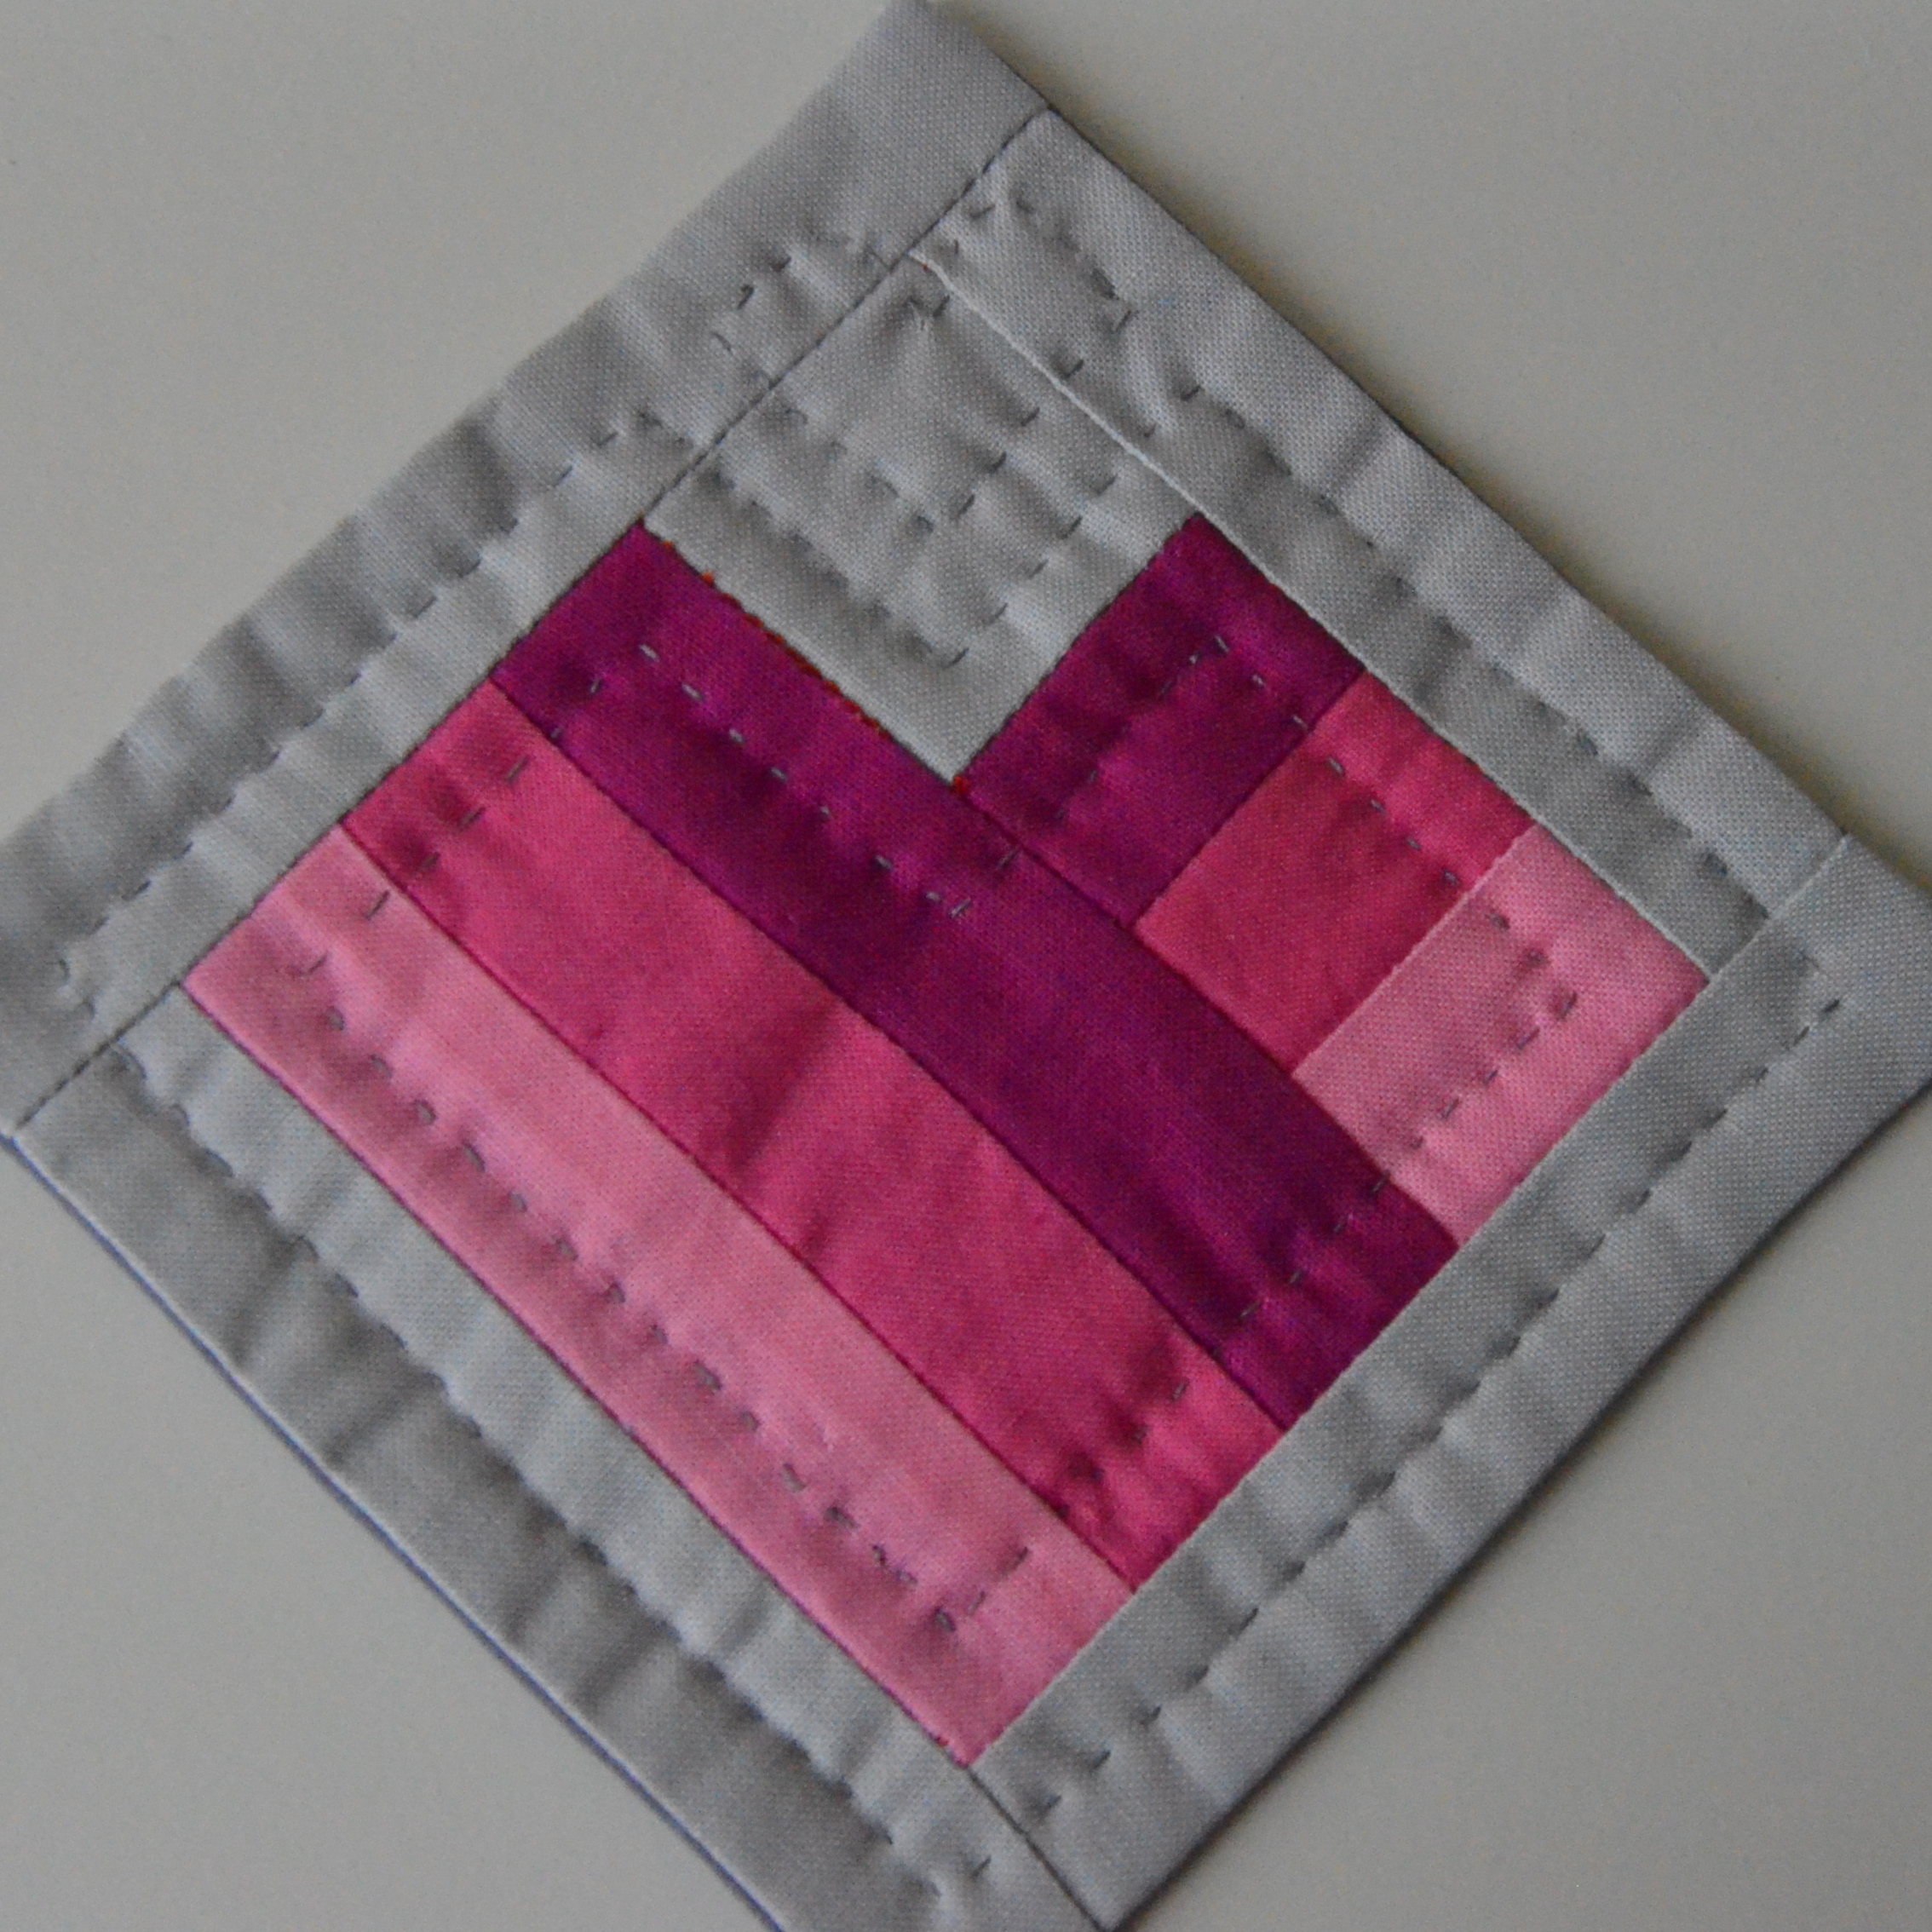
I whipped a pair of these coasters out for my Valentine, last week. I didn’t have a plan, just some fabric scraps. The first one turned out best.

Valentine coaster

The second one…. It’ll use, even if it’s proportions aren’t quite right. LOL!

Now I’ll type it up so I can make matching ones and you can make one, too, if you like!

For reference, I used 1/4″ seams. The small gray square is cut at 1 3/4″. The colored strips below it are cut at 1 1/4″ wide. Each of the three colors are about 6″ long, all stitched together then added as pictured, to one side of the gray square, trimmed, then added to the gray square and colored strip side.  I then trimmed it square to 3 1/2″. I added 1 1/4″ strips of gray on all sides and trimmed square again. Cut a backing piece the same size as the finished front. I finished it with the flip and turn method, like a pillow slip, no binding needed. Layer the batting, then the backing square (good side up) and the front, (good side down) and stitch around all sides, leaving a 2″-3″ opening on one side. Turn, press and stitch the opening closed, quilt as desired. Do it now and you’ll be all set for next Valentine’s Day! Hope it makes sense!

Julie Otsuka’s first novel When the Emperor Was Divine was an enjoyable read and an especially quick one, coming in at under 150 pages. It’s the story of a Japanese/American family reclassified and their days of internment in a Utah enemy alien camp during WWII. It’s told in an interesting voice, no names given, as if everyone is just another anonymous, faceless enemy, no more, or less, valuable than the next. I had not read much about this side of WWII and enjoyed it.

Unknown-9

Since that one was so quick I picked up another of her books, Buddha in the Attic, and read it, too. It is the story of Japanese women coming to San Francisco in the WWII era, meeting their new husbands after only seeing their (or their best friend’s) photo. It follows as farm laborers and maids, learning the language, child rearing, missing their families, to ultimately rejecting their heritage and history.  Another short but good one, I wouldn’t necessarily recommend reading them back to back though!

The Buddha in the Attic

And it really doesn’t matter is which order you read them, though chronologically Buddha would be first, even though The Emperor was written first.

Linking up with:

Whatcha Reading?

A Stitch In Time 2013 2fabrictuesdayfinalcopy

WIP

Posted in Books, Crafting, fabric, Fabric Tuesday, Reading, Sewing, Tutorial, Watcha reading, WIP | Tagged , , , , , , , , , , | 8 Comments