
I found myself with a couple of spare minutes and am playing around with some of these Moda fabrics I have heard so many others blog about. Mochi Dot and Cotton and Steel are both a 70/30 cotton and linen blend. They are still fluid, like you think of linen, but in a firmer way. It is heavier that quilting cotton but not as heavy as a canvas. Somewhere in the middle, just a really nice-bodied fabric. Perfect for almost anything I can dream up. I am so happy to have a local fabric store that stocks all these cool fabrics! 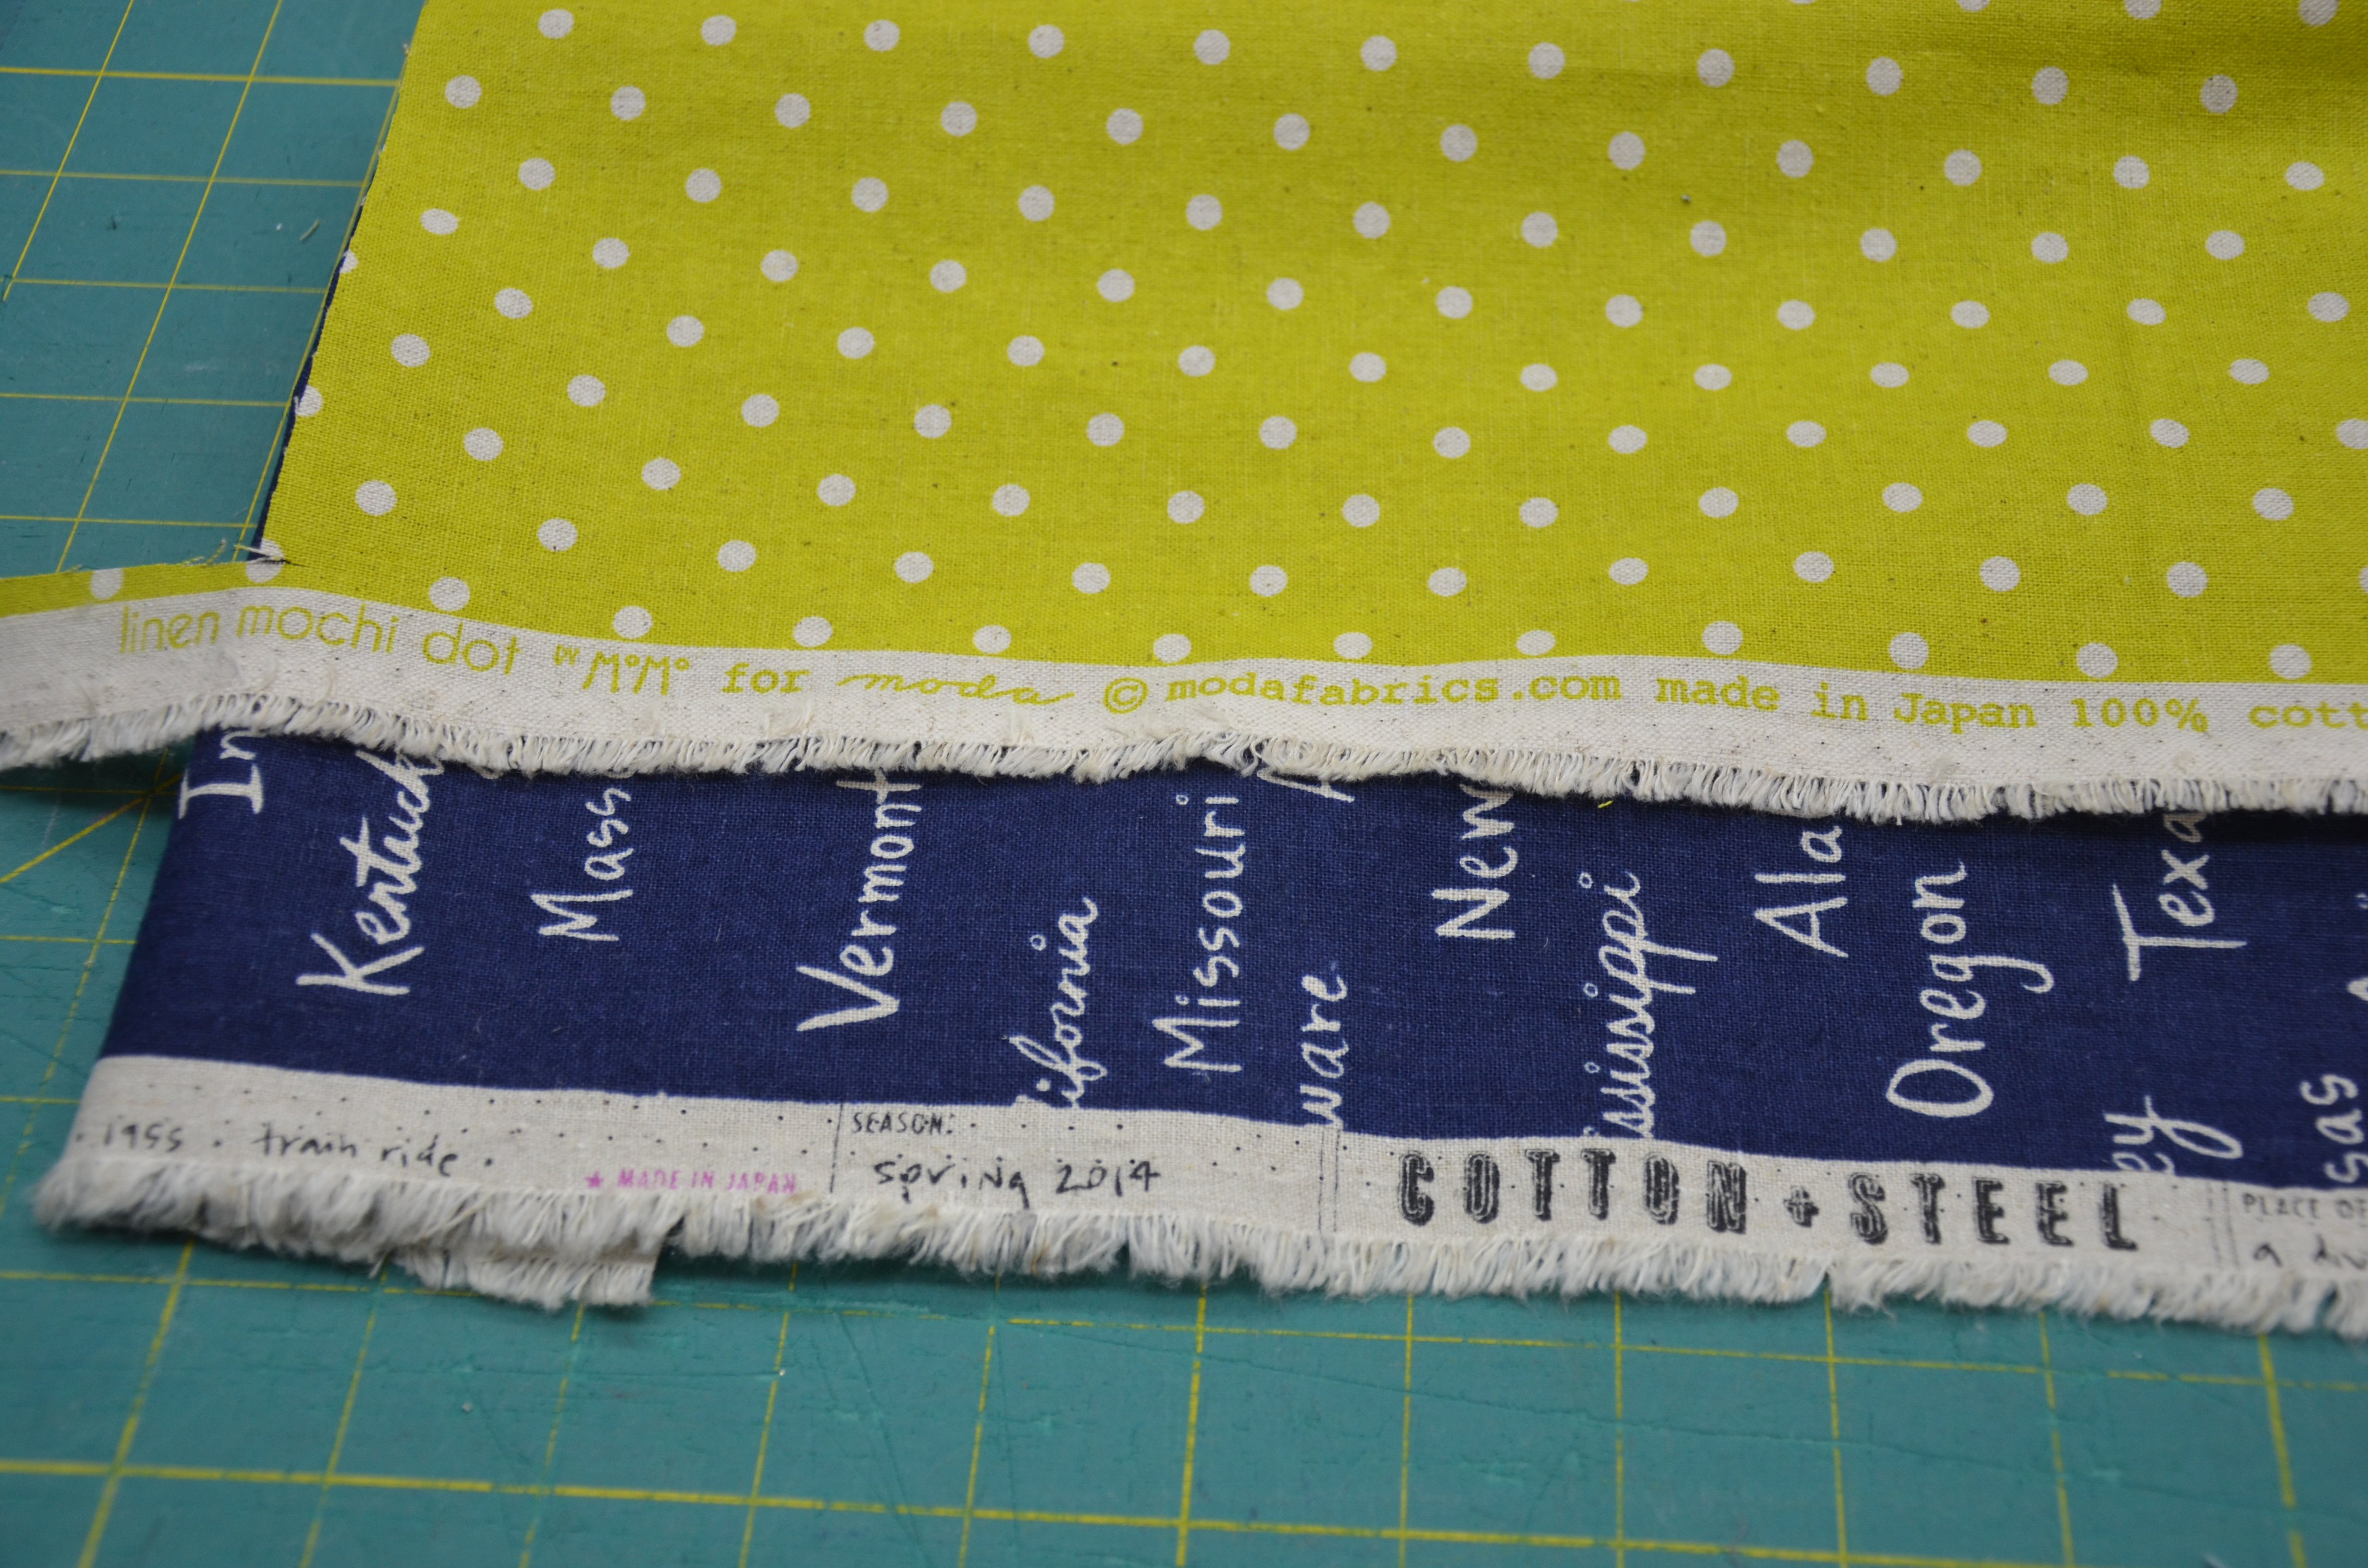 And because I have Soooo much spare time on my hands, HA, I decided I needed another little project. And to do it, I needed to shorten a metal zipper which I already owned. It seems as if you can never get interesting zippers in the exact size you need…. I had always heard you could shorten them, but I would just barrel through, break a few needles, and I was good to go. Yeah, yeah, yeah…. You can’t sew through metal and sometimes your broken needle falls down into the bobbin area of the machine and has to be removed with pliers…. Sometimes it throws your timing off and it has to be taken into the shop…. Not recommended. Ever. And besides you could put your eye out with a flying broken needle. This was so easy, I didn’t even photograph it. I will never try to sew “between” the teeth of a metal zipper, again!
  I measured my zipper from the bottom (the end of the metal part of the zipper) up to the length I wanted. I then marked it with a water erasable blue pen. Now I used my wire cutters and clipped the zipper teeth off above my marks. Once you get one, or two, off you can cut multiples in one cut. The teeth on this zipper are aluminum, not too tough to cut. The wire cutters don’t easily cut the zipper tape, so that isn’t a big concern, be careful nonetheless. Once you have removed the standard amount at the top of a zipper (maybe 5/8″) you can move on to removing the zipper stops at the top. Using the tip of a small pair of wire cutters you just lift them off. They are just bent over the tape, above the top teeth. They are easy enough to pry off. Once you get the first one off you will realize it is not that difficult. Now you just put the zipper tops back on above what is now the new top teeth and pinch them on with a pair of pliers. It really is just that easy! Now cut the zipper off and dispose of the top part of the old length and you have your perfect length metal zipper! Let me know if you try it or have any questions!! …now back to Christmas wrapping. The next time I find a few minutes I’ll finish up the project I am going to use this newly shortened zipper on! Linking up with: Crazy Mom Quilts Can I Get a Whoop Whoop LAFF

What can I help you find?
-
Join 434 other subscribers
- Follow Sewfrench on WordPress.com
-
Disclosure: This post contains Amazon affiliate links. If you buy through them, I may earn a small commission at no extra cost to you.
Top Posts & Pages


Flickr
Goodreads
Archives
Categories


I needed this posting thank you for shairing always. Be Blessed, Mtetar
LikeLike
i’m pinning this – never thought of shortening zips! http://www.pinterest.com/julzcrafts/
LikeLike
hi again, some time later, it occurred to me that the zipper shortening is such a lovely idea, that I’d like to put it on my blog, under the SHOW & TELL section, but I’d prefer if you not only agreed to this, but wrote your own introduction. please have a look at
and let me know if you’d agree to this – thanks
LikeLiked by 1 person
Pingback: Zippered Card Pouch | Sewfrench