The gallery wall needed another piece of art.
Fortunately, I had a rainbow in my sewing studio.
I have collected Kona solids for years—decades, really—so there was no shortage of color to choose from. Pulling fabrics for this project was probably my favorite part. There is something very satisfying about watching a pile of individual colors turn into a full rainbow.
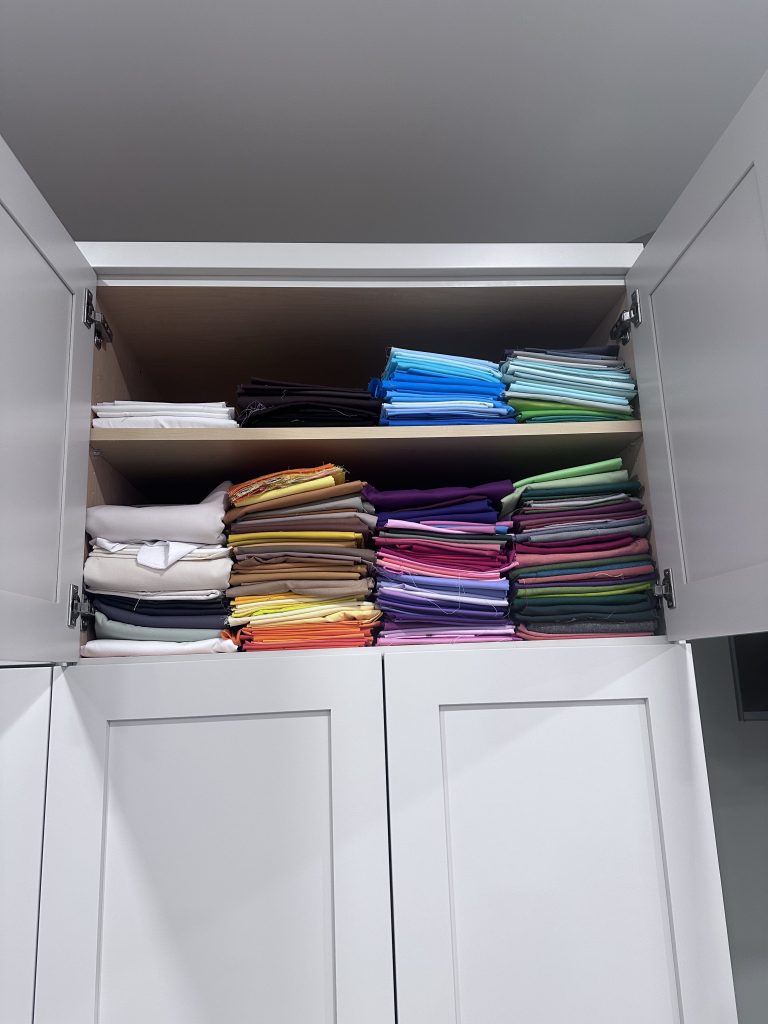
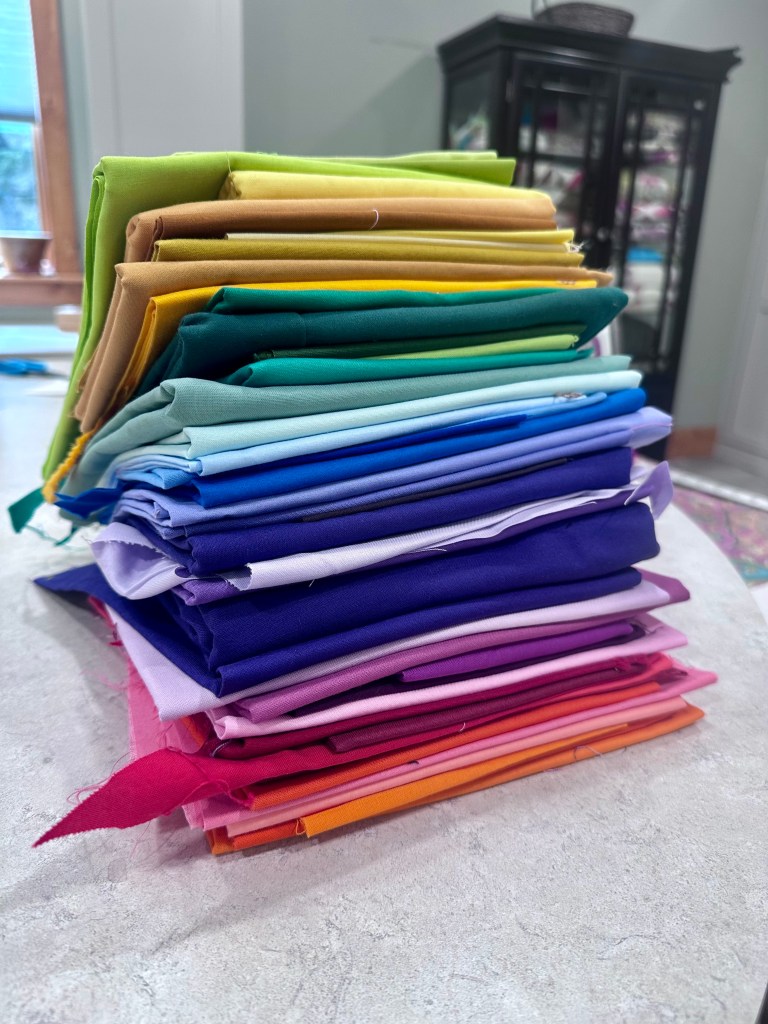
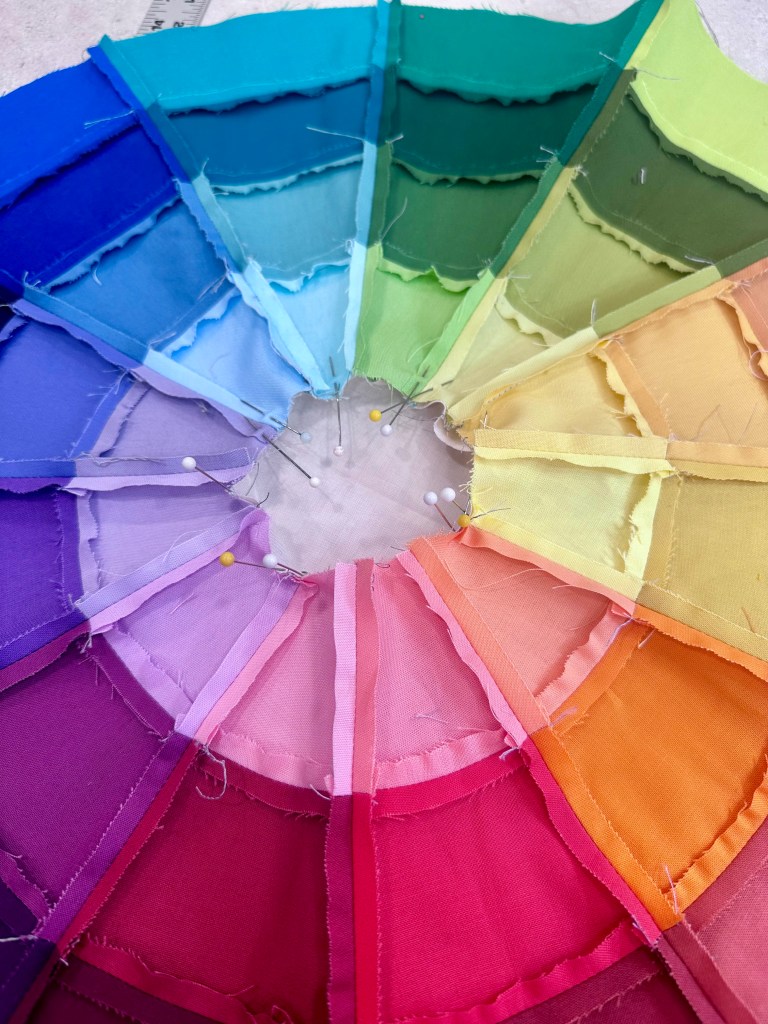
Once I had the fabrics arranged, I started piecing the color wheel together. With this much color, I wanted the piecing itself to stay clean and simple and let the progression of colors do all the work.
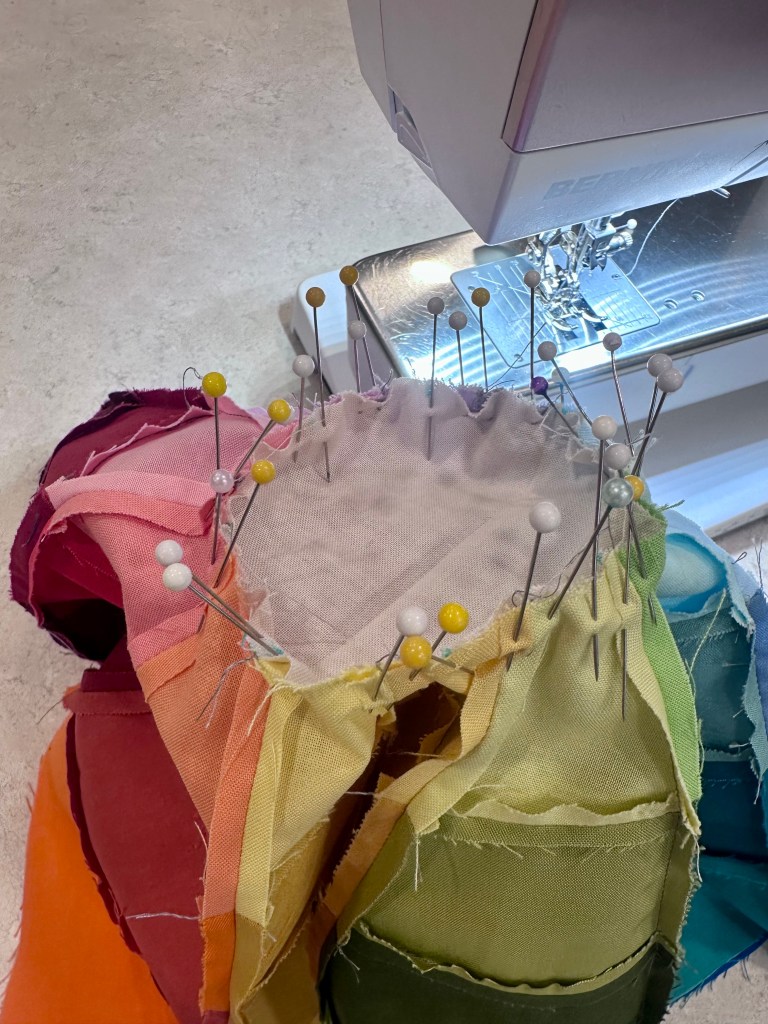
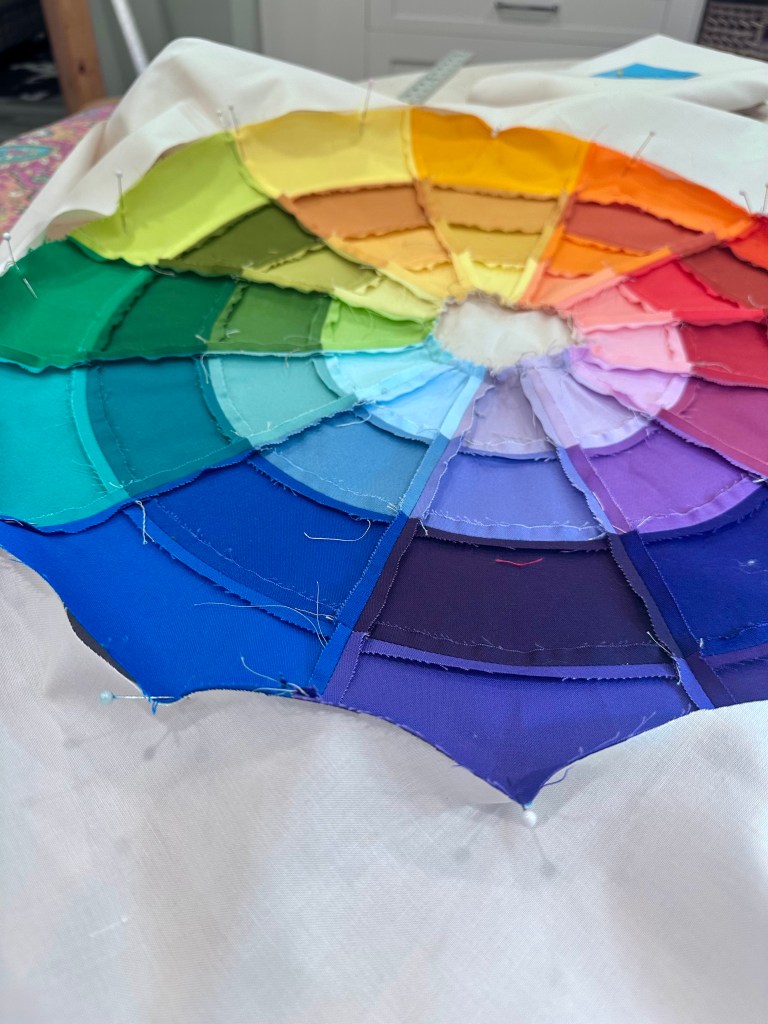
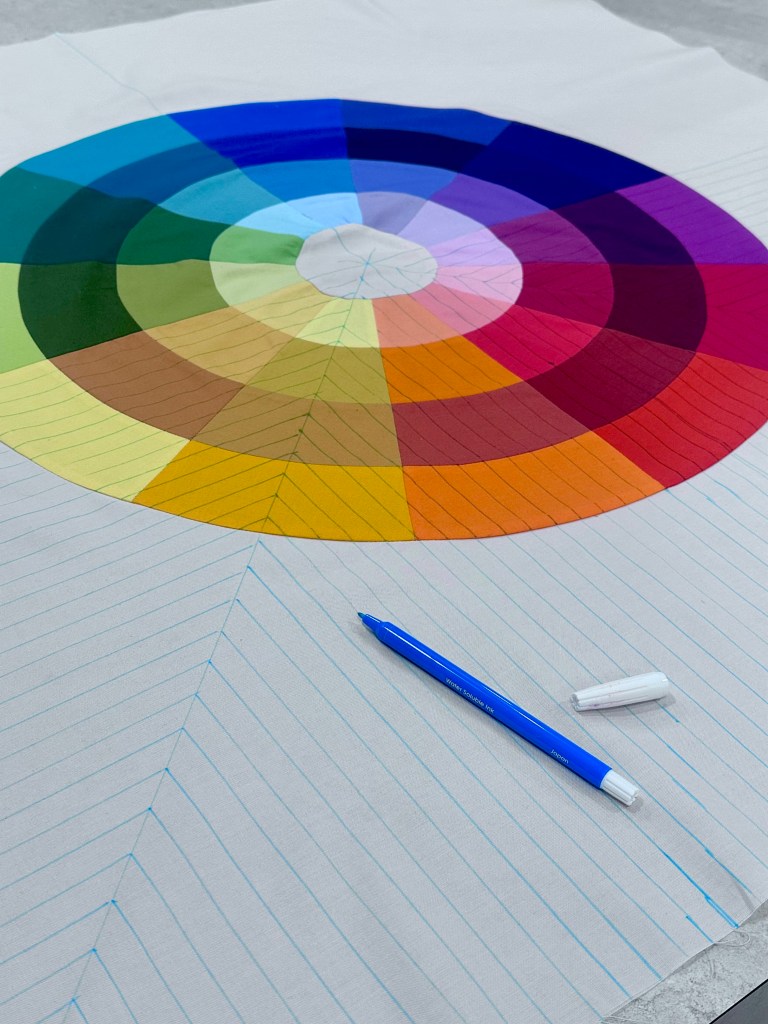
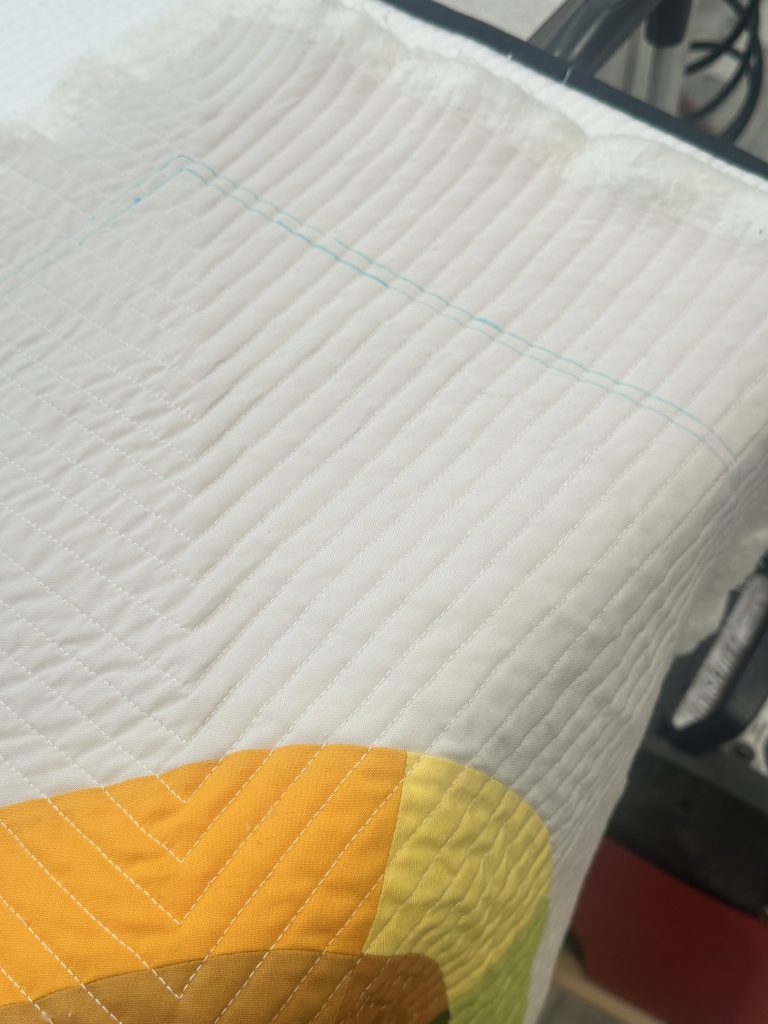
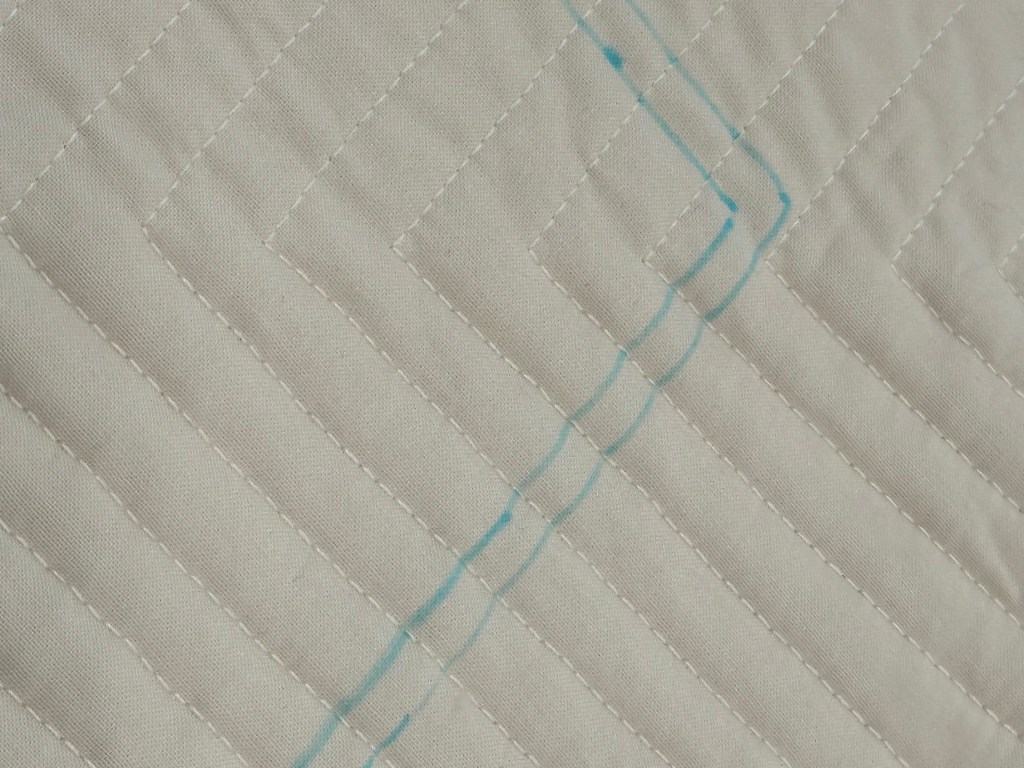
Before quilting, I marked the top with my never fail water soluble blue making pen.
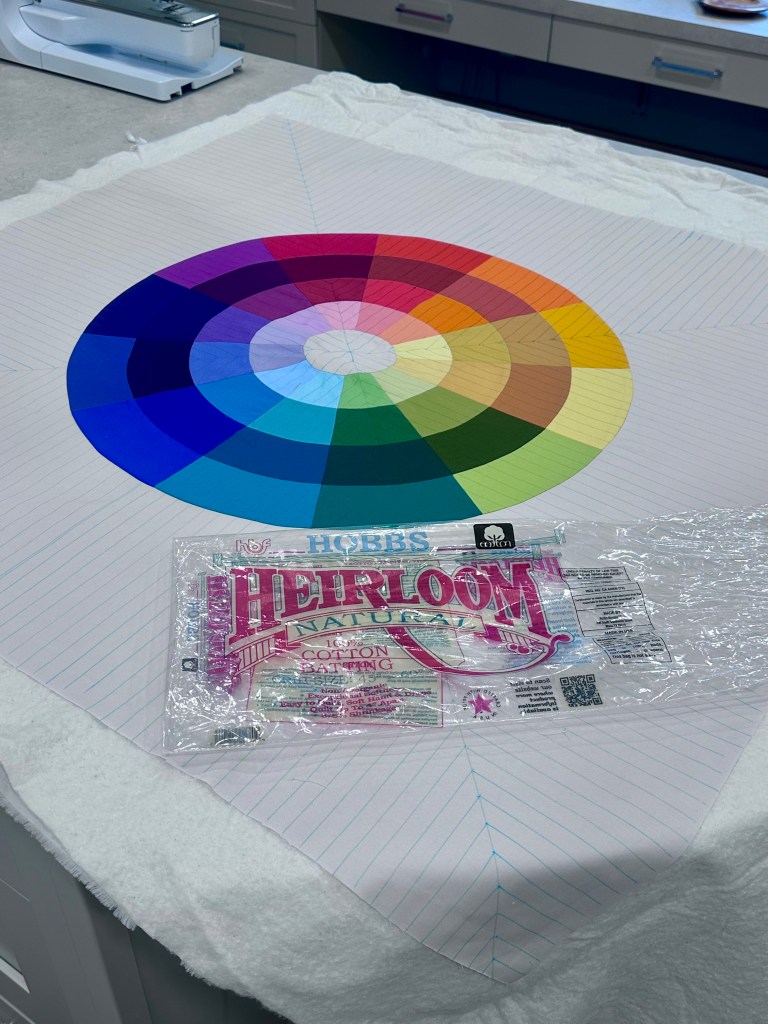
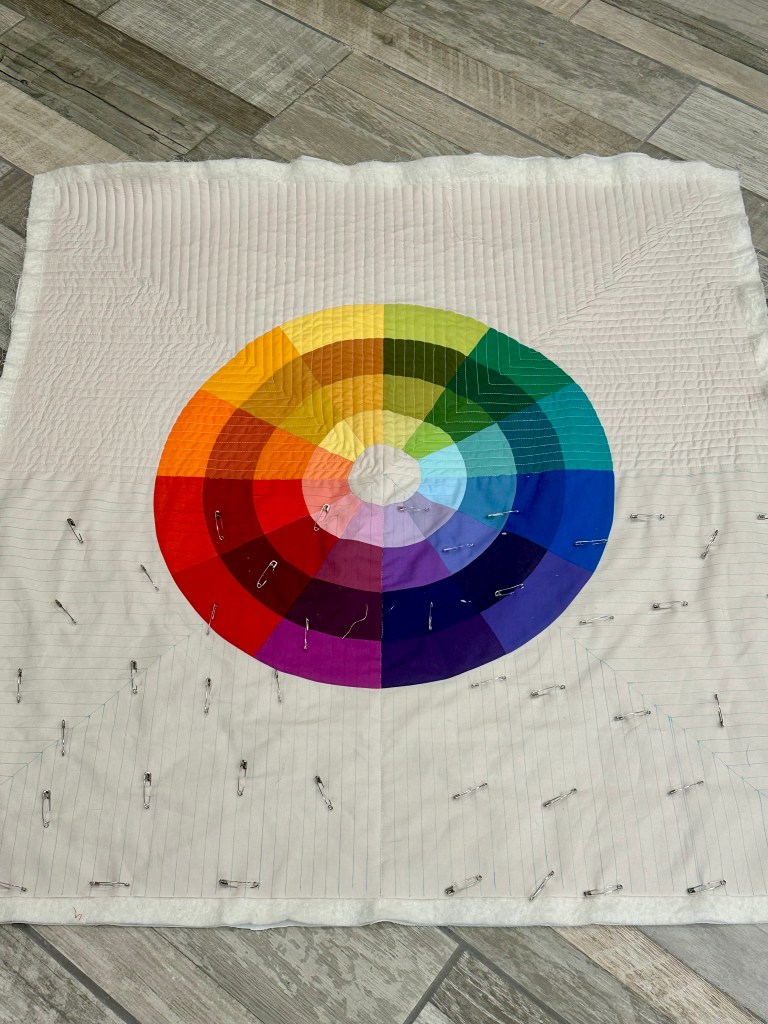
Then pin basted all three layers together. Working on multiple projects at a time, I finally ordered more safety pins for basting. I love these and should never run short again! And they are an American made product!
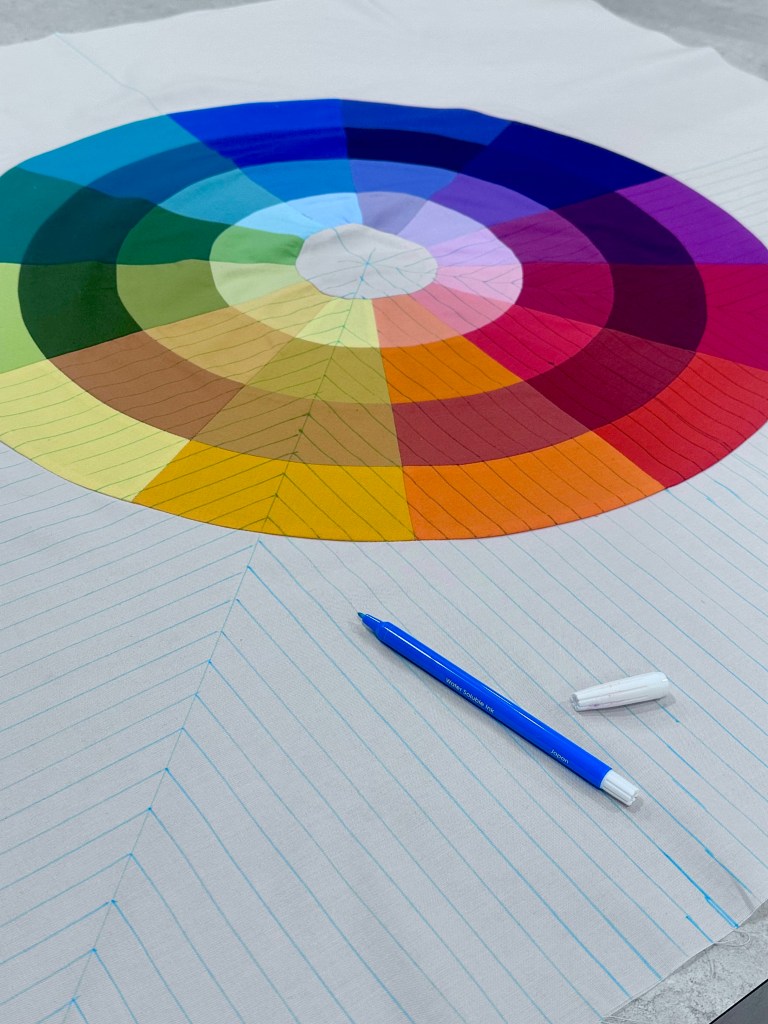
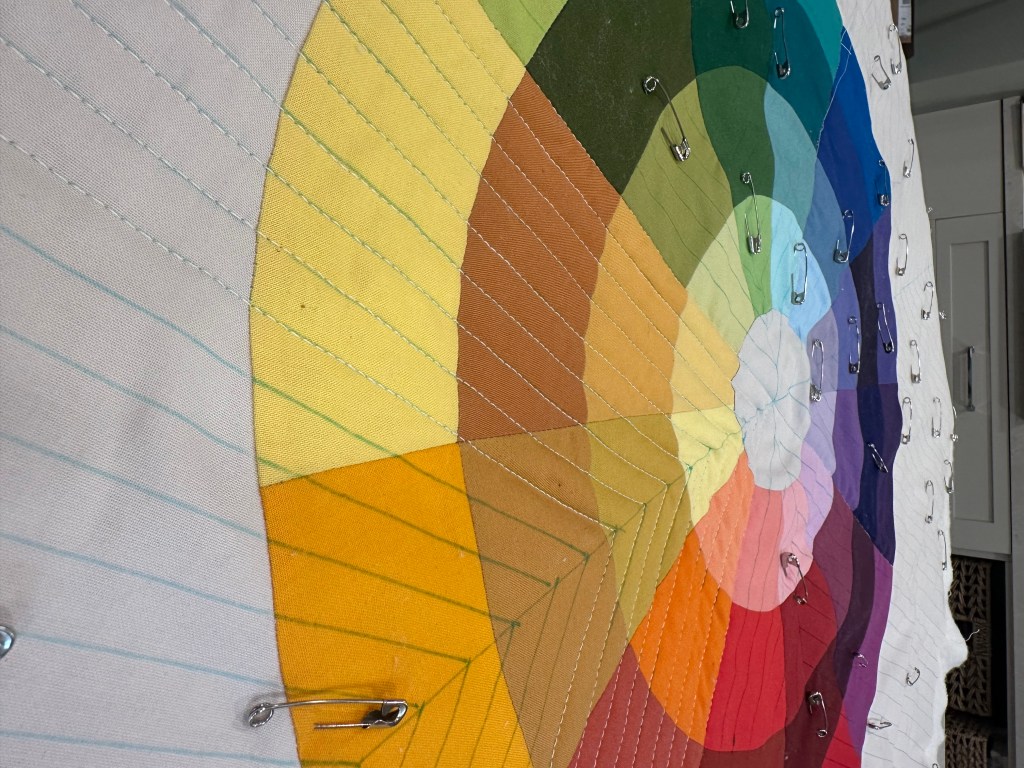
I decided to machine quilt, every 1/2″, four 90 degree angle lines, sectioning the quilt into quarters and working out to each corner. It was a lot of quilting for a 30” square piece, but I love the texture it added without competing with all that color.
And once I started, there was really no turning back.
The two four-year-old twins love to help in the sewing studio. One was lint rolling my latest project while the other was “vacuuming” the floor.
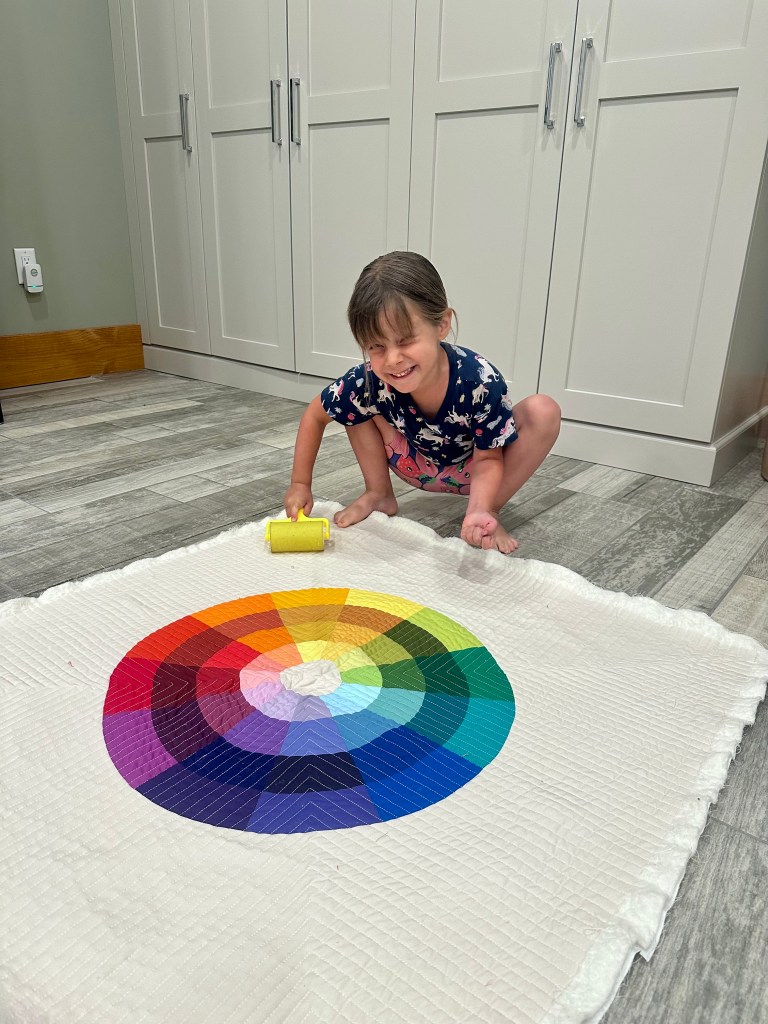
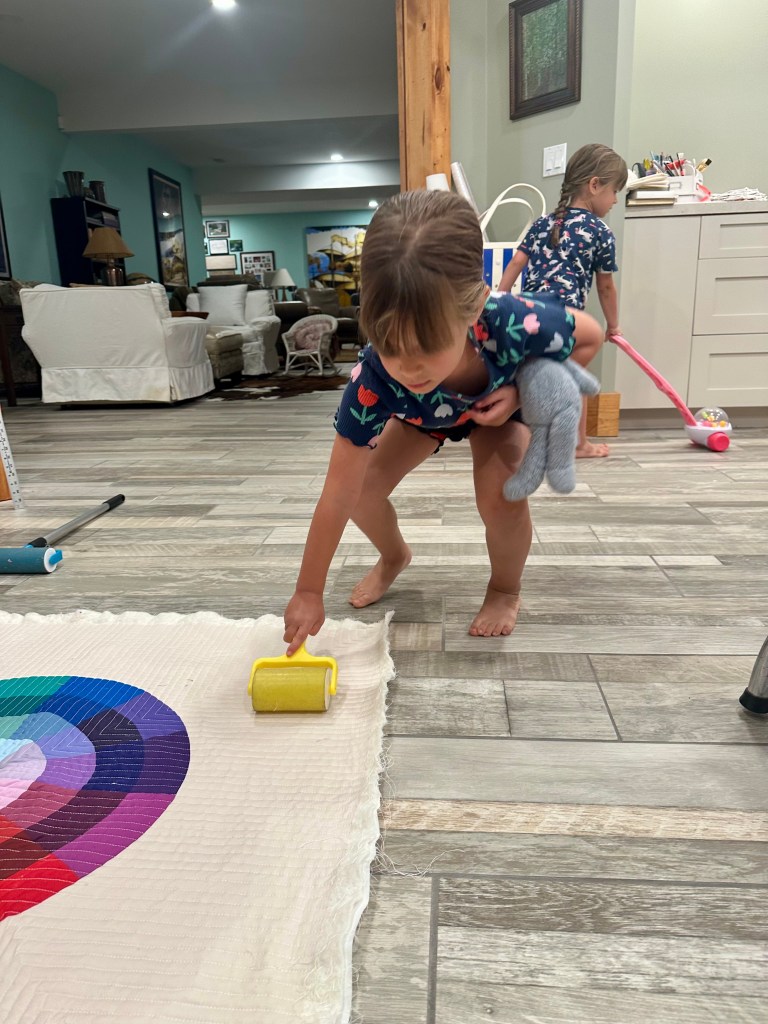
Then, in true sewing-room fashion, my serger broke a thread.
Rather than stop and rethread the whole thing, I decided the serger could simply become an expensive trimming machine.
No thread needed. 😂
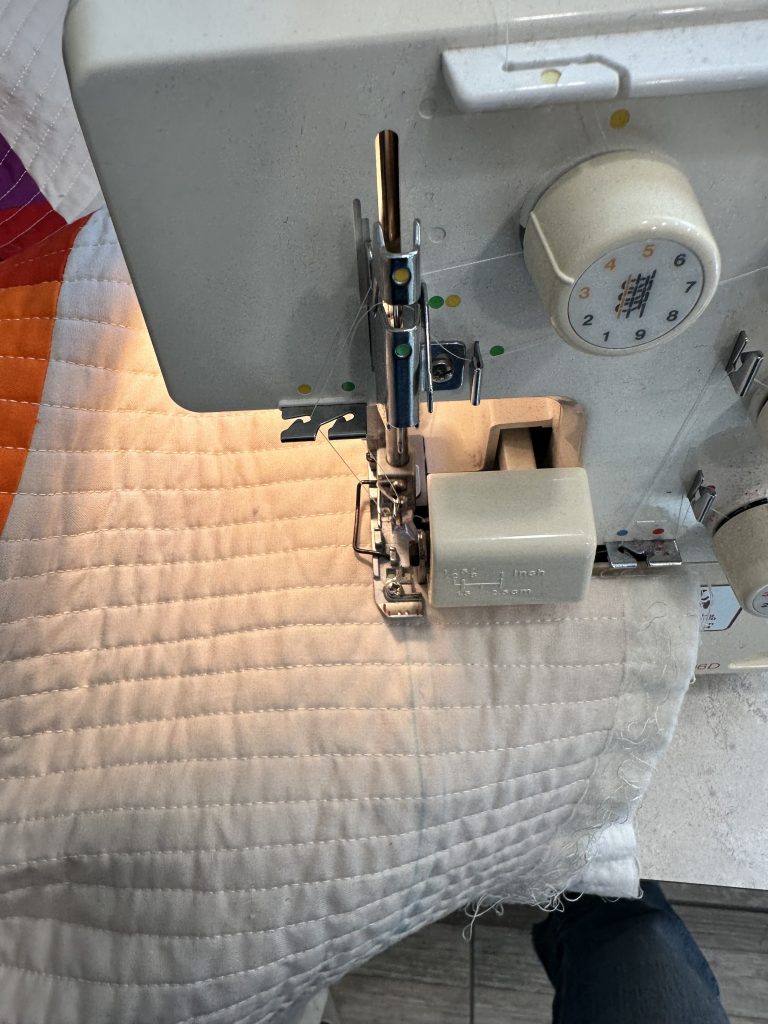
I wanted the finished piece to feel like art, not simply a little quilt hanging on the wall. Instead of adding a traditional binding, I finished the edges with facing strips. From the front, the edge disappears completely, leaving nothing to interrupt the color wheel or the clean square shape.
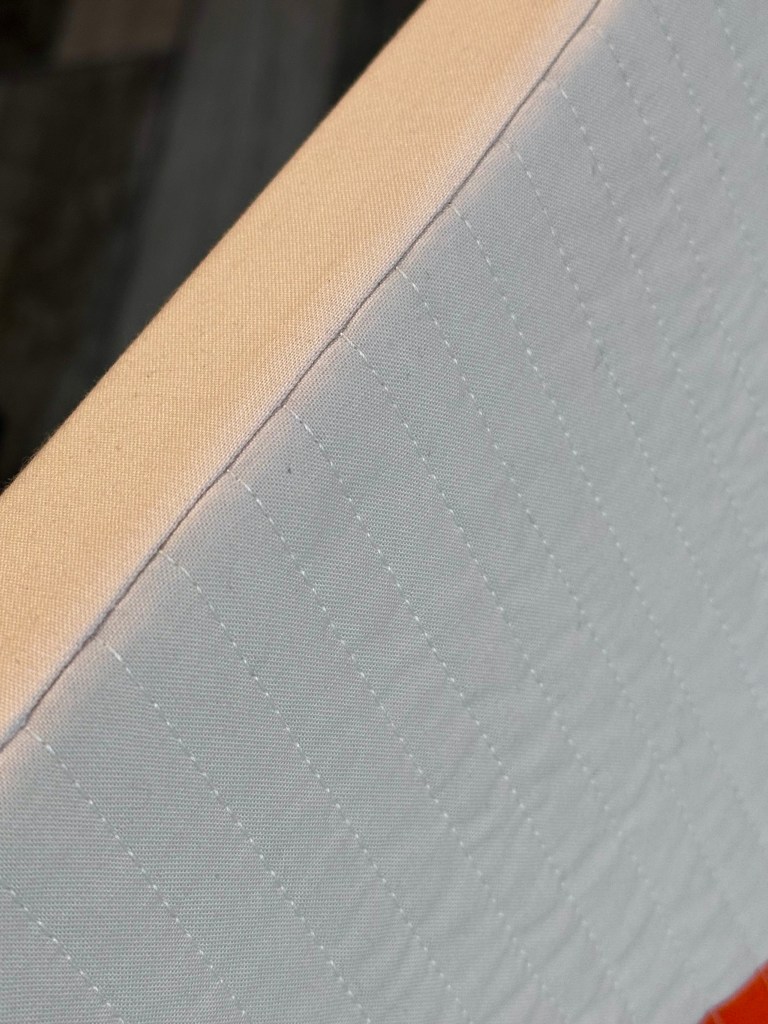
Then I stretched the finished quilt over a 1 1/2” deep gallery canvas and stapled it securely to the back. The depth of the canvas brings the quilt away from the wall just enough to give it dimension and a finished gallery-piece presence.
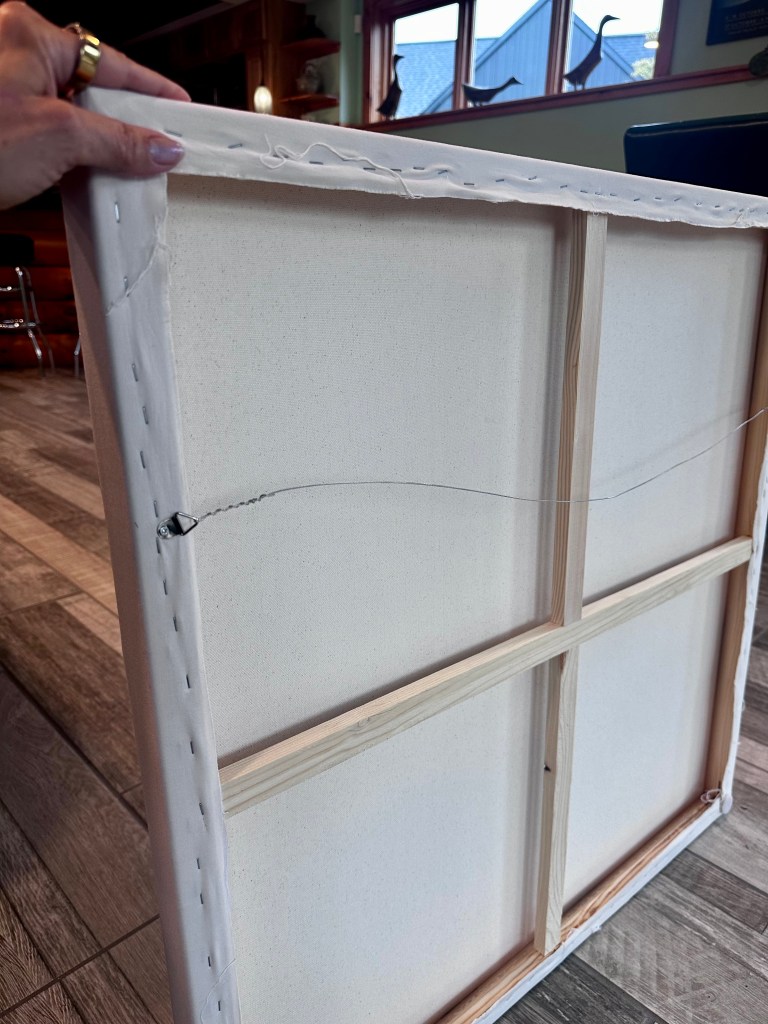
It is a small finishing detail, but it makes a huge difference. No visible binding, no floppy edges—and, most importantly, no oversized-pot-holder effect. 😂
Now it looks exactly the way I hoped it would: a quilt, but also a piece of art.
My husband has been after me since we finished my studio to get something on this wall.
I took my time deciding what I wanted there and eventually turned the space into a gallery wall. Once that decision was made, I was just as deliberate about what I added to it. I didn’t want to fill the wall simply for the sake of filling it.
This particular spot needed color—and a Colorwheel quilt felt exactly right for a quilting studio.
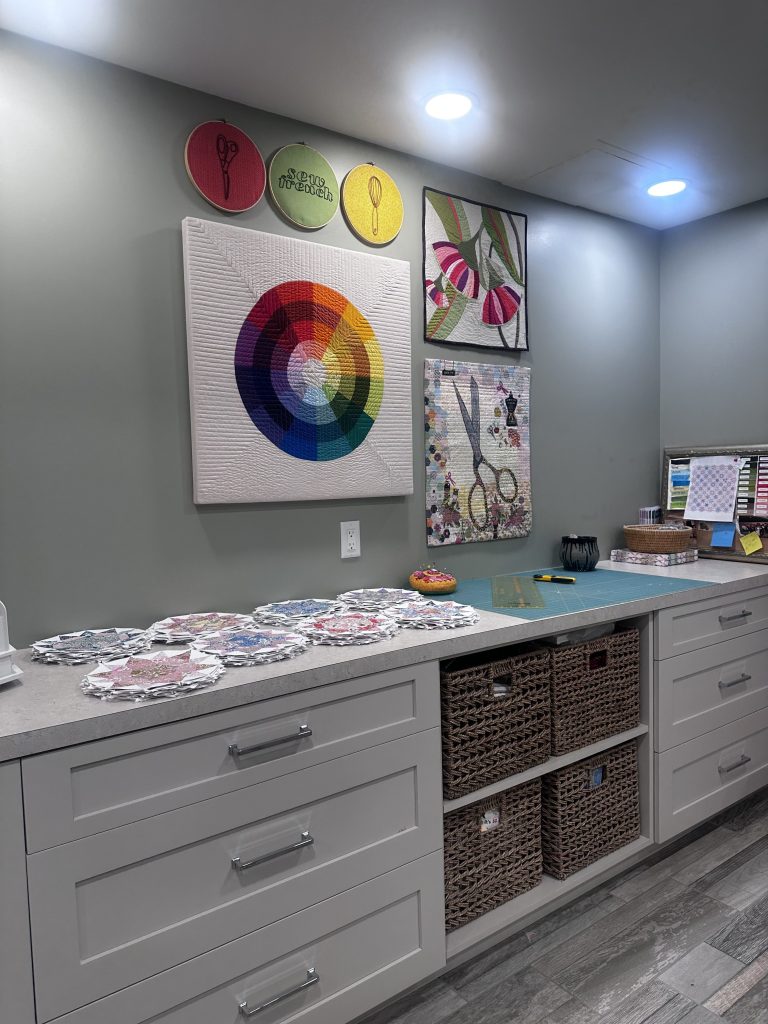
I love that this piece is made from fabrics that have been living in my studio for years. Some of these colors have been used in quilts long since finished and gifted, while others were little scraps and leftovers waiting for their turn.
Now they all get to live together on the wall.
And really, what could be more appropriate for a sewing studio than a piece of art made from fabric, thread, and nearly every color of the rainbow?
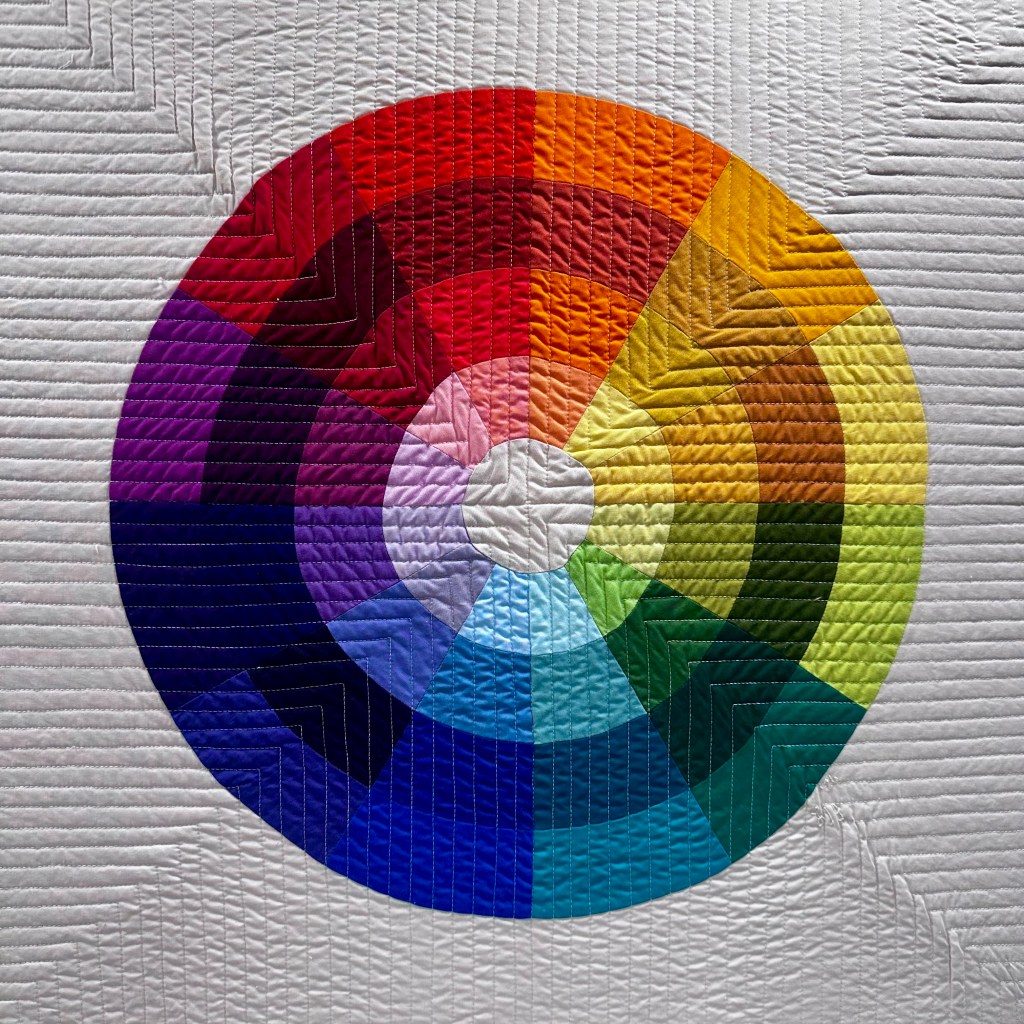
Colorwheel
30″ square
Machine pieced and quilted 1/2″ apart
Finished with facing strips and mounted on a 1 1/2” gallery canvas
quilted using this batting
framed on this canvas
pattern by On Williams Street
Apparently Peter was right. The wall did need something.